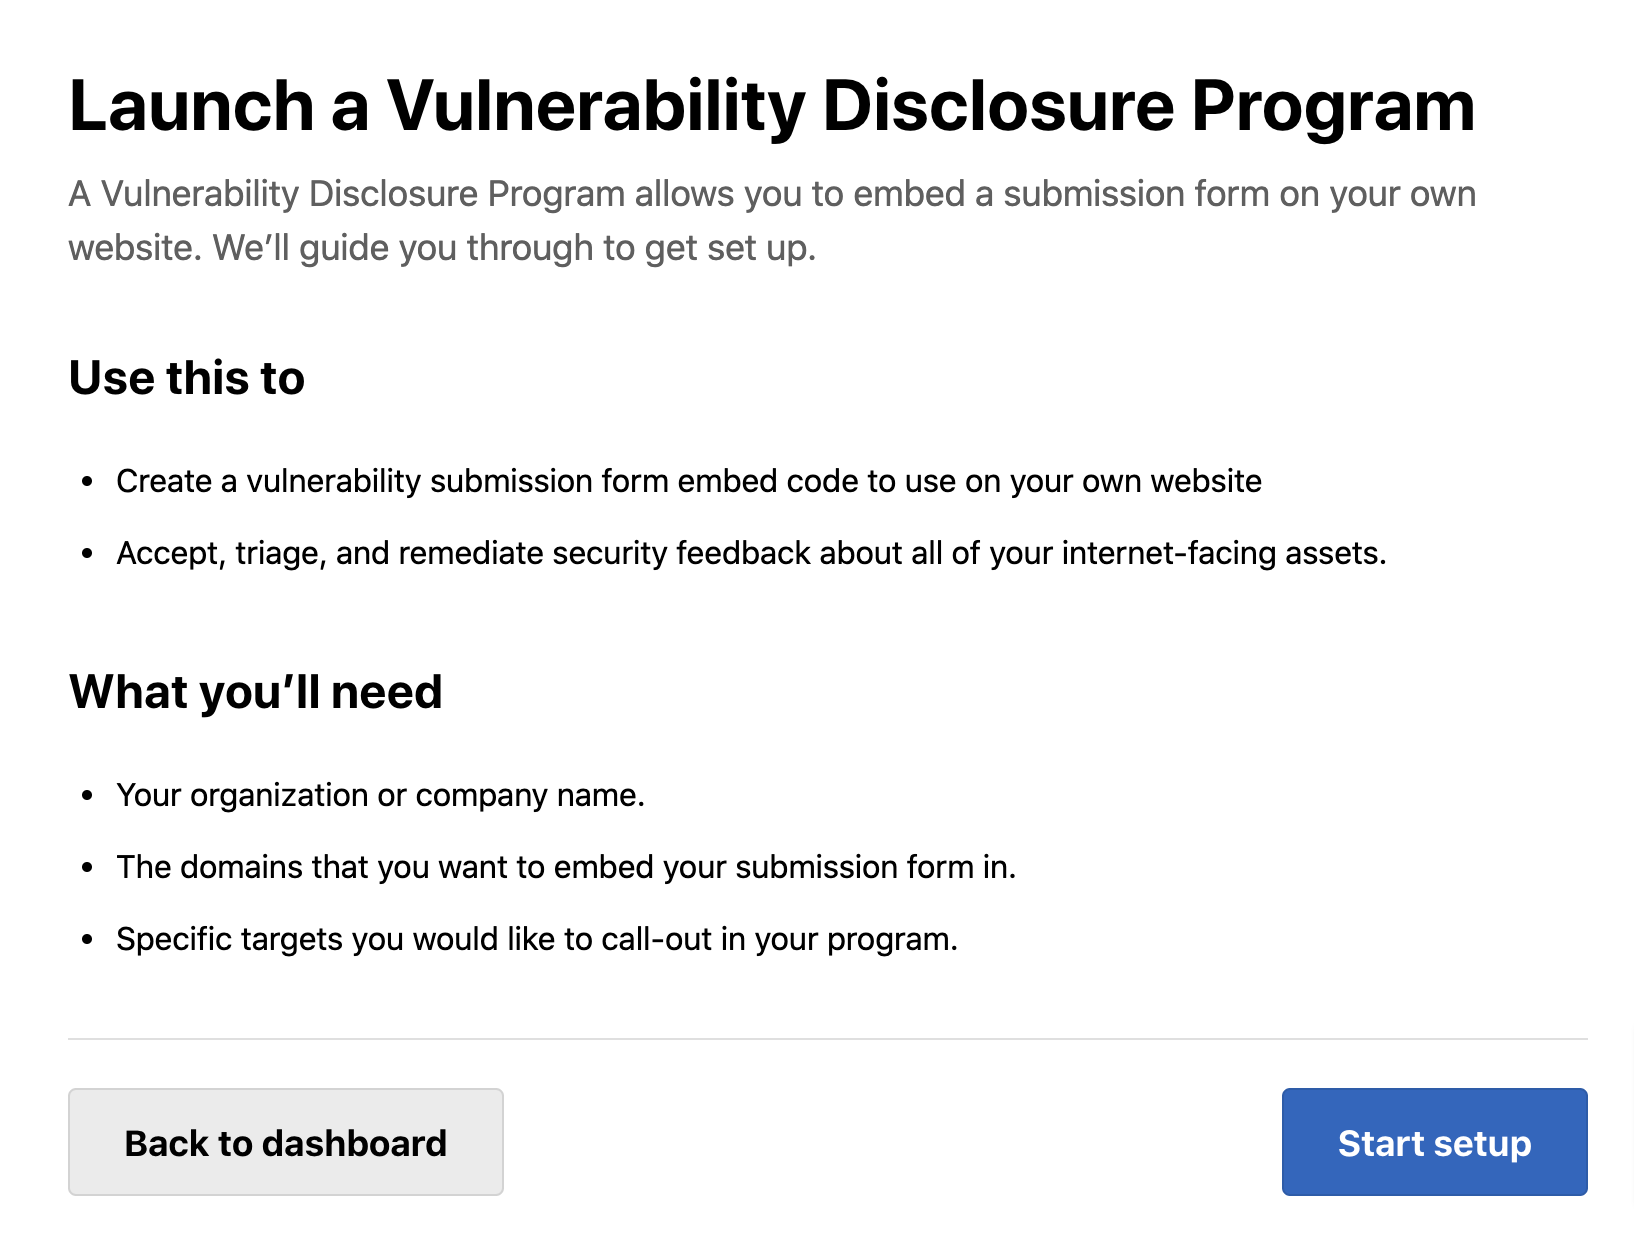
Before you launch a VDP, you must have the following details:
- Organization or company name
- Domains to embed the submission form
- Targets you want to specify in the program
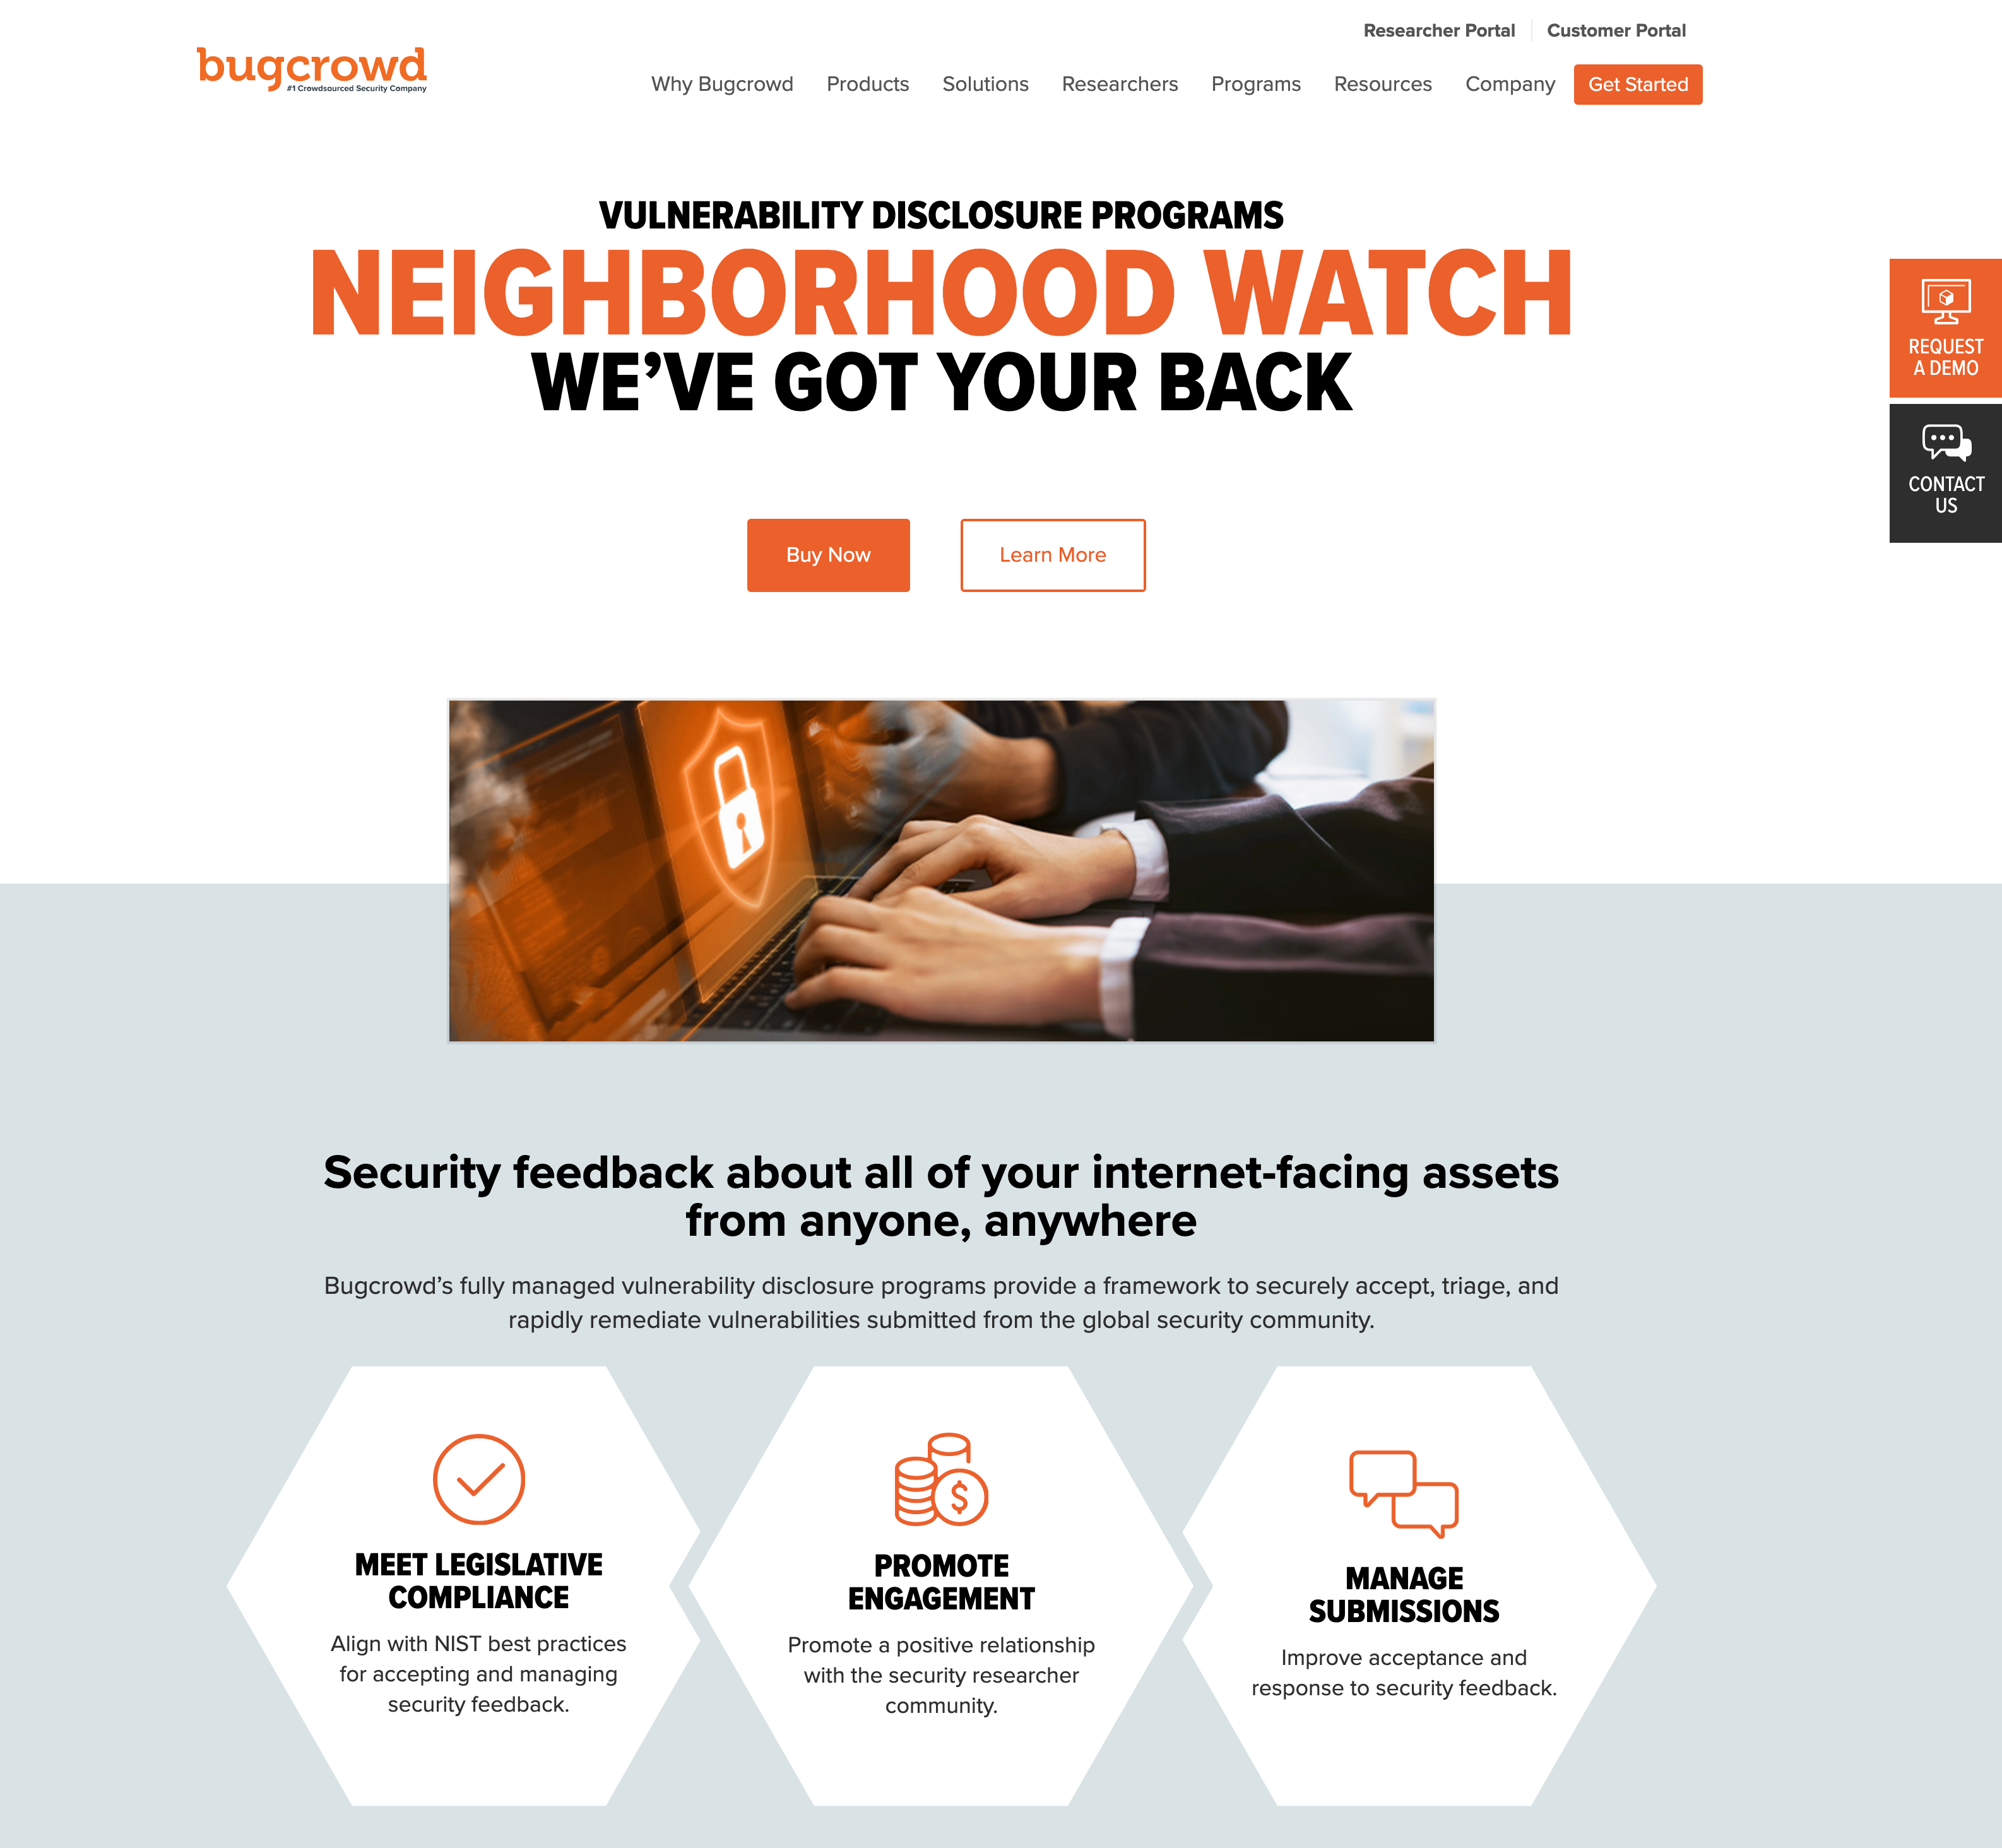
When you browse for VDP programs at bugcrowd.com, the following page is displayed:
Click Buy Now. The pricing page with Basic 15, Basic 75, and Custom options is displayed.
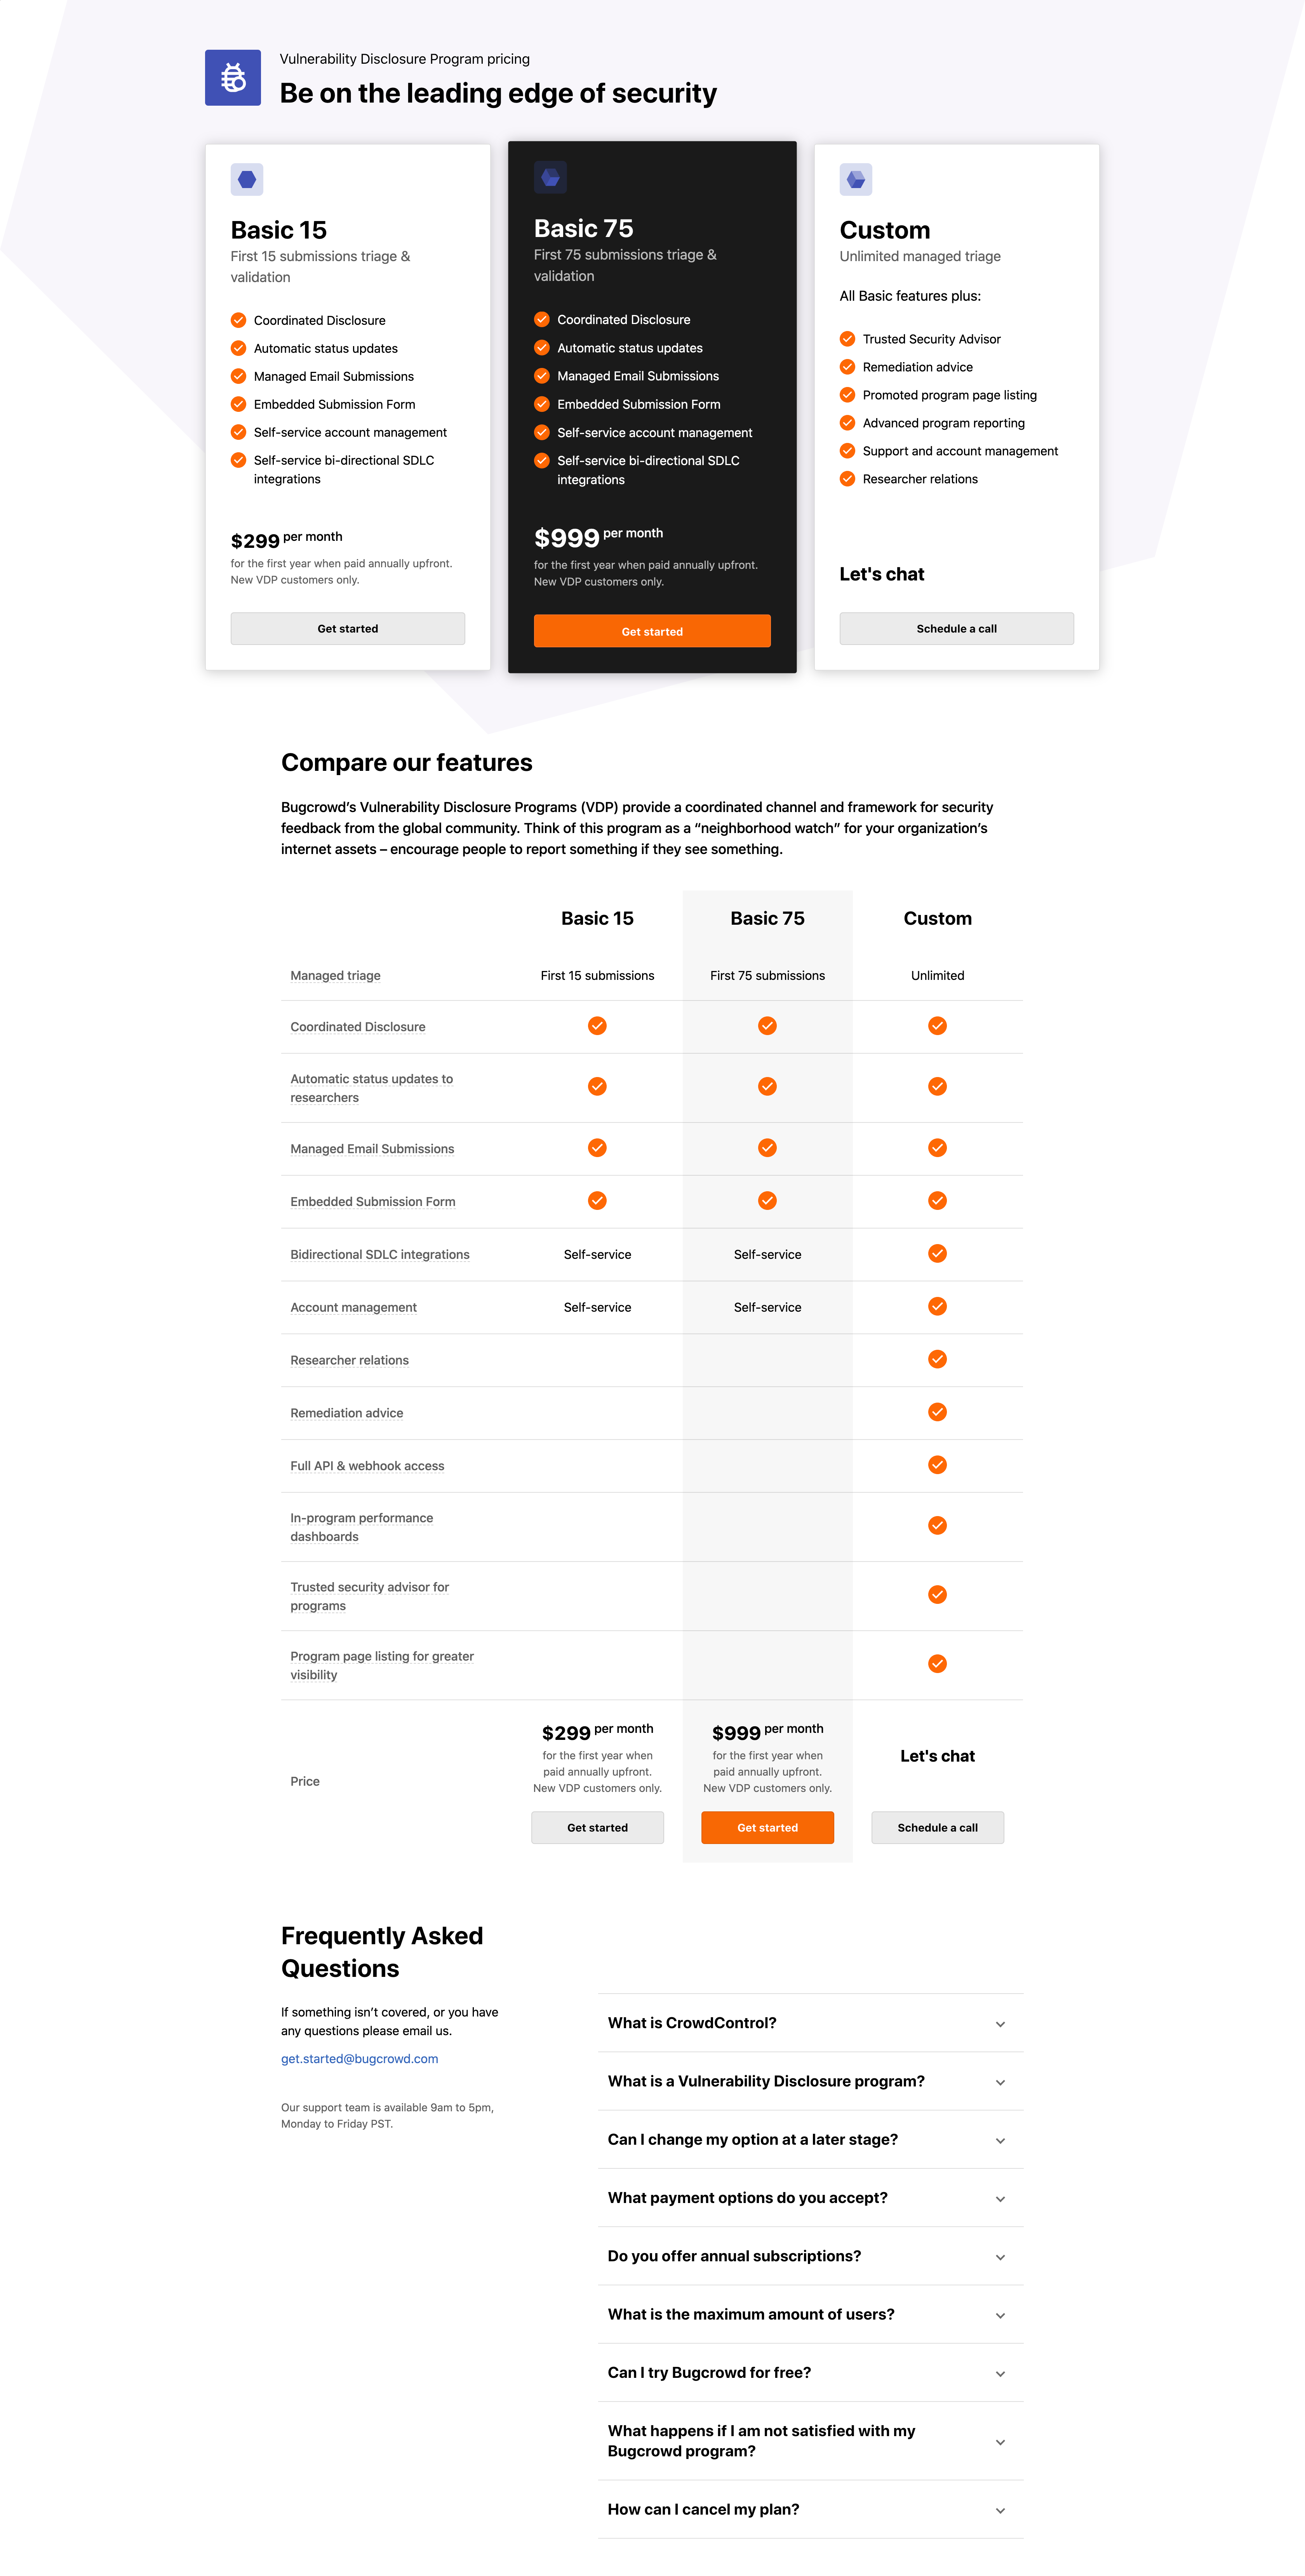
Select the required option. Click Get Started if you have chosen Basic 15 or Basic 75. If you have chosen Custom, then click Schedule a call and schedule a call with Bugcrowd support.
When you click Get Started, the Sign up for Bugcrowd page is displayed.
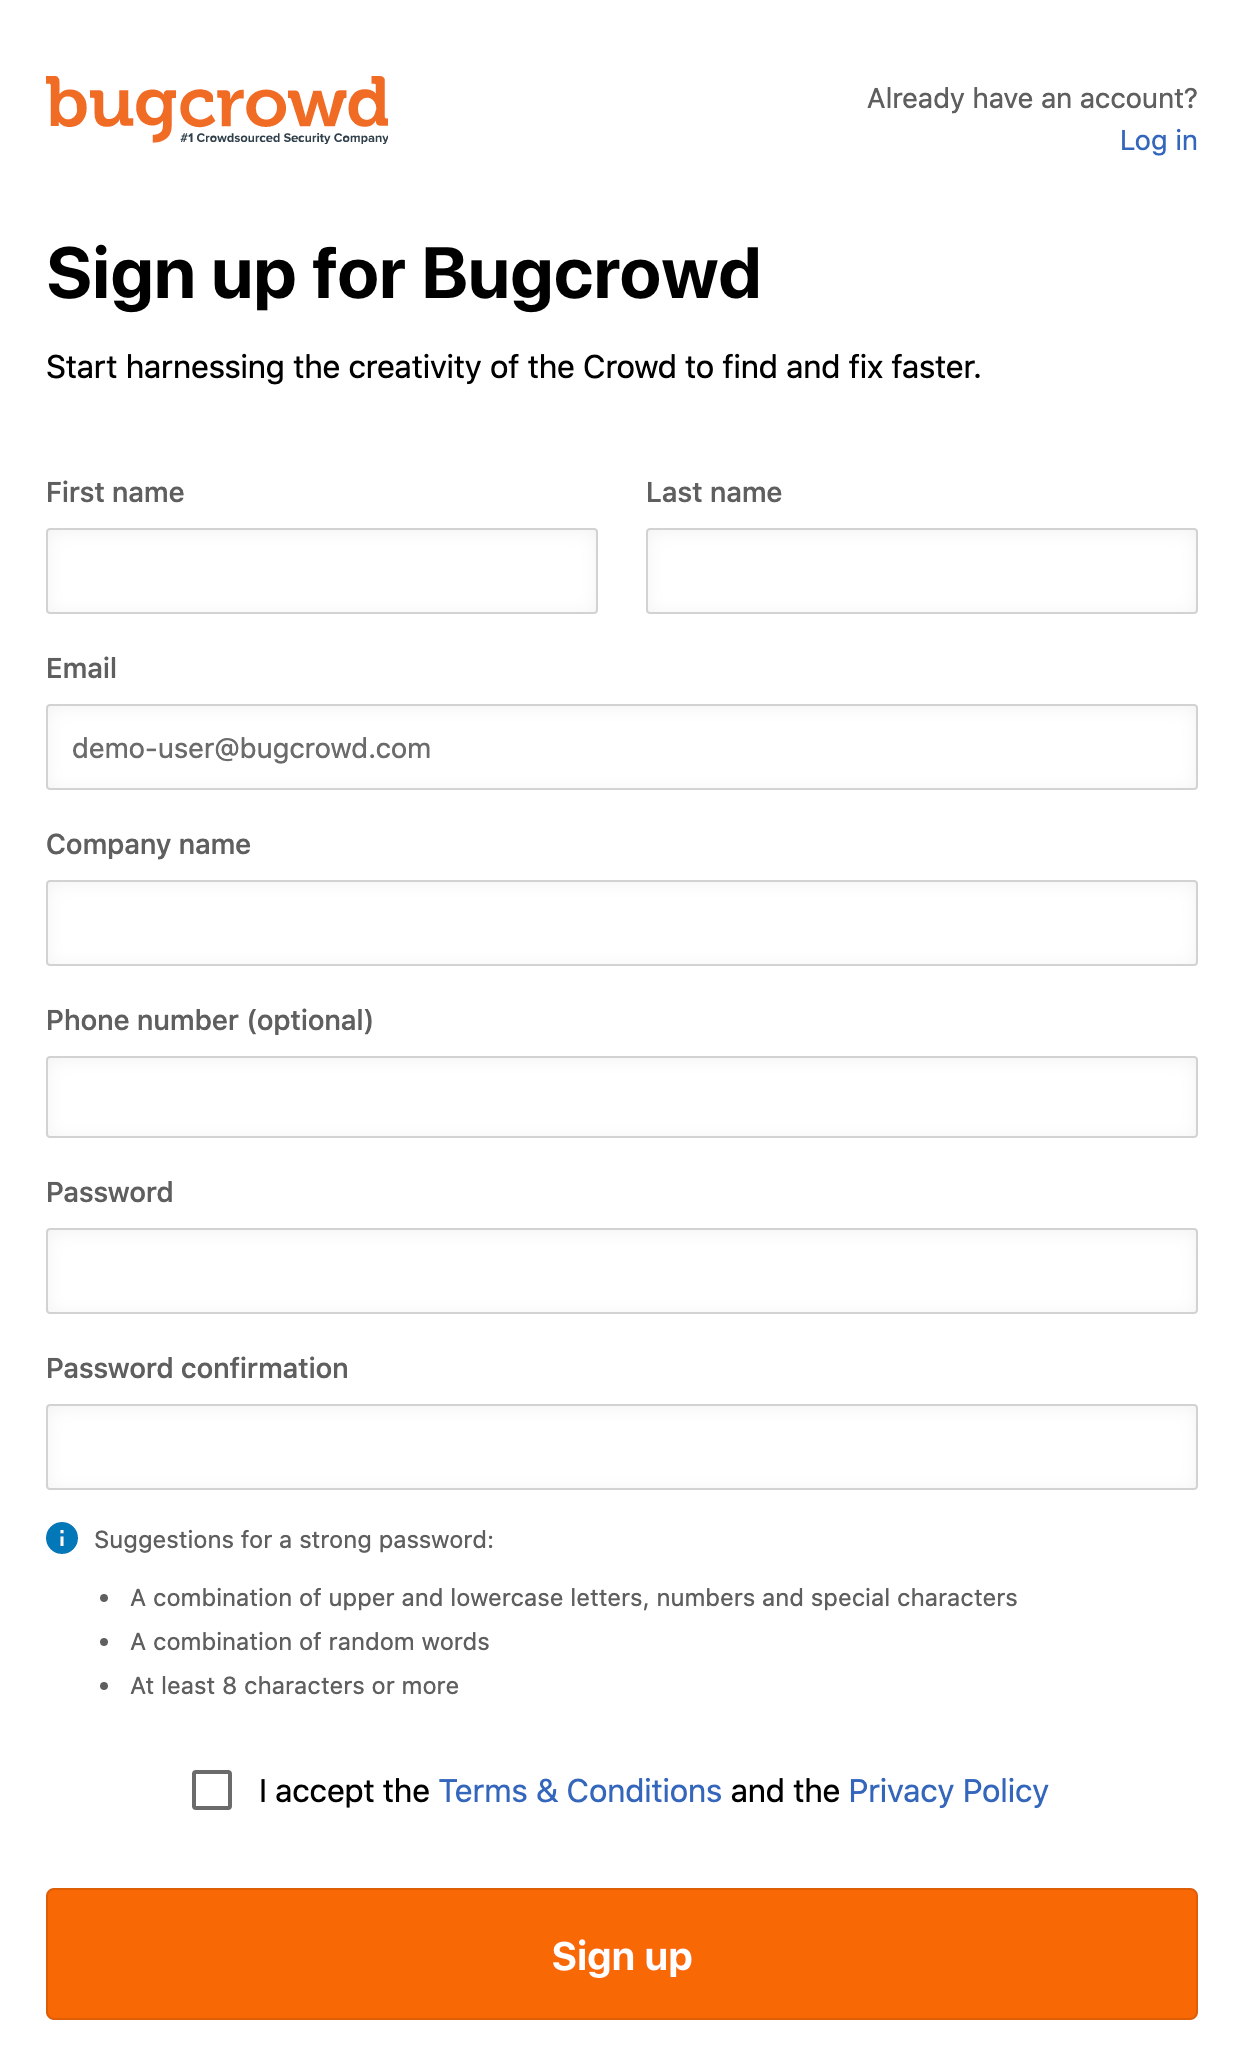
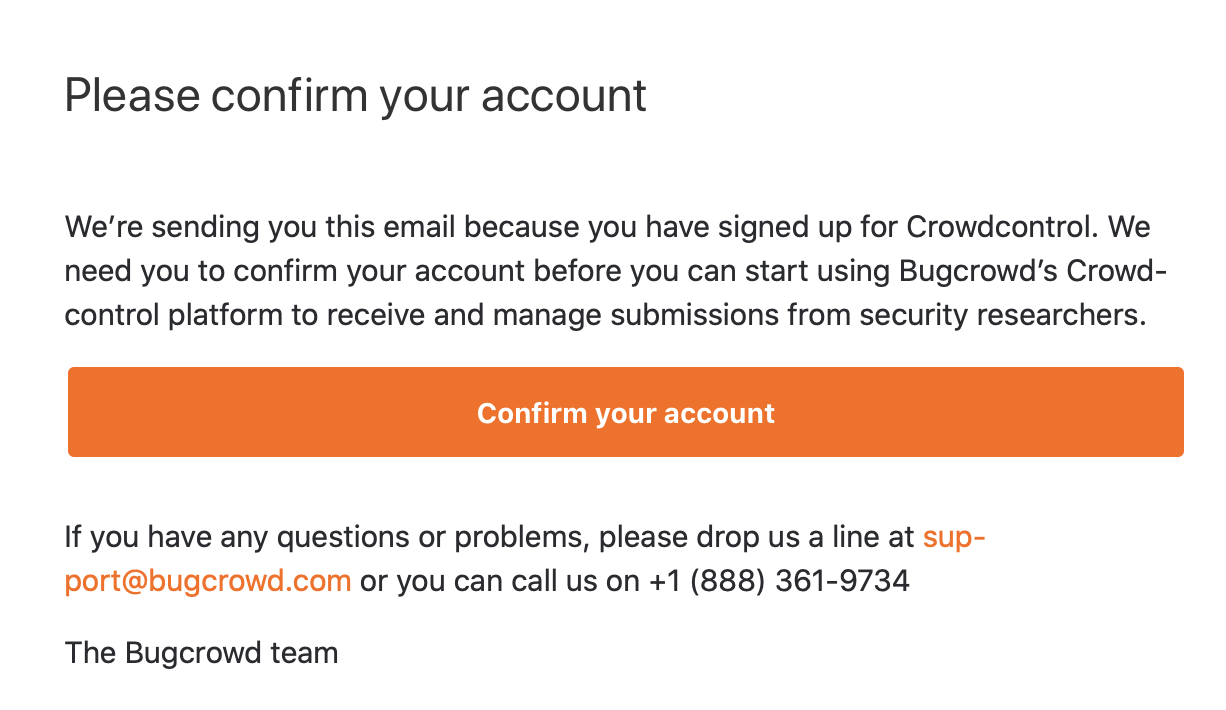
If you do not have a Bugcrowd account, then create an account by providing the details. A message with a confirmation link will be sent to your email address. Click on the link to activate your account. If you already have an account, click Log in and log in to Bugcrowd.
Note: It may take 5 - 10 minutes for you receive the email from support@bugcrowd.com.
You will be redirected directly to the appropriate product onboarding flow. The steps are:
- Provide a program name
- Choose a product
- Review vulnerability disclosure policy
- Add domains where the submission form must be embedded
- Schedule program launch date
- Set targets
- Add payment details
- Review details and submit
To setup a Vulnerability Disclosure Program:
-
Click Start setup.
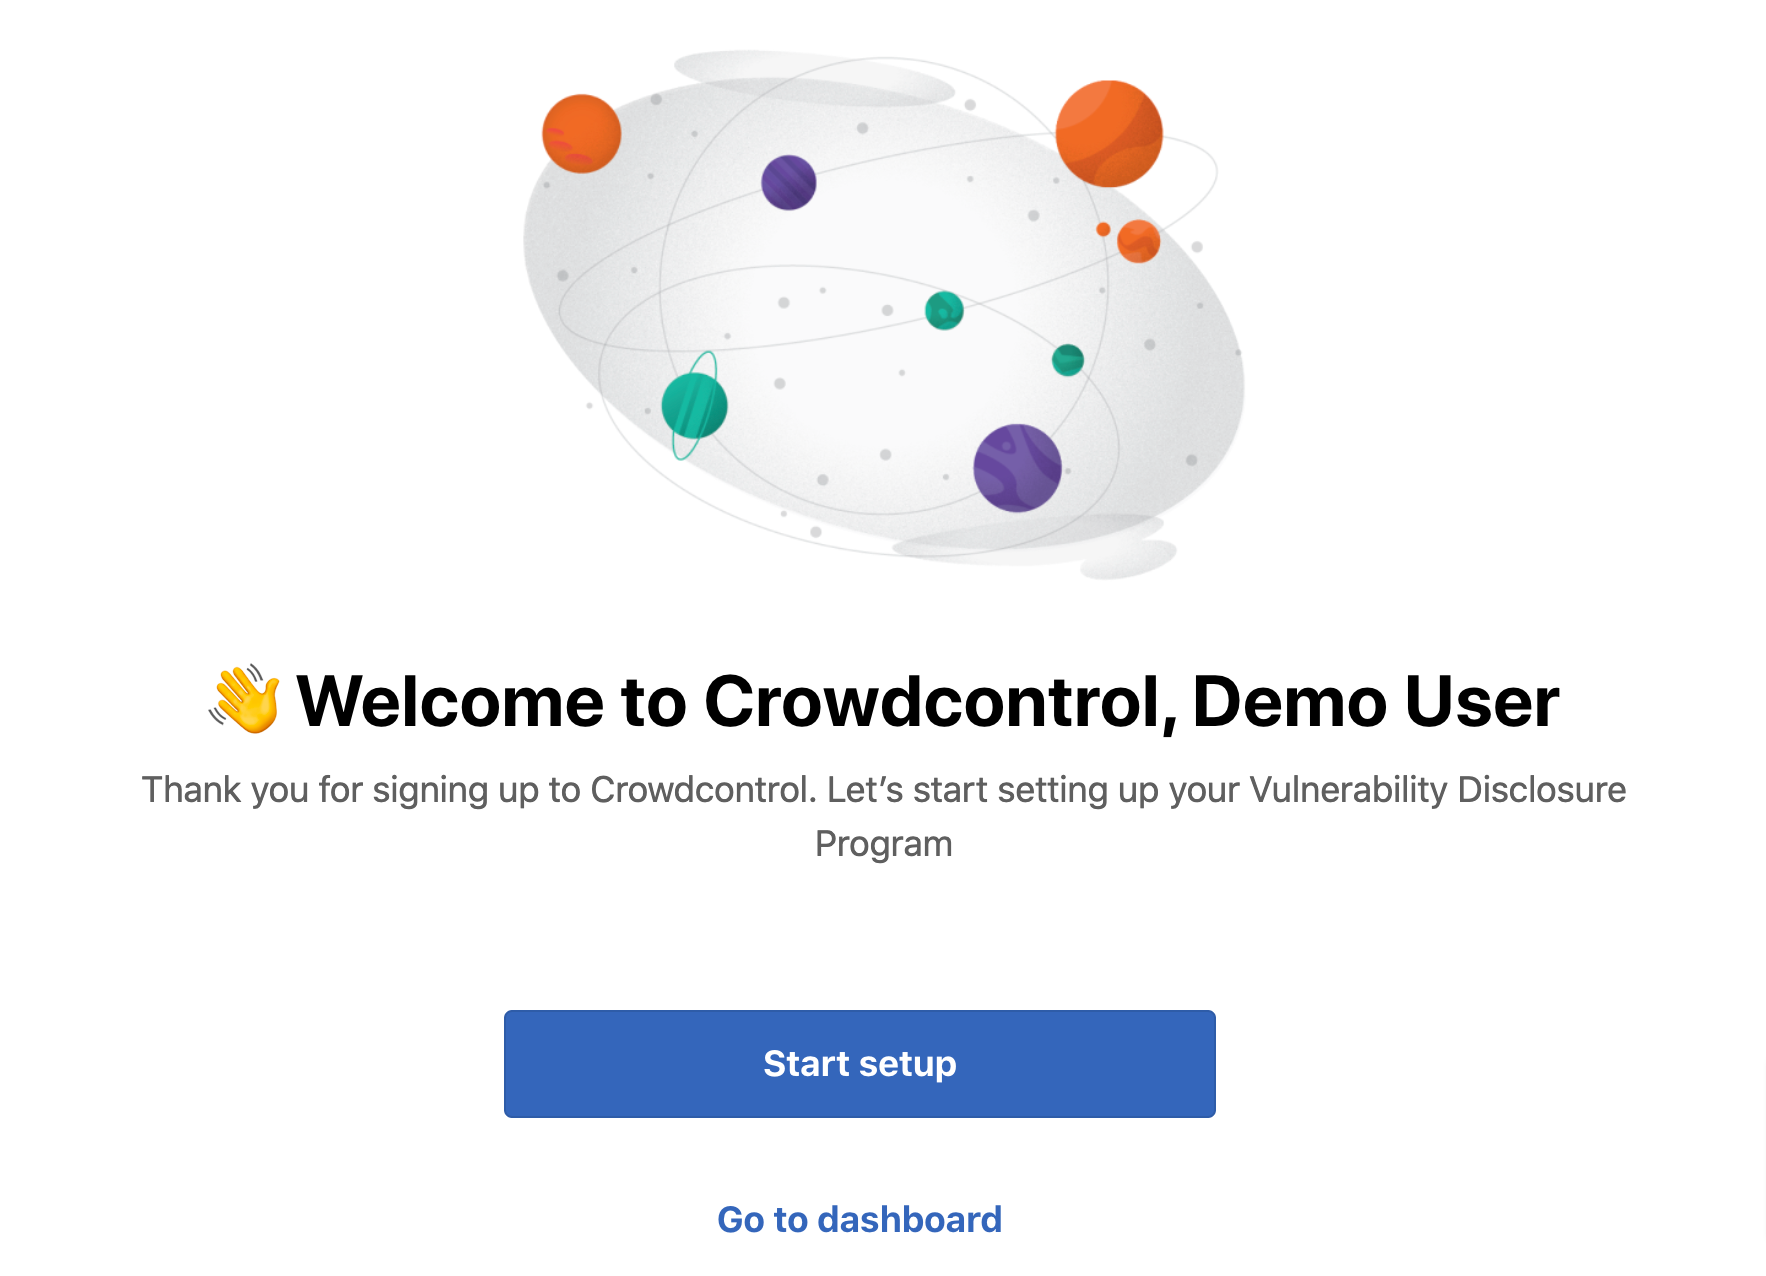
The Launch a Vulnerability Disclosure Program page is displayed.
-
Click Start setup again.
The Step 1: Program name page is displayed.
-
Provide a name for your program and click Next step.
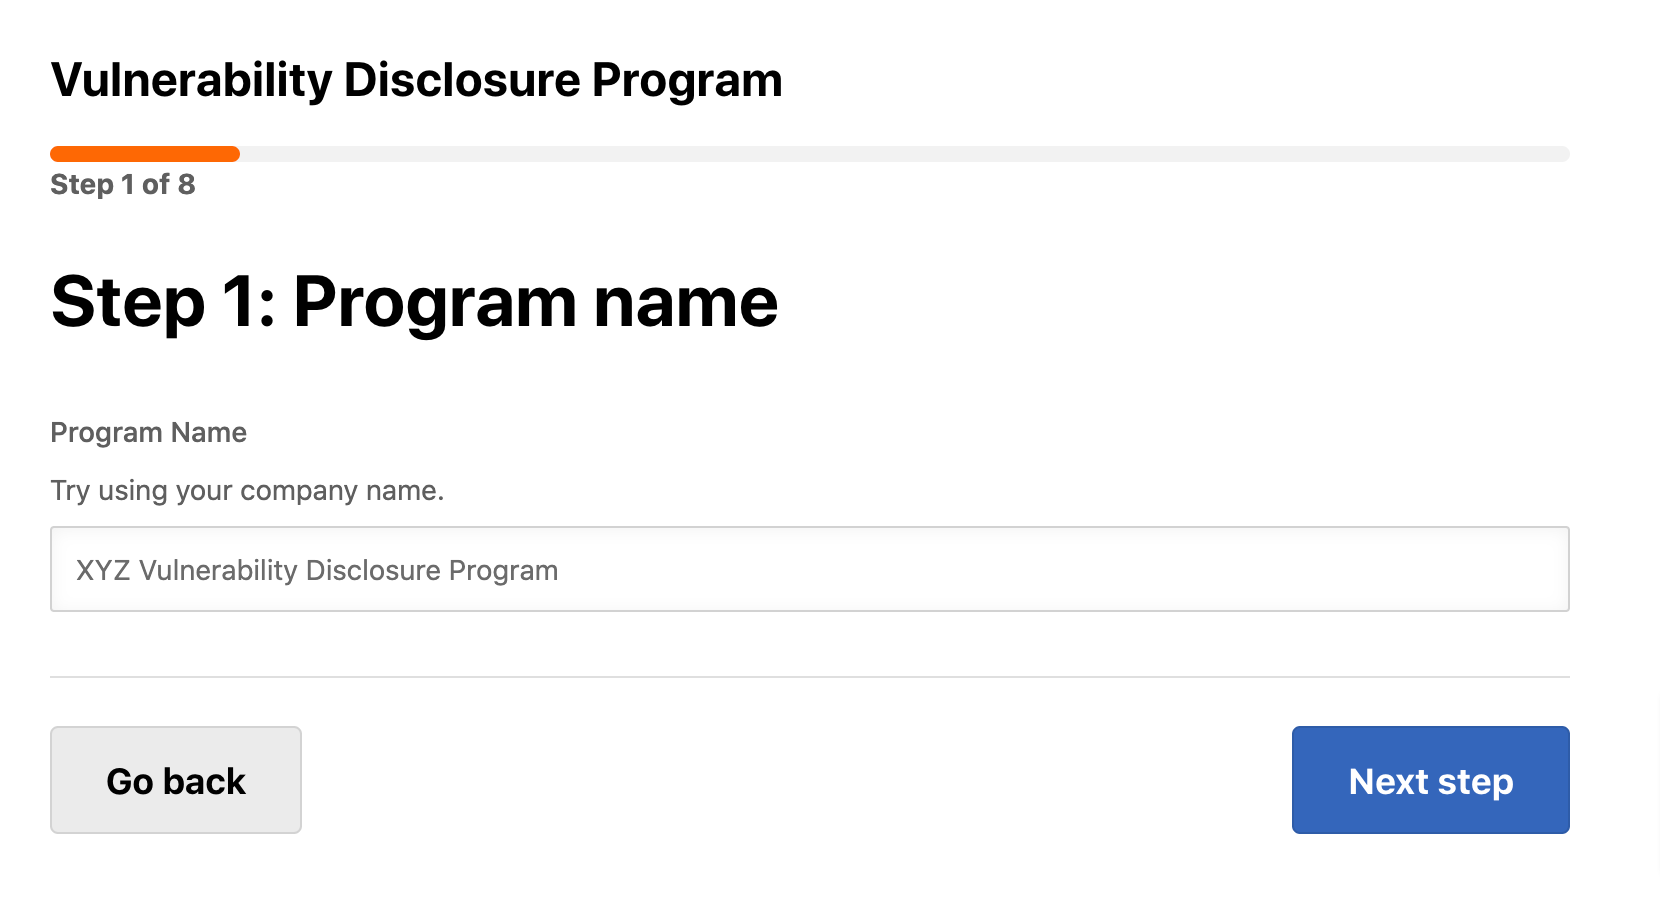
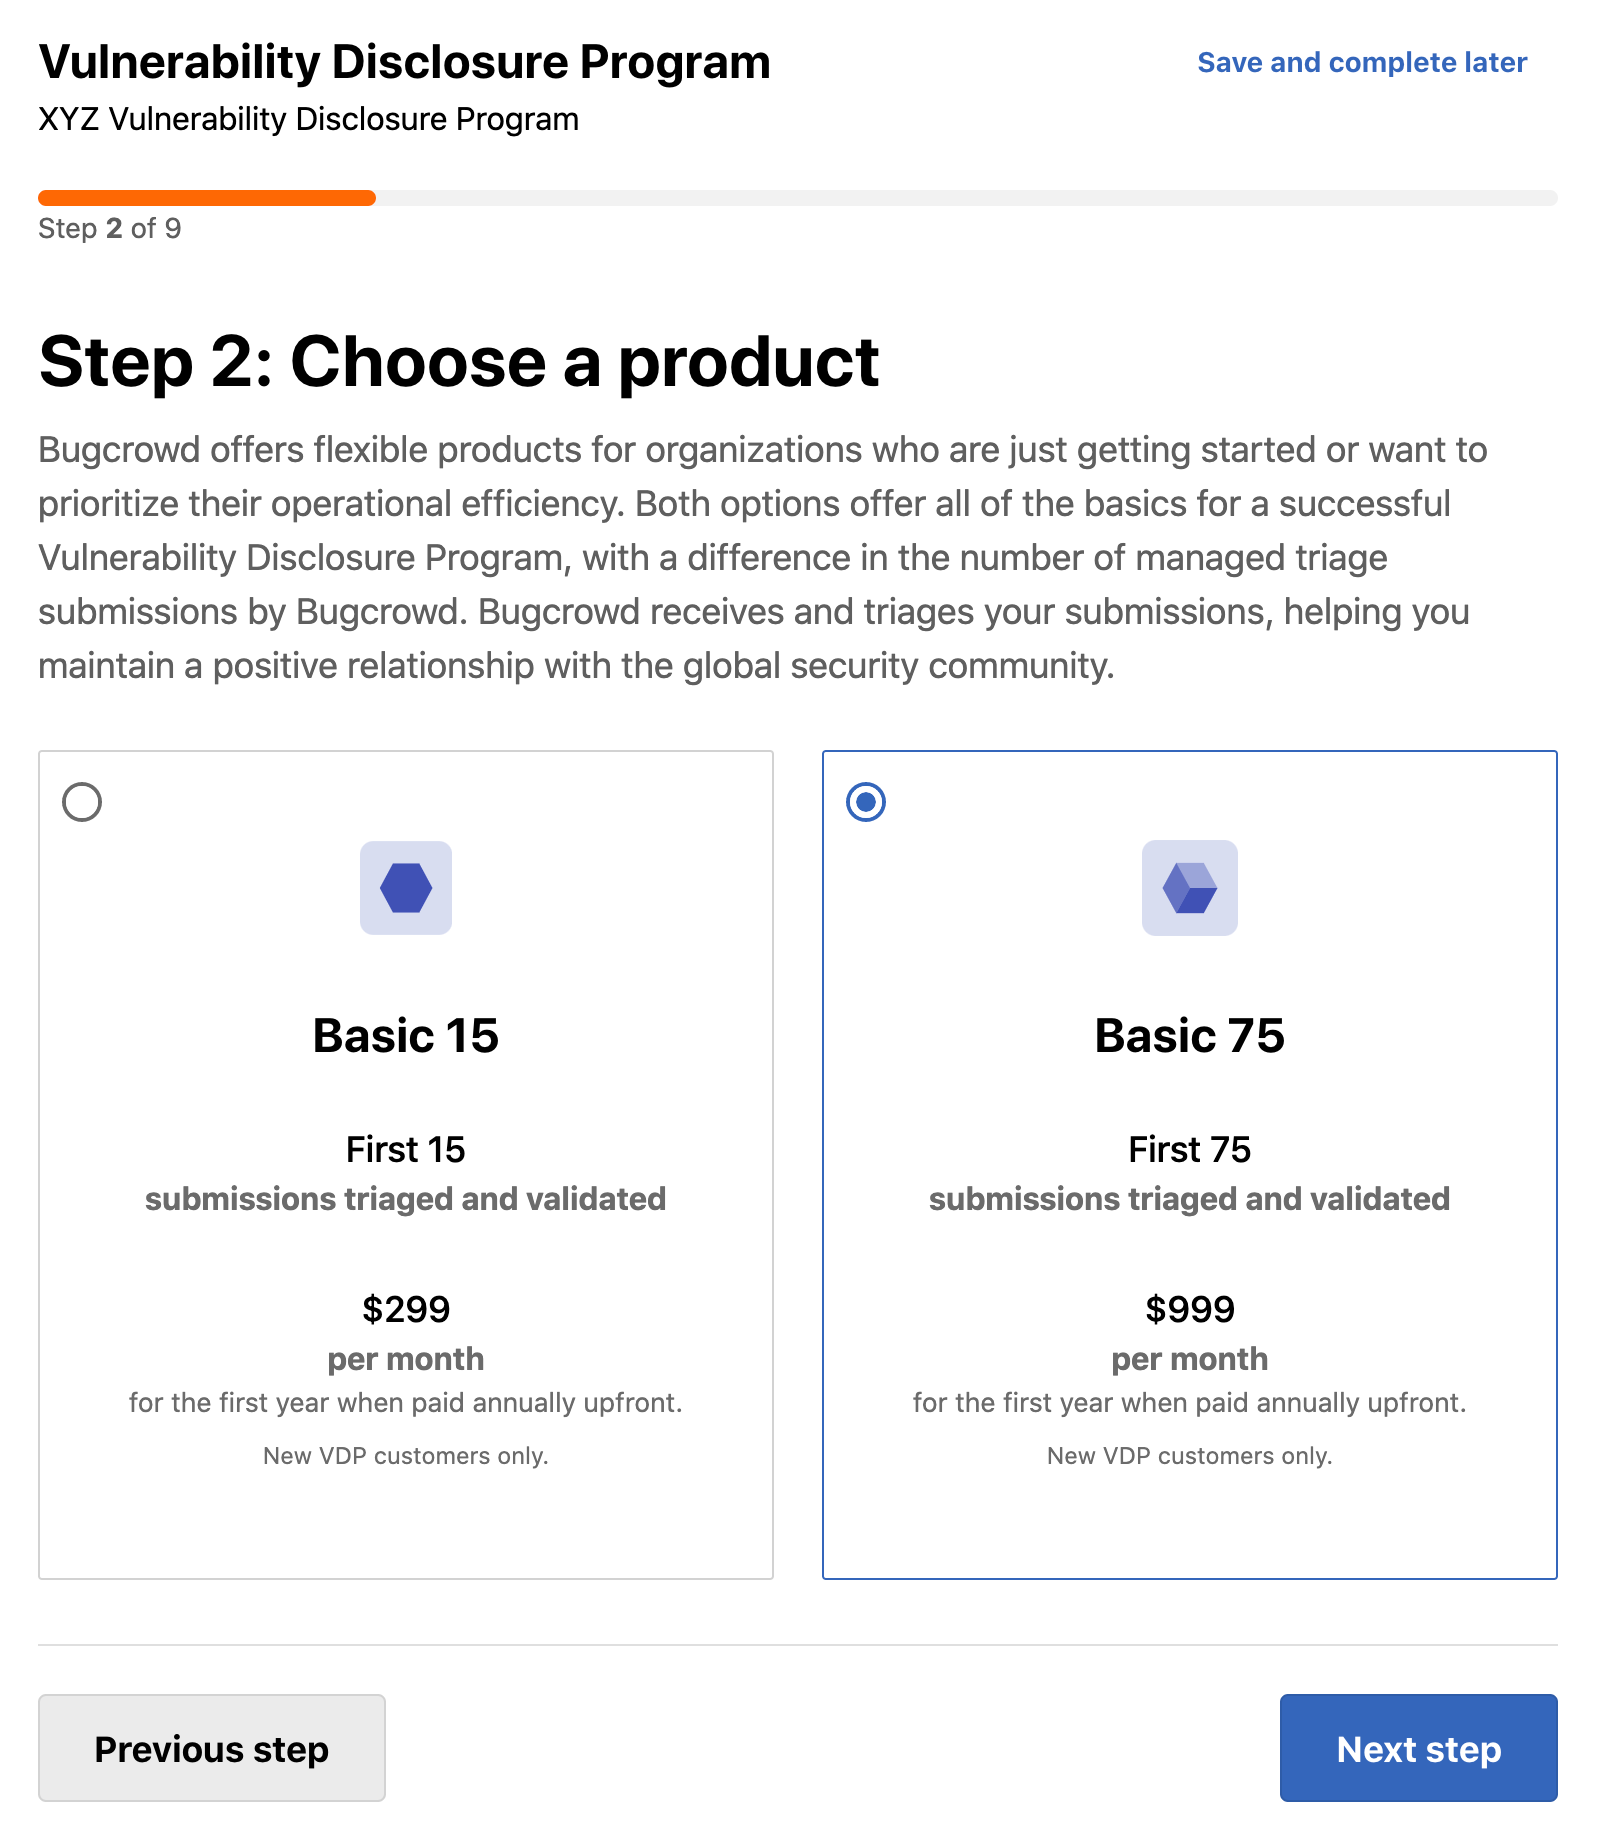
The Step 2: Choose a product page is displayed.
-
Select the required product you want to purchase. The options are Basic 15 and Basic 75. Both the options offers all the basics for a successful vulnerability program with a difference in the number of managed triage submissions by Bugcrowd.
-
Click Next step.
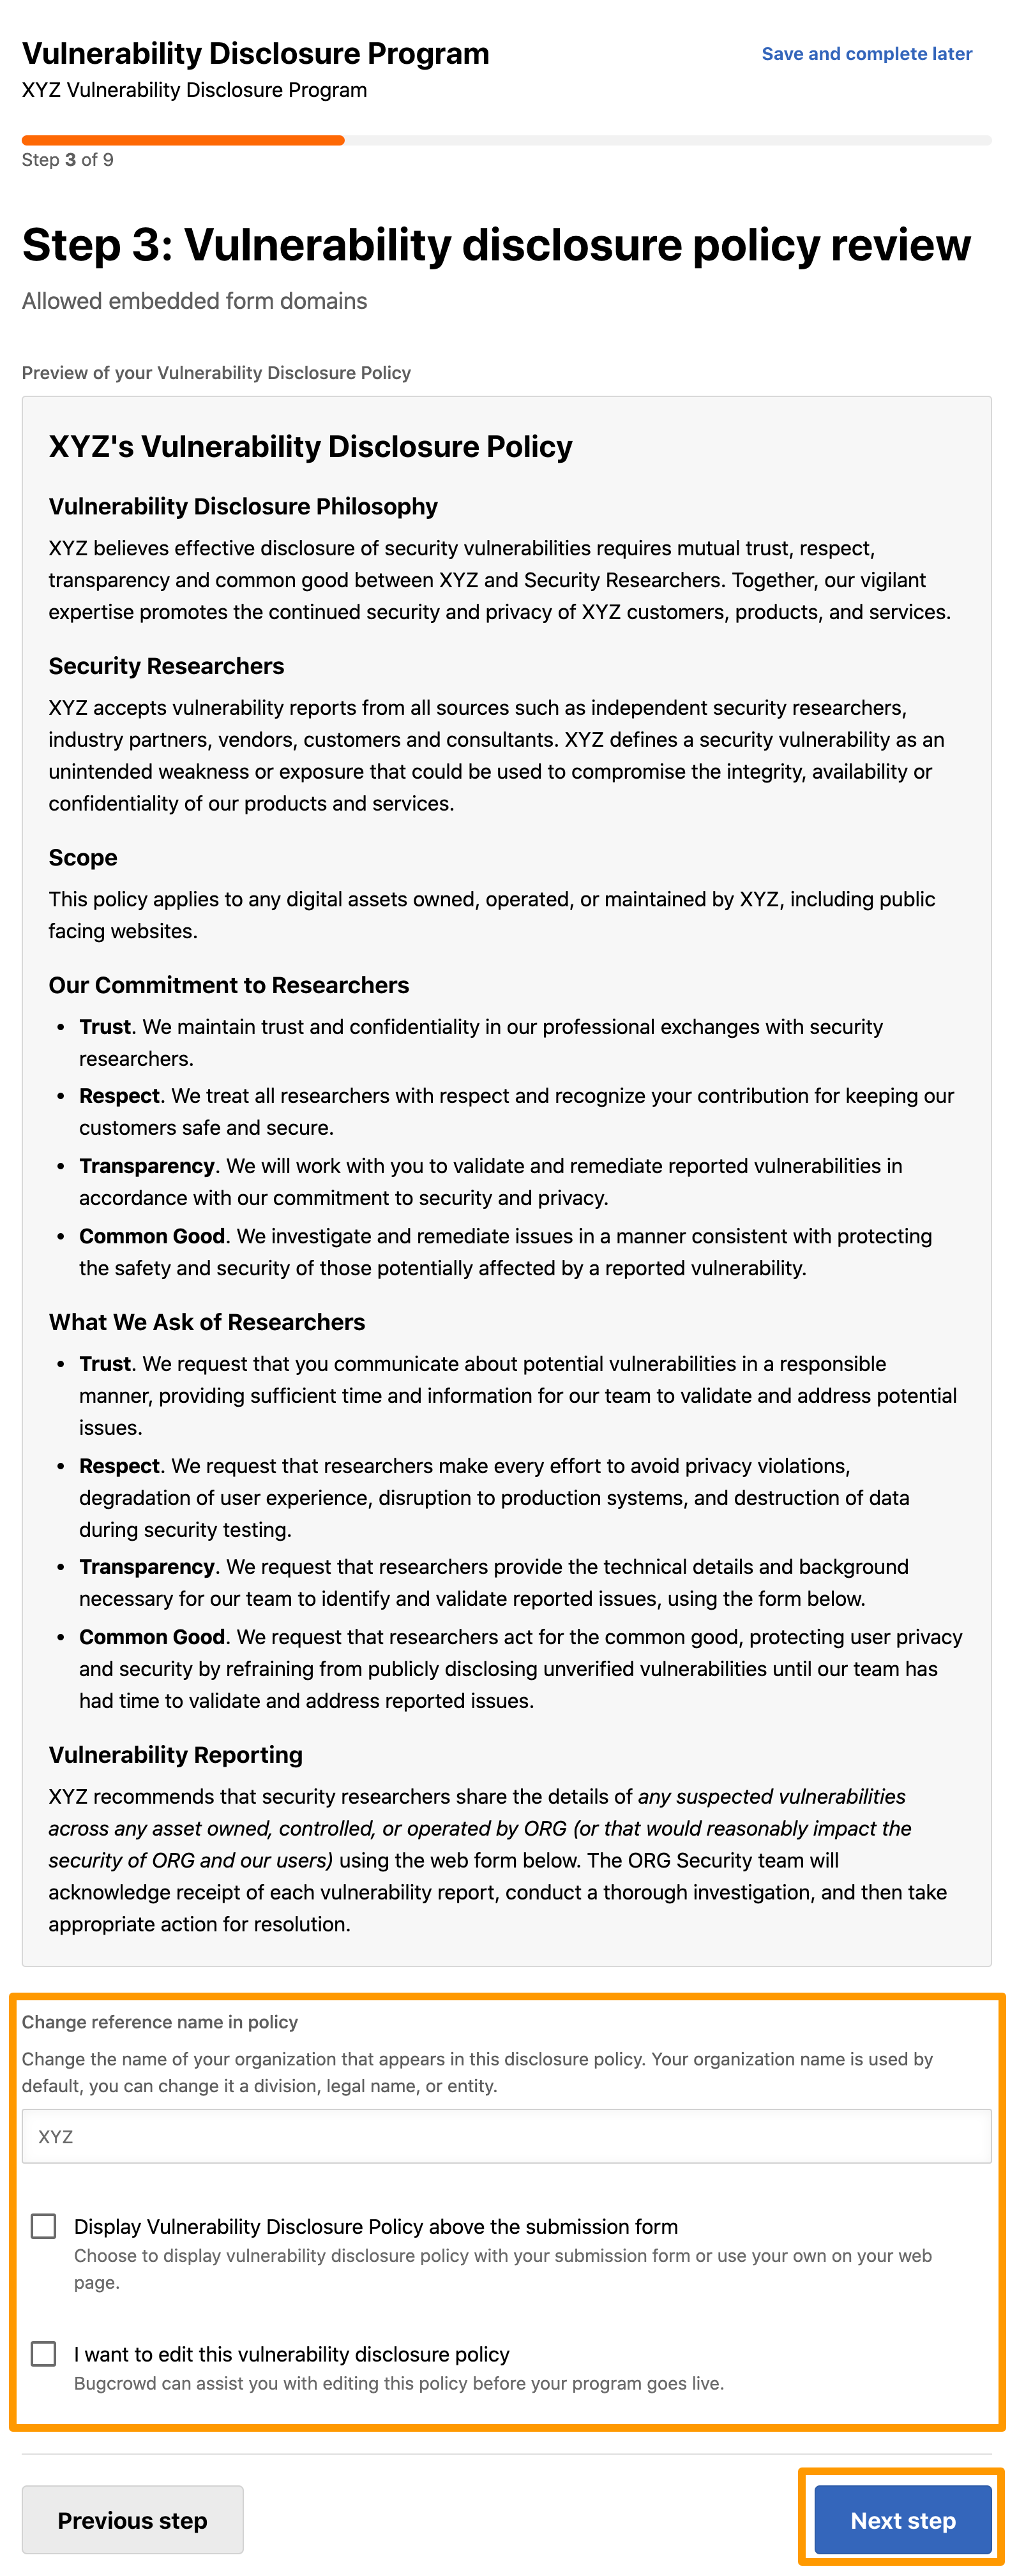
The Step 3: Vulnerability disclosure policy review page is displayed.
-
Read the disclosure policy. Perform the following:
- Change reference name in policy: Change the name of your organization in the policy. Your organization name is used by default. You can change it to a division, legal name or entity.
- Display this vulnerability disclosure policy above the submission form: Bugcrowd provides customers with a standard vulnerability disclosure policy outlining the researchers’ expectations and states the customers’ commitment. You can choose to display your disclosure policy or make changes to the default policy by contacting your Account Manager.
- I want to edit this vulnerability disclosure policy: Bugcrowd can assist you with editing this policy before the program is live.
-
Click Next step.
The Step 4: Allowed embedded form domains page is displayed.
-
Click Add a domain to add the list of domains, where the form must be embedded.
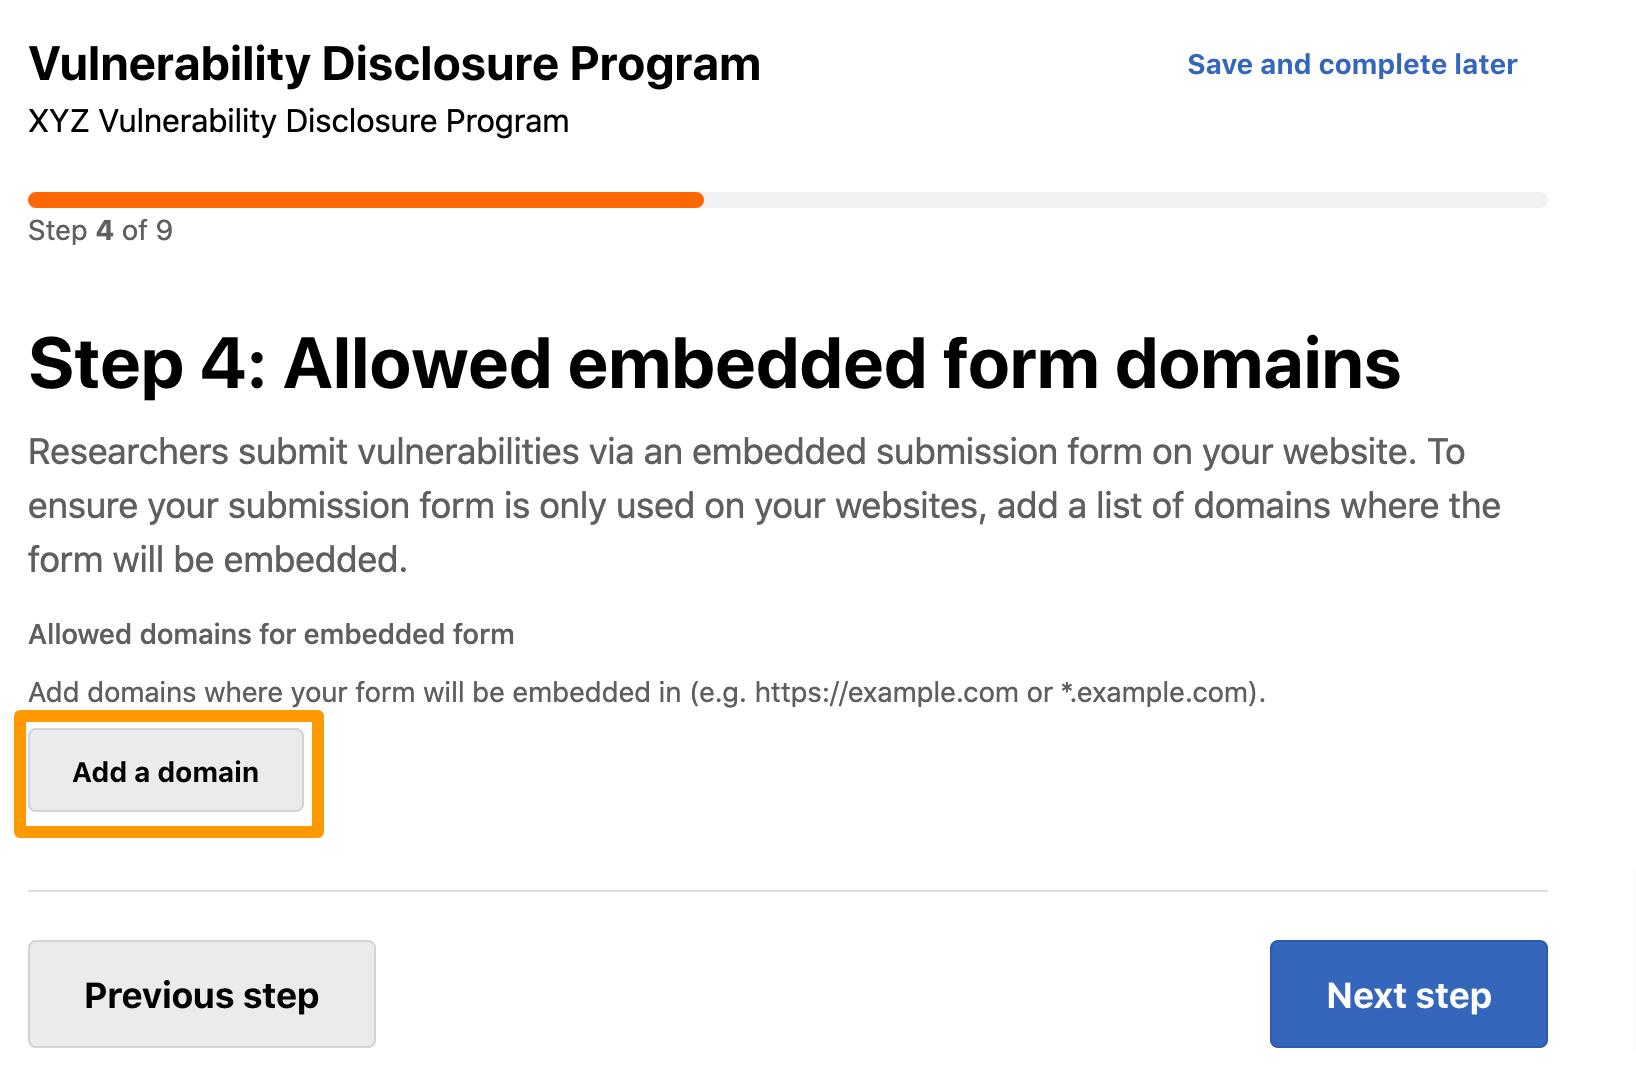
For example,
https://example.comor*.example.com.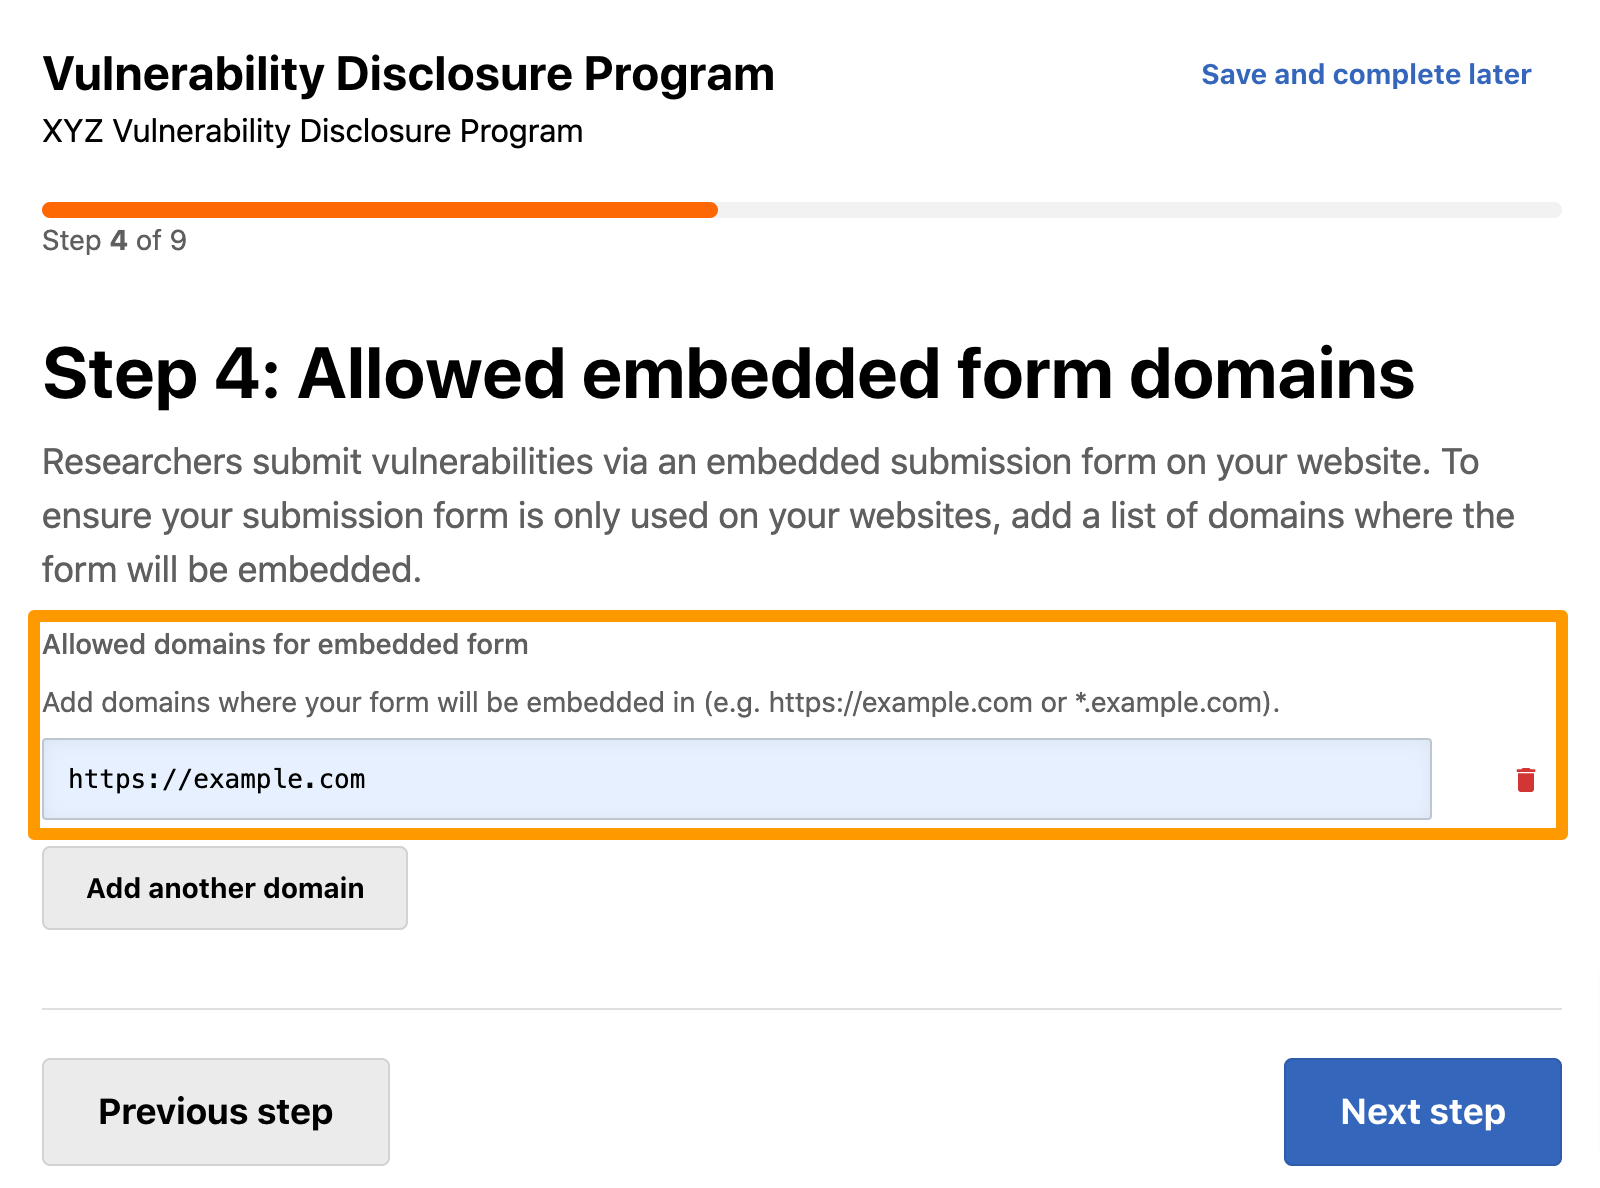
You can add multiple domains using Add another domain.
To delete a domain, click the Delete icon.
-
Click Next step.
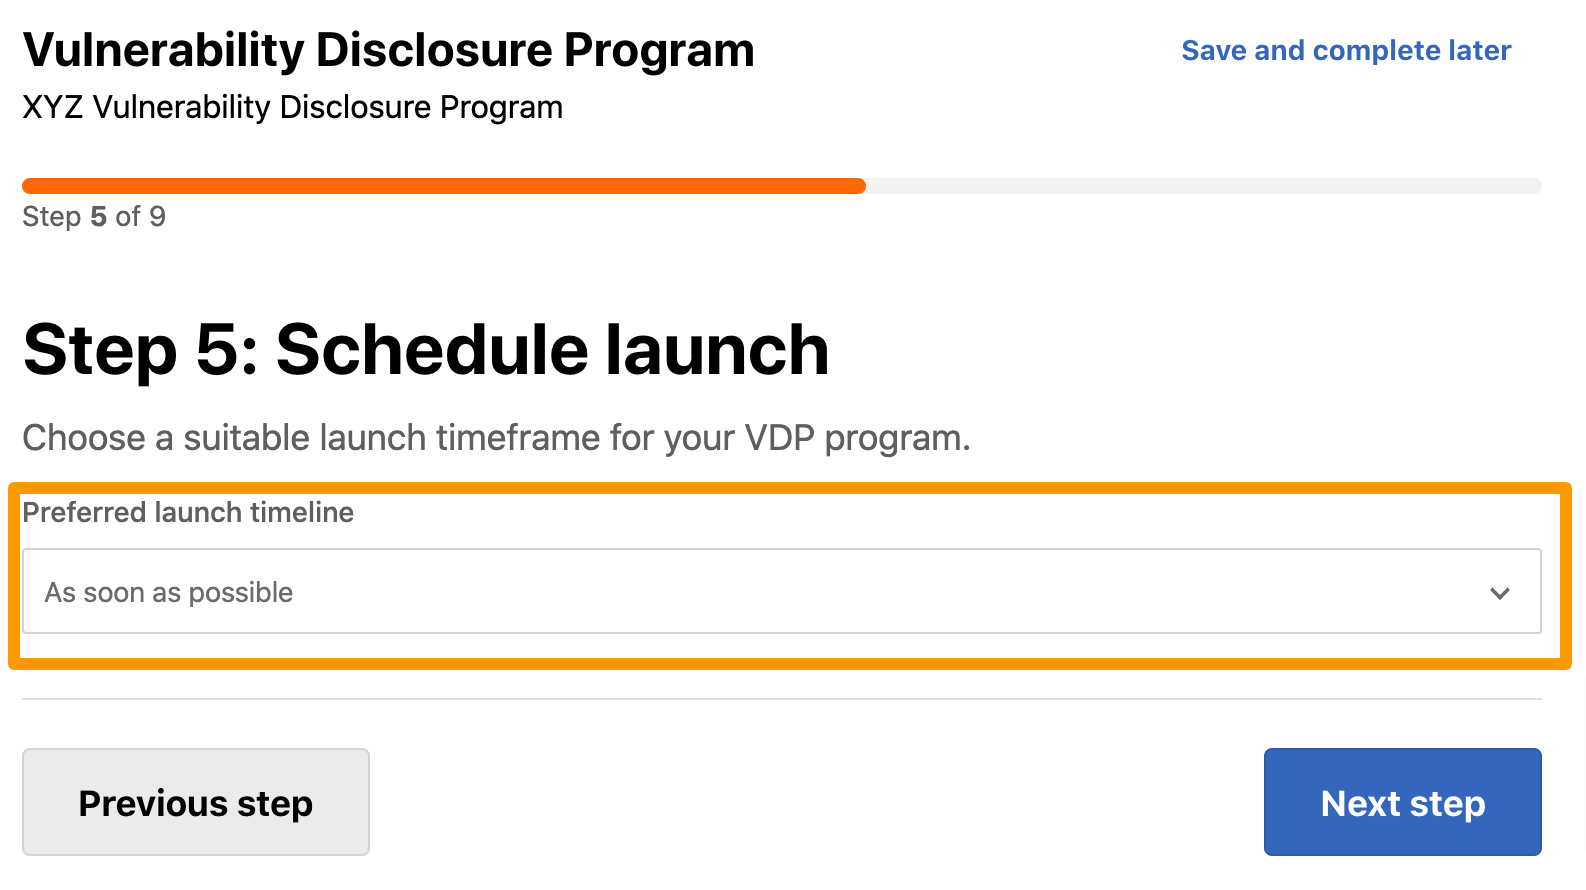
The Step 5: Schedule launch page is displayed.
-
Select the preferred launch timeline. The options are:
- As soon as possible
- Within a month
- More than a month
-
Click Next step.
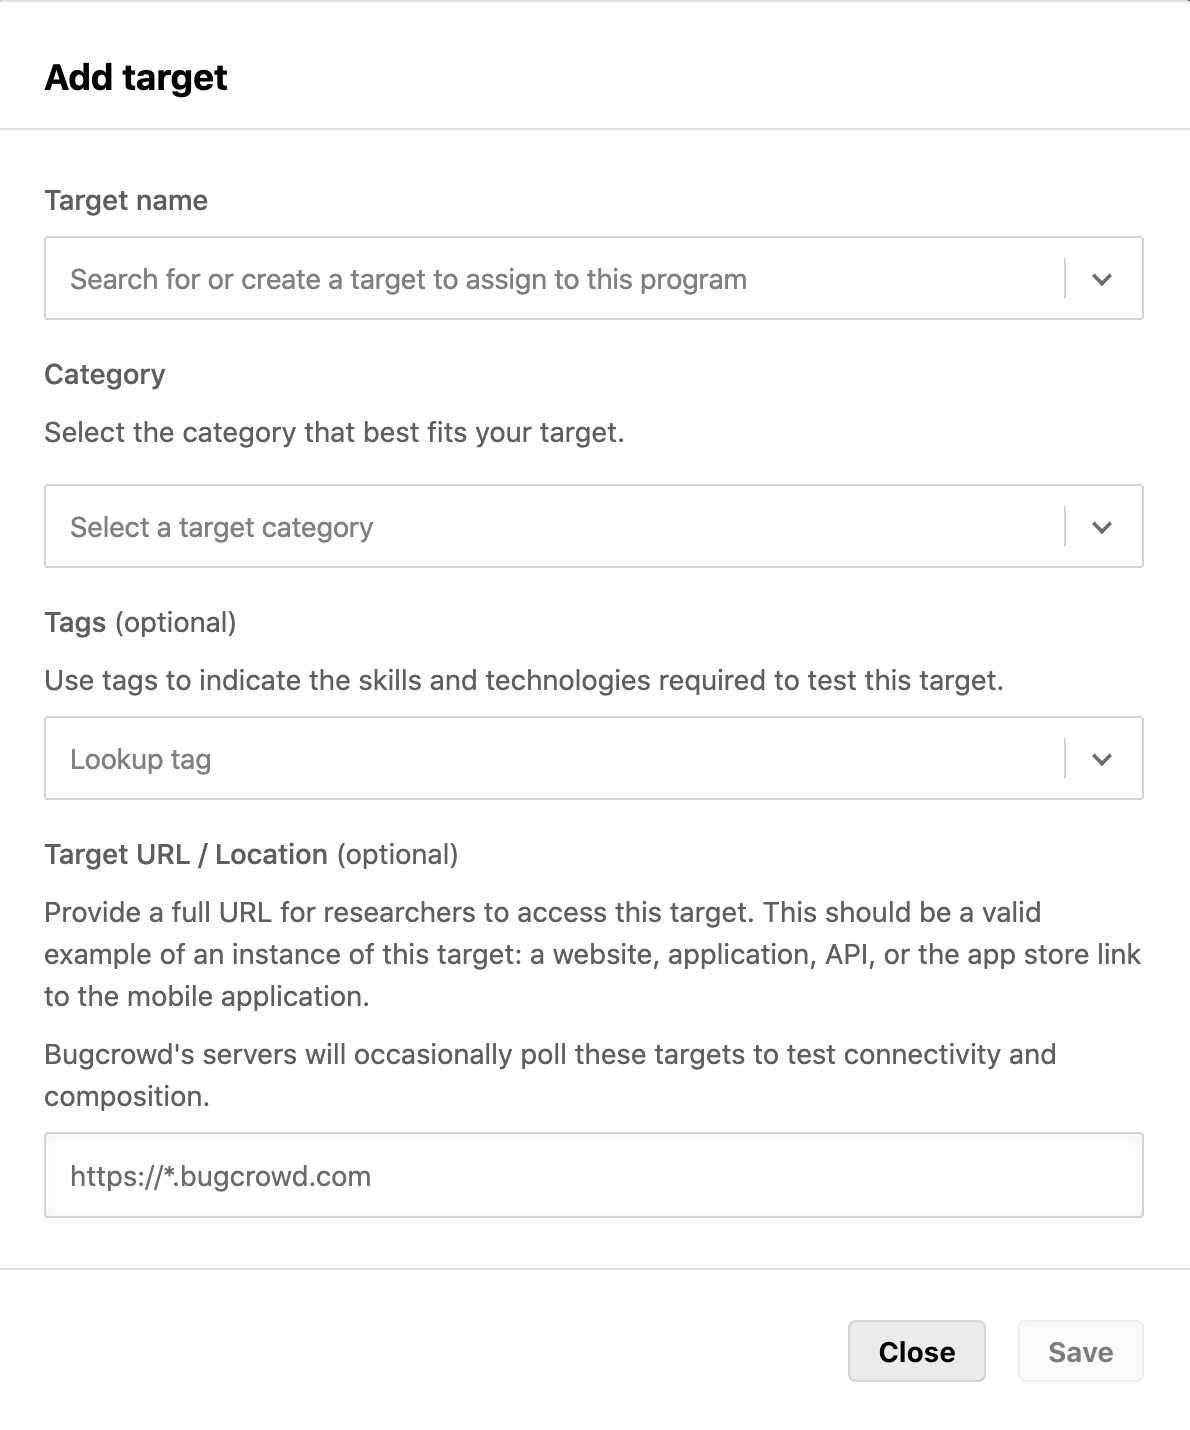
The Step 6: List Targets page is displayed.
-
Click Add target
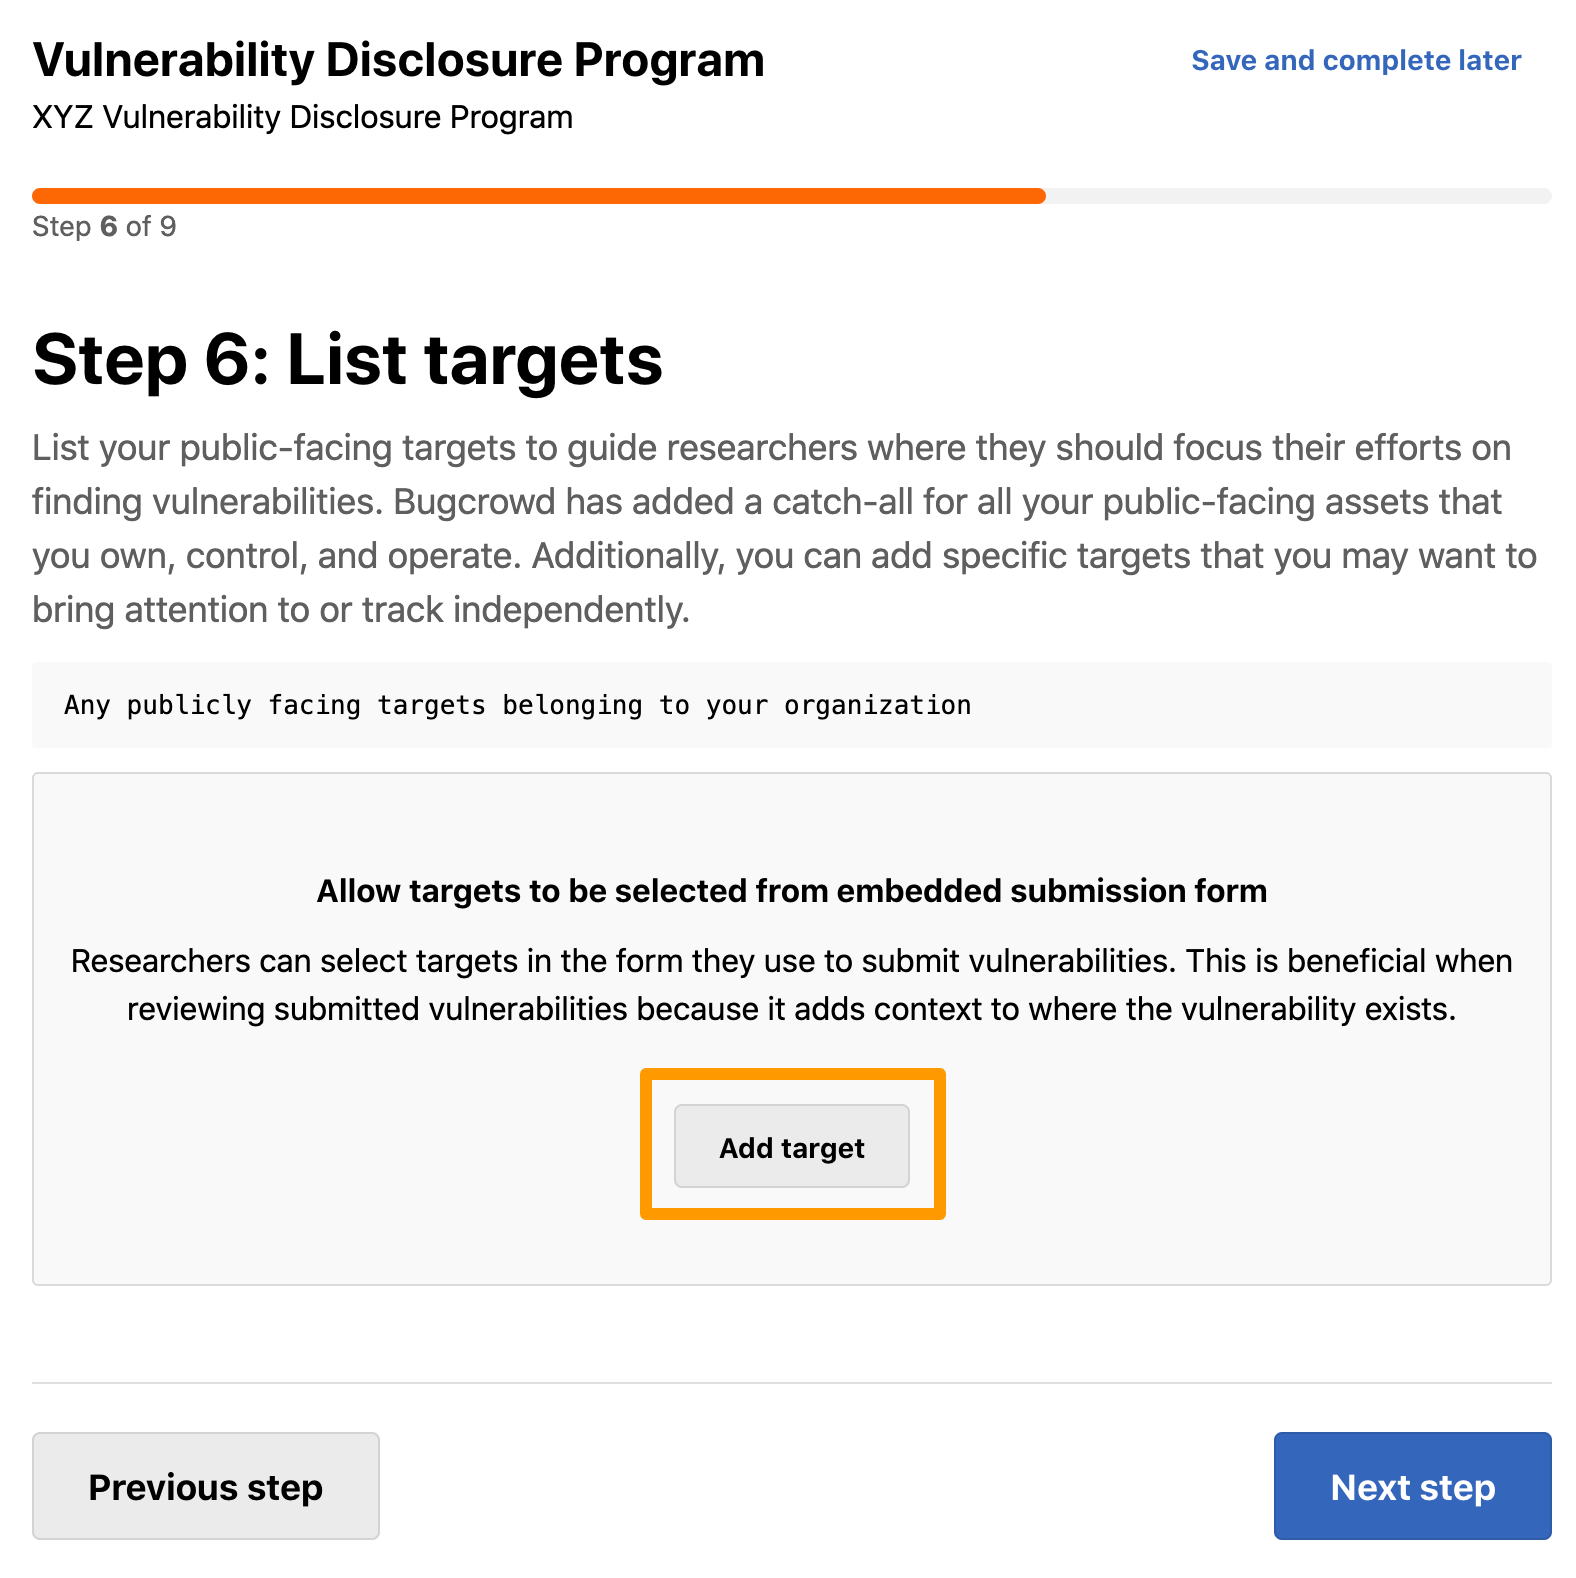
-
Specify the following information:
- Target Name (URL/Location): Select a target from the drop-down menu or specify a new target.
-
Category: If you select an existing target name, then the category is displayed by default. If you have specified a new target name, then select the required category:
- Website
- API
- iOS
- Android
- IoT
- Hardware
- Other
-
Click Save.
The target is added and the Target added to the program scope message is displayed.
If you want to edit the target details, click the icon in the Actions column.
-
Click Next step.
The Step 7: Payment Details page is displayed.
If you have any questions about paying and launching the program, then click Save and schedule a call for scheduling a call with Bugcrowd representative.
In Nickname, specify the payment method name.
Provide the following card details:
- Name: Provide the name displayed on the card.
- Card number: Specify the card number.
- Card expiry: Specify the expiry date mentioned on the card.
- CVC: Provide the 3 to 4 digit security code number displayed on the card.
Provide the following billing details:
- First name: Provide the first name.
- Last name: Provide the last name.
- Billing contact email: Specify the person’s email ID associated with the billing address.
- Company name: Provide the company name.
- Address: Specify the address
- Suburb/city: Specify the city.
- State/province: Provide the state name.
- Zip/post code: Provide the postal code.
-
Click Next step.
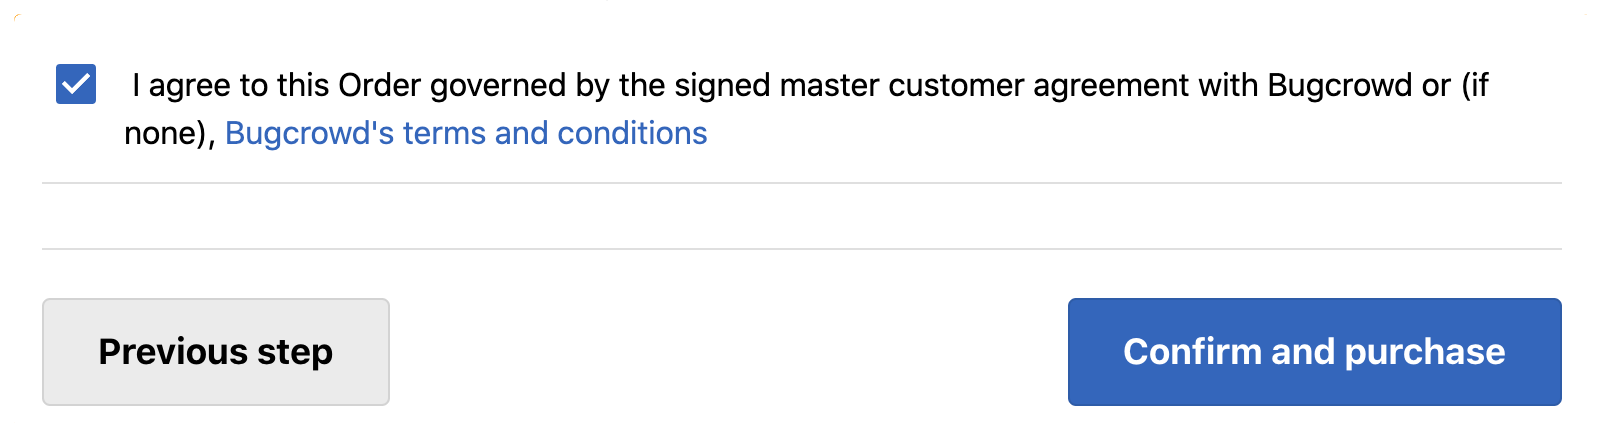
The Step 8: Review and submit page is displayed. Review the information that you have provided. In case you want to modify any details, click Edit and make the changes.

-
Agree to the terms and conditions at the end of the page and then click Confirm and purchase.
The Thank you, your program has been submitted for review message is displayed.
Bugcrowd will contact you to review and launch the program.
The Embed the form section displays the submission form code. Copy and paste this code to add the submission form to your website.