- Submission Search Filters
- Creating a Saved Search
- Viewing the Saved Searches
- Pin/Unpin a Saved Search
- Mapping Integrations to Saved Search
- Deleting a Saved Search
Submission Search Filters
In the Submissions inbox, you can apply filters to find specific submissions and save those filters under a name. You can create multiple saved searches with different filter combinations and reuse them, saving you time and effort.
You can map a saved search to one or more integrations to automatically route submissions matching that saved search’s filters to those integrations
Creating a Saved Search
To create a Saved search, follow these steps:
-
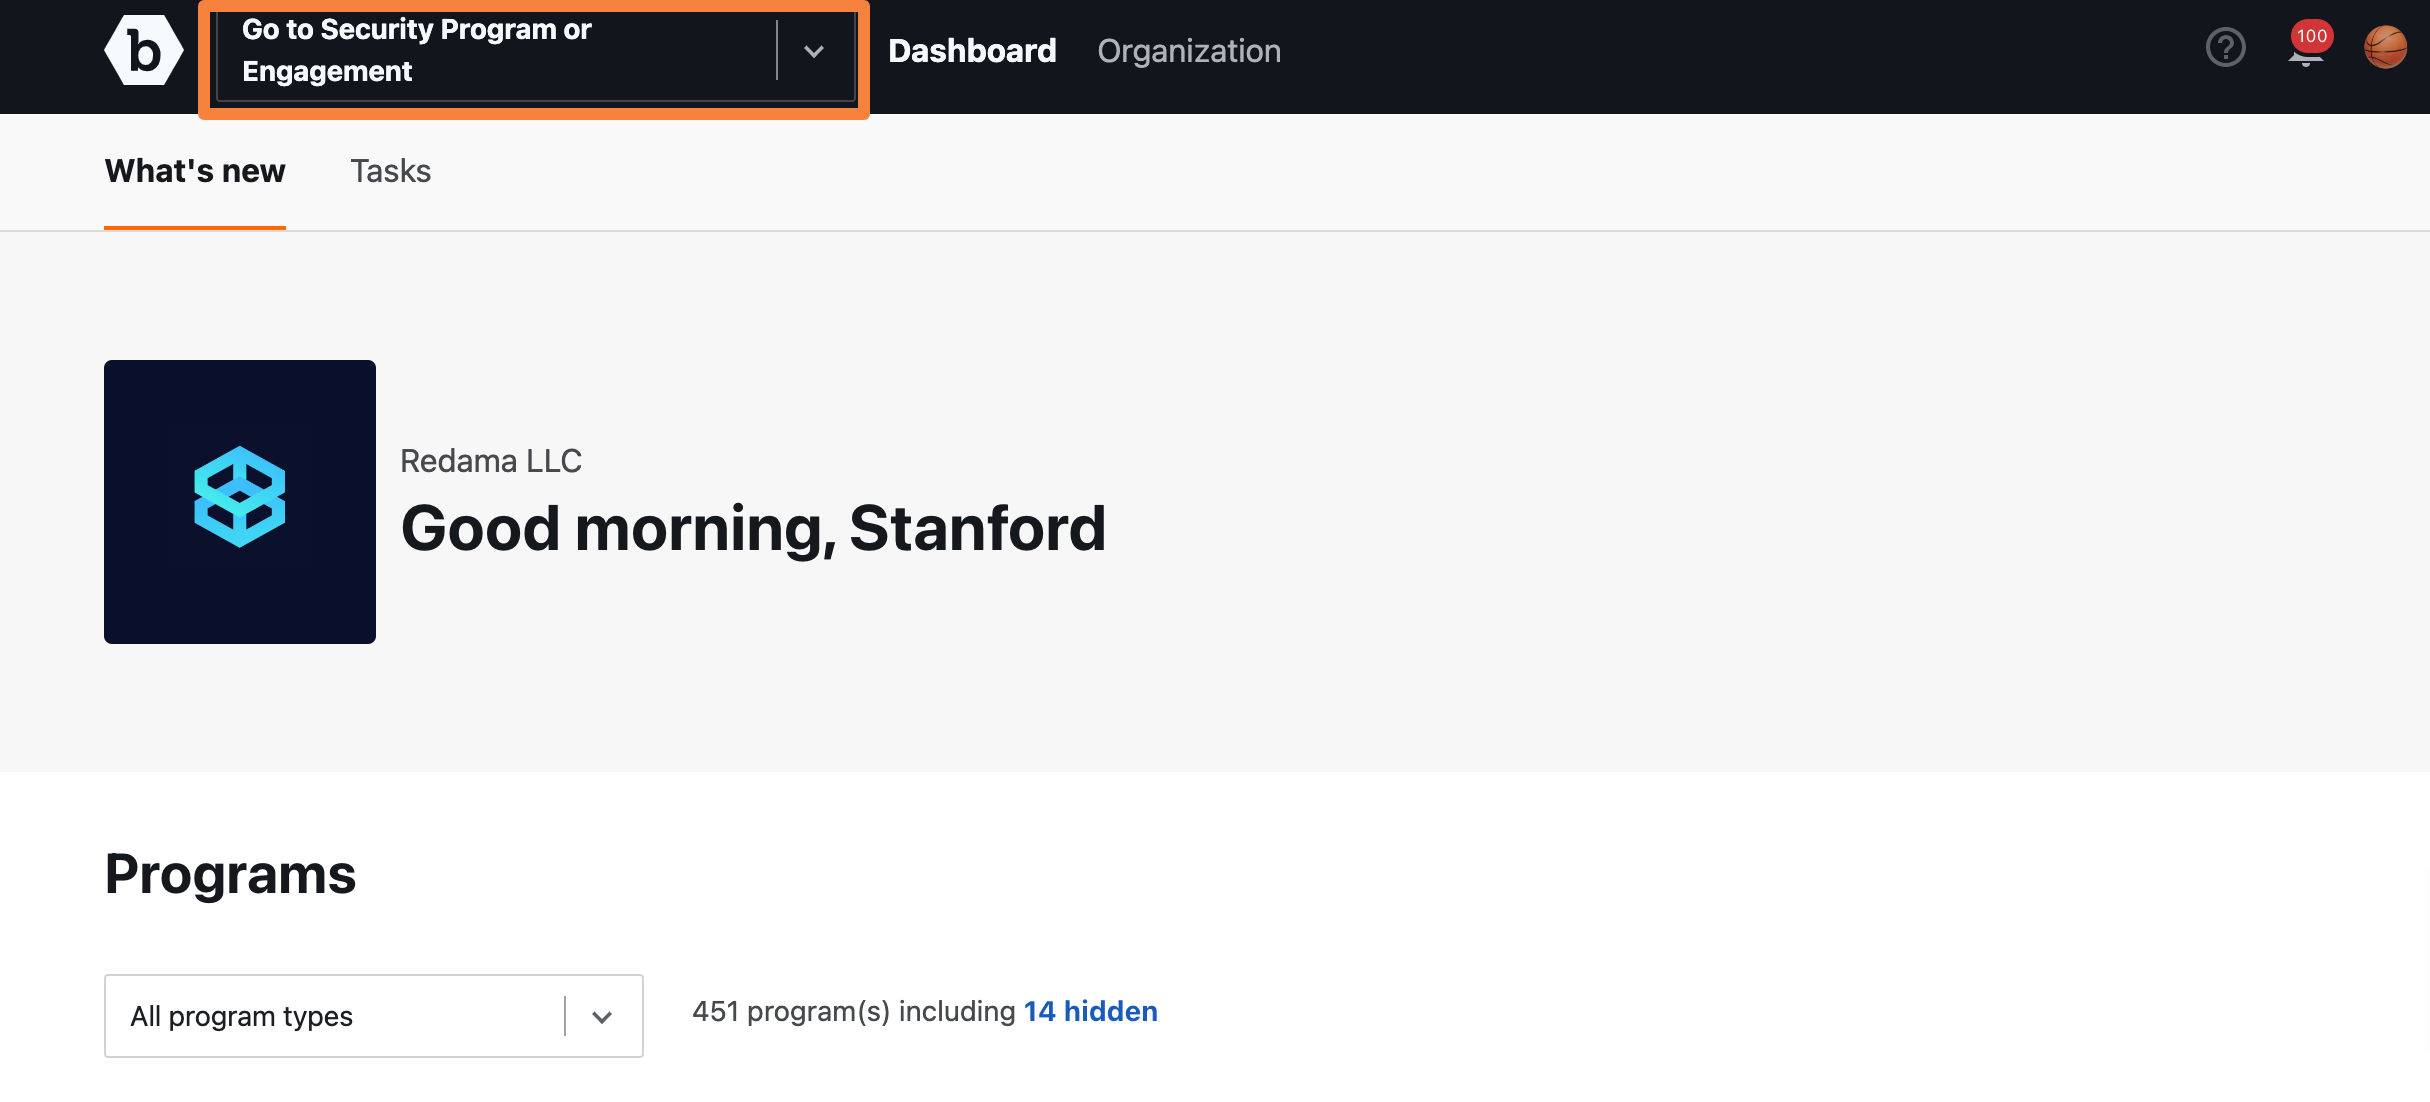
Select a security program from the Go to Security Program or Engagement drop-down.
-
Go to the Inbox tab.

-
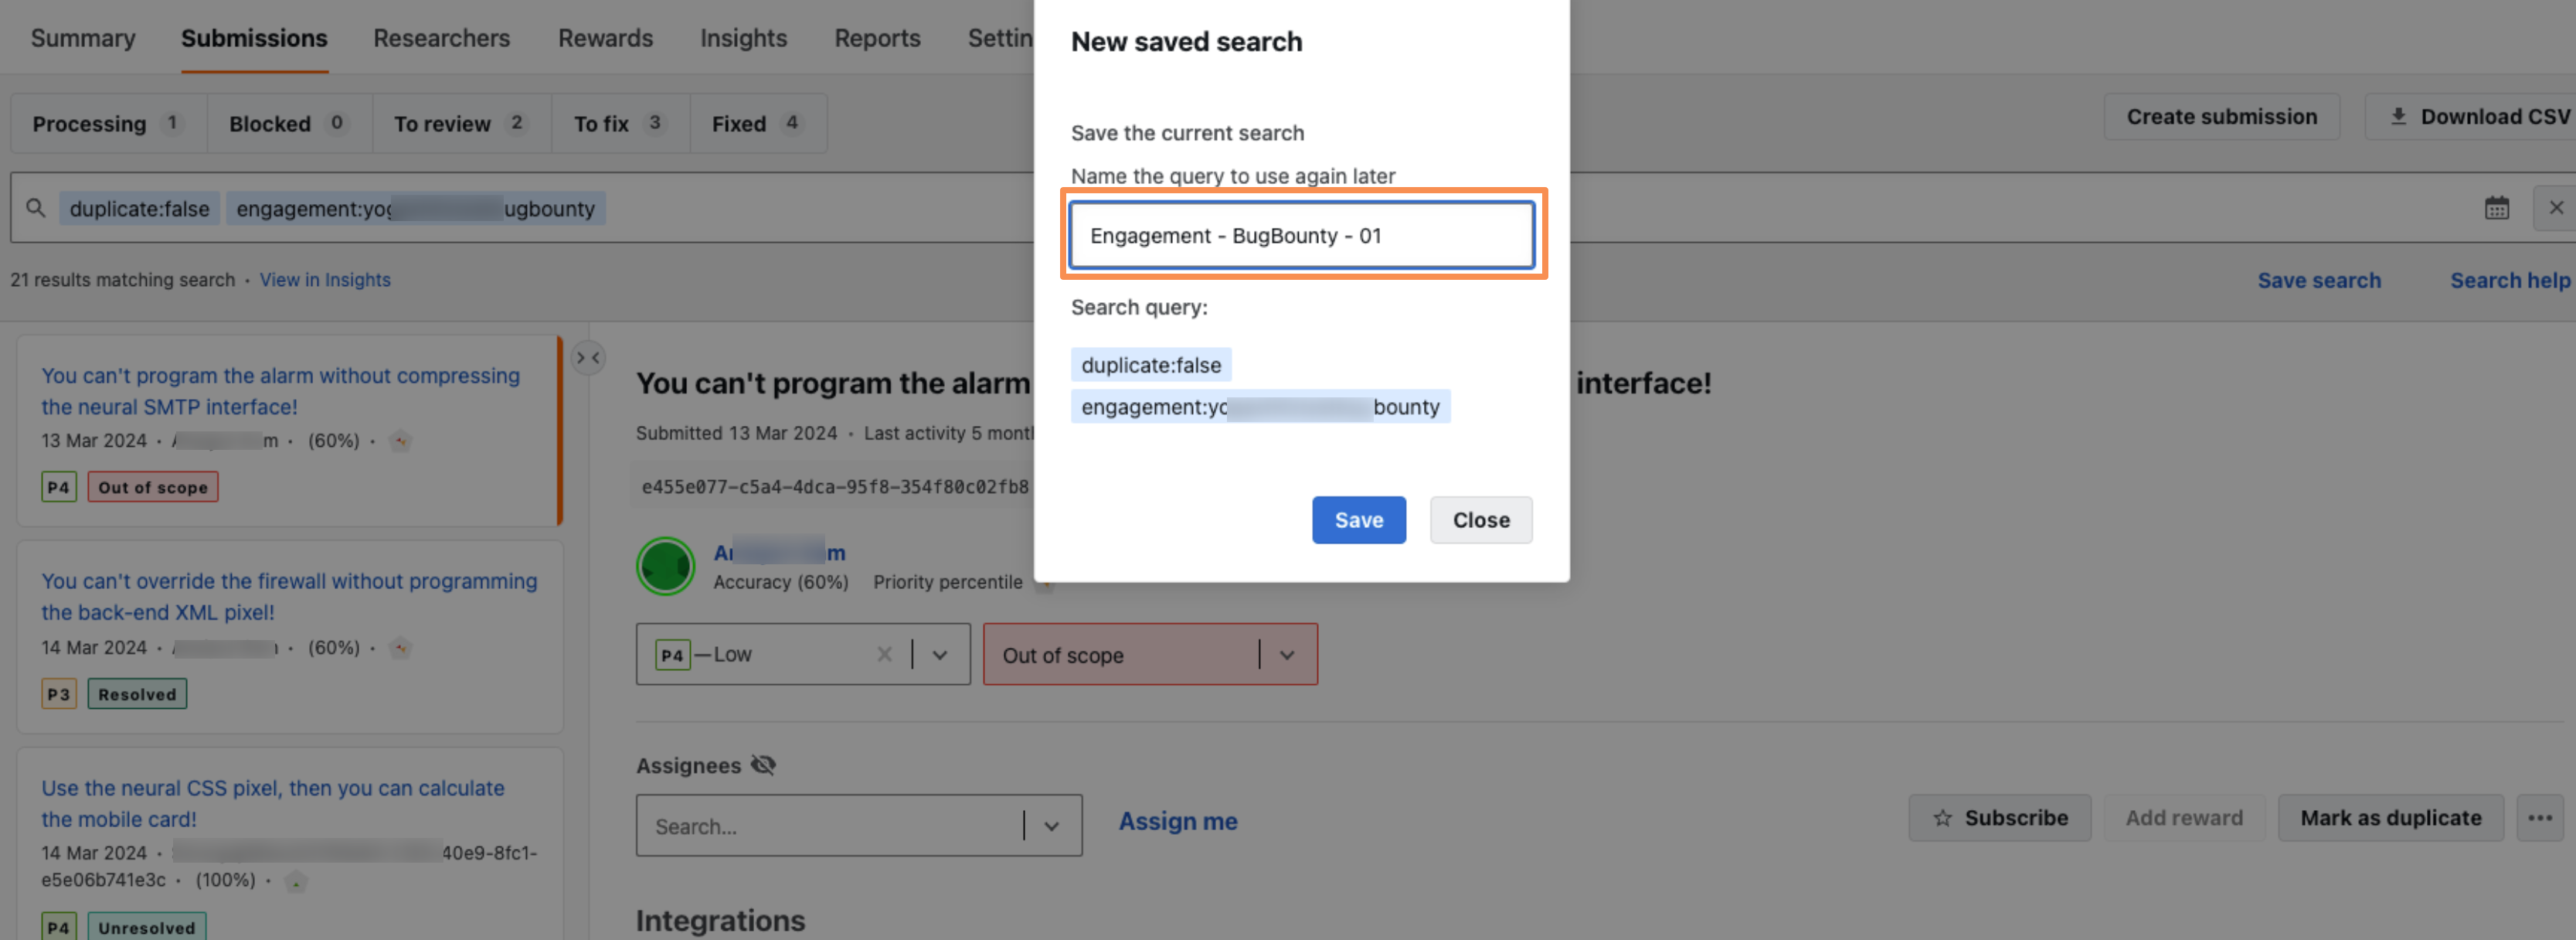
Click on the filter to select search criteria and then click Save as ….

A pop-up to Save view as will appear.
-
Name the search and click Save.
A Saved search created successfully message will appear.

Clicking on All views will show all the Saved searches.


Viewing the Saved Searches
To view the Saved searches, follow these steps:
-
Select a security program from the Go to Security Program or Engagement drop-down.
-
Go to Inbox tab. Click on All views.
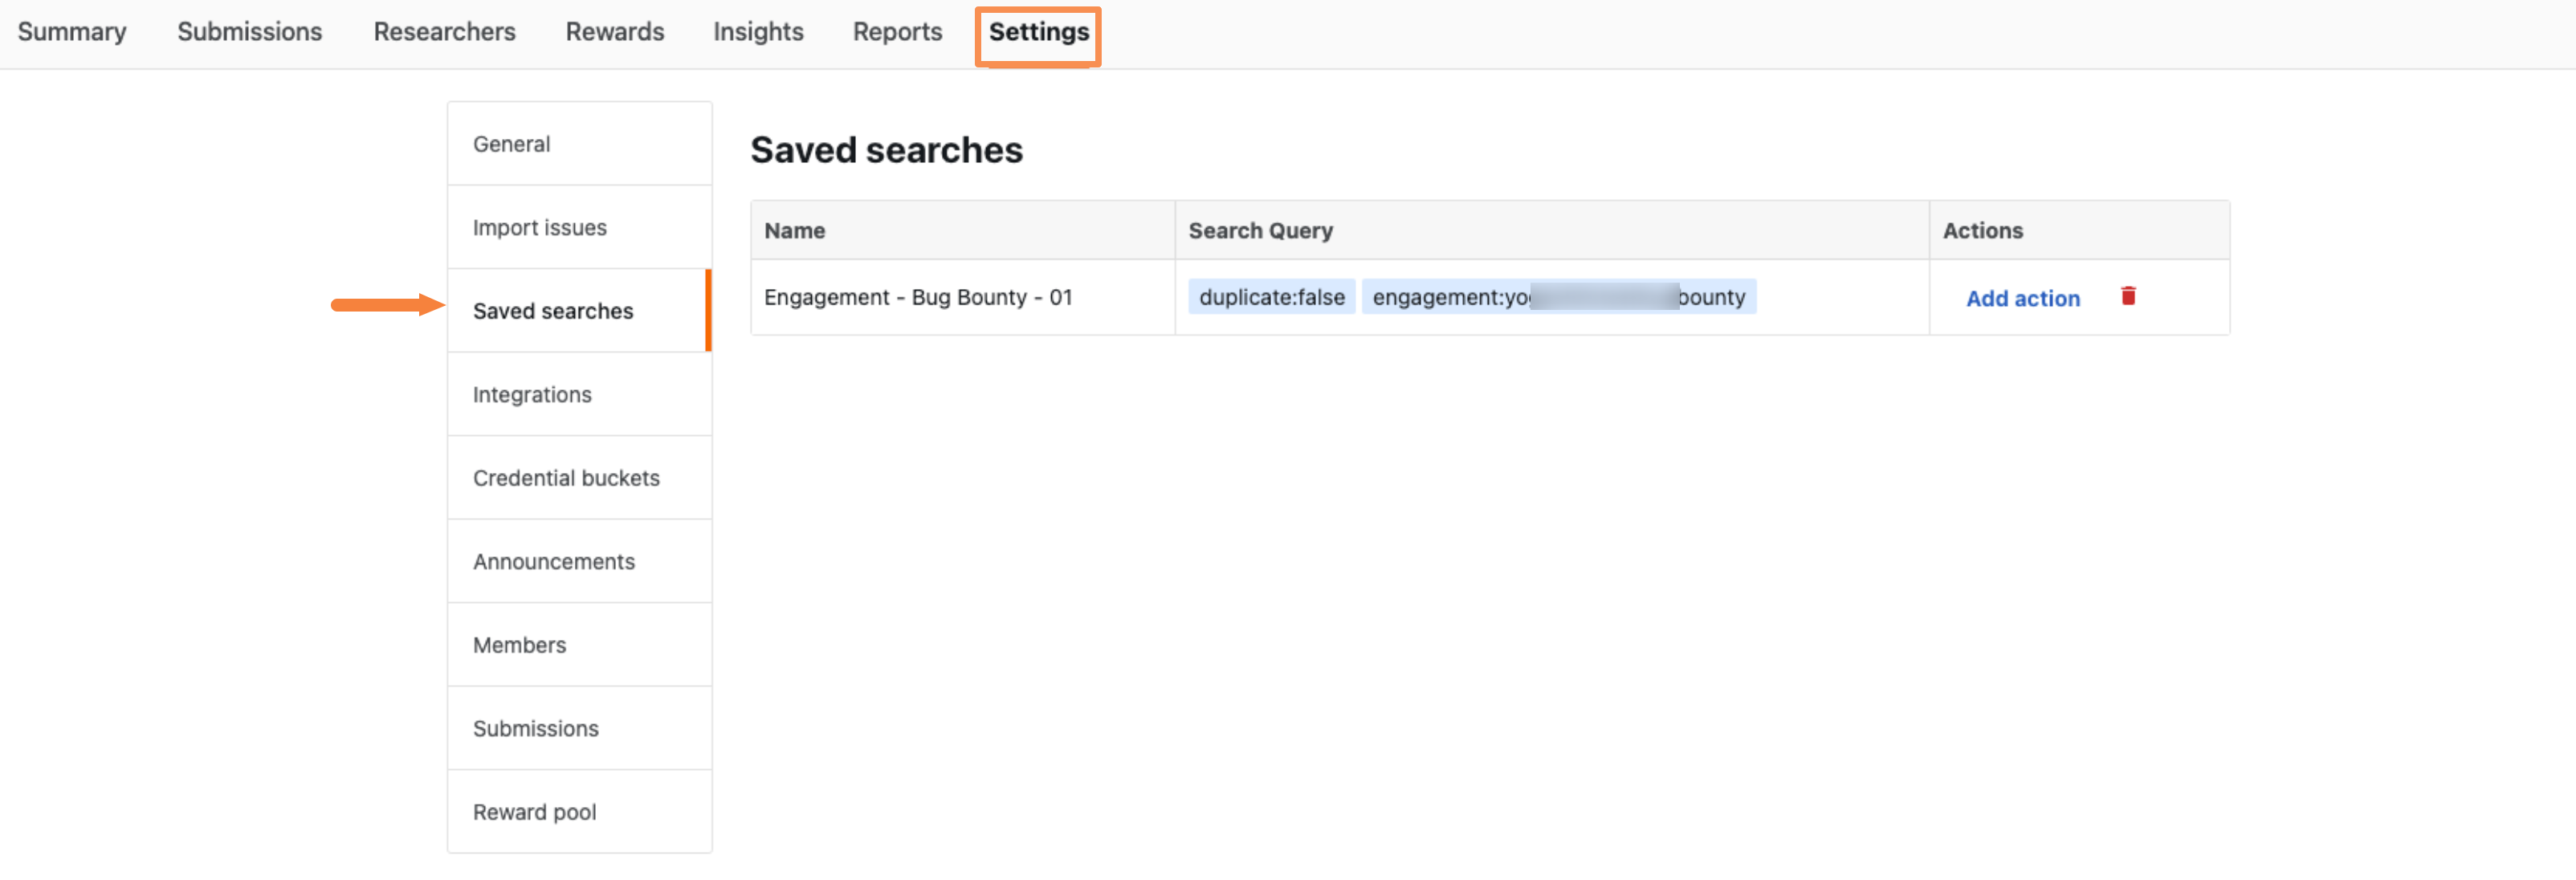
A list of all saved searches you have created will appear. Under the All other views, you can see the name of the saved search and the total number of submissions that match each search.
-
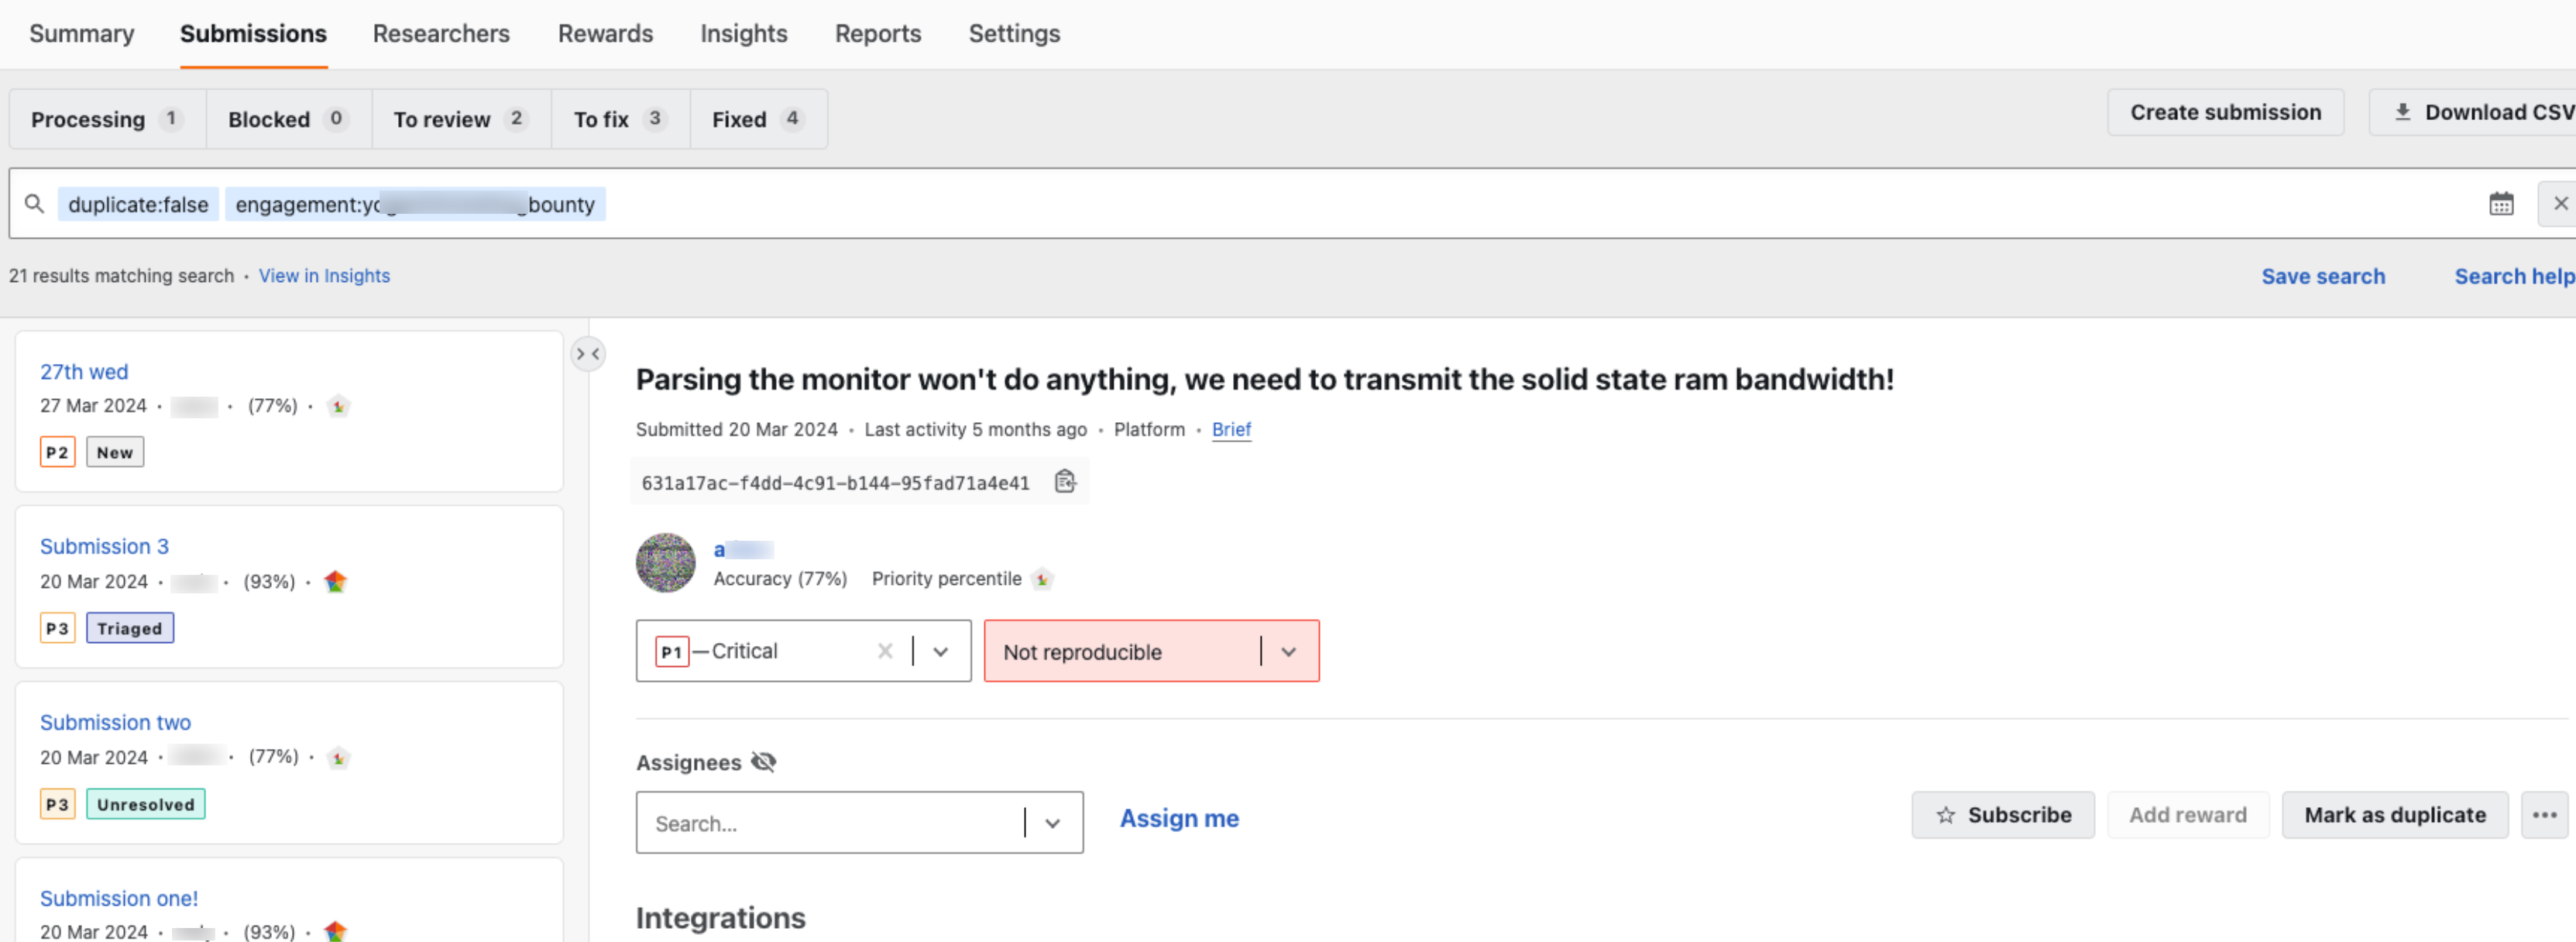
Click on the saved search name to view the results of a saved search.
A new tab appears in the Submissions inbox with the saved search filters applied, displaying the matching submission results.
Pin/Unpin a Saved Search
Pin your most-used saved searches to keep them visible as tabs in the Submissions inbox. This eliminates the need to open the ‘All views’ panel each time you want to switch between frequently used search filters.
-
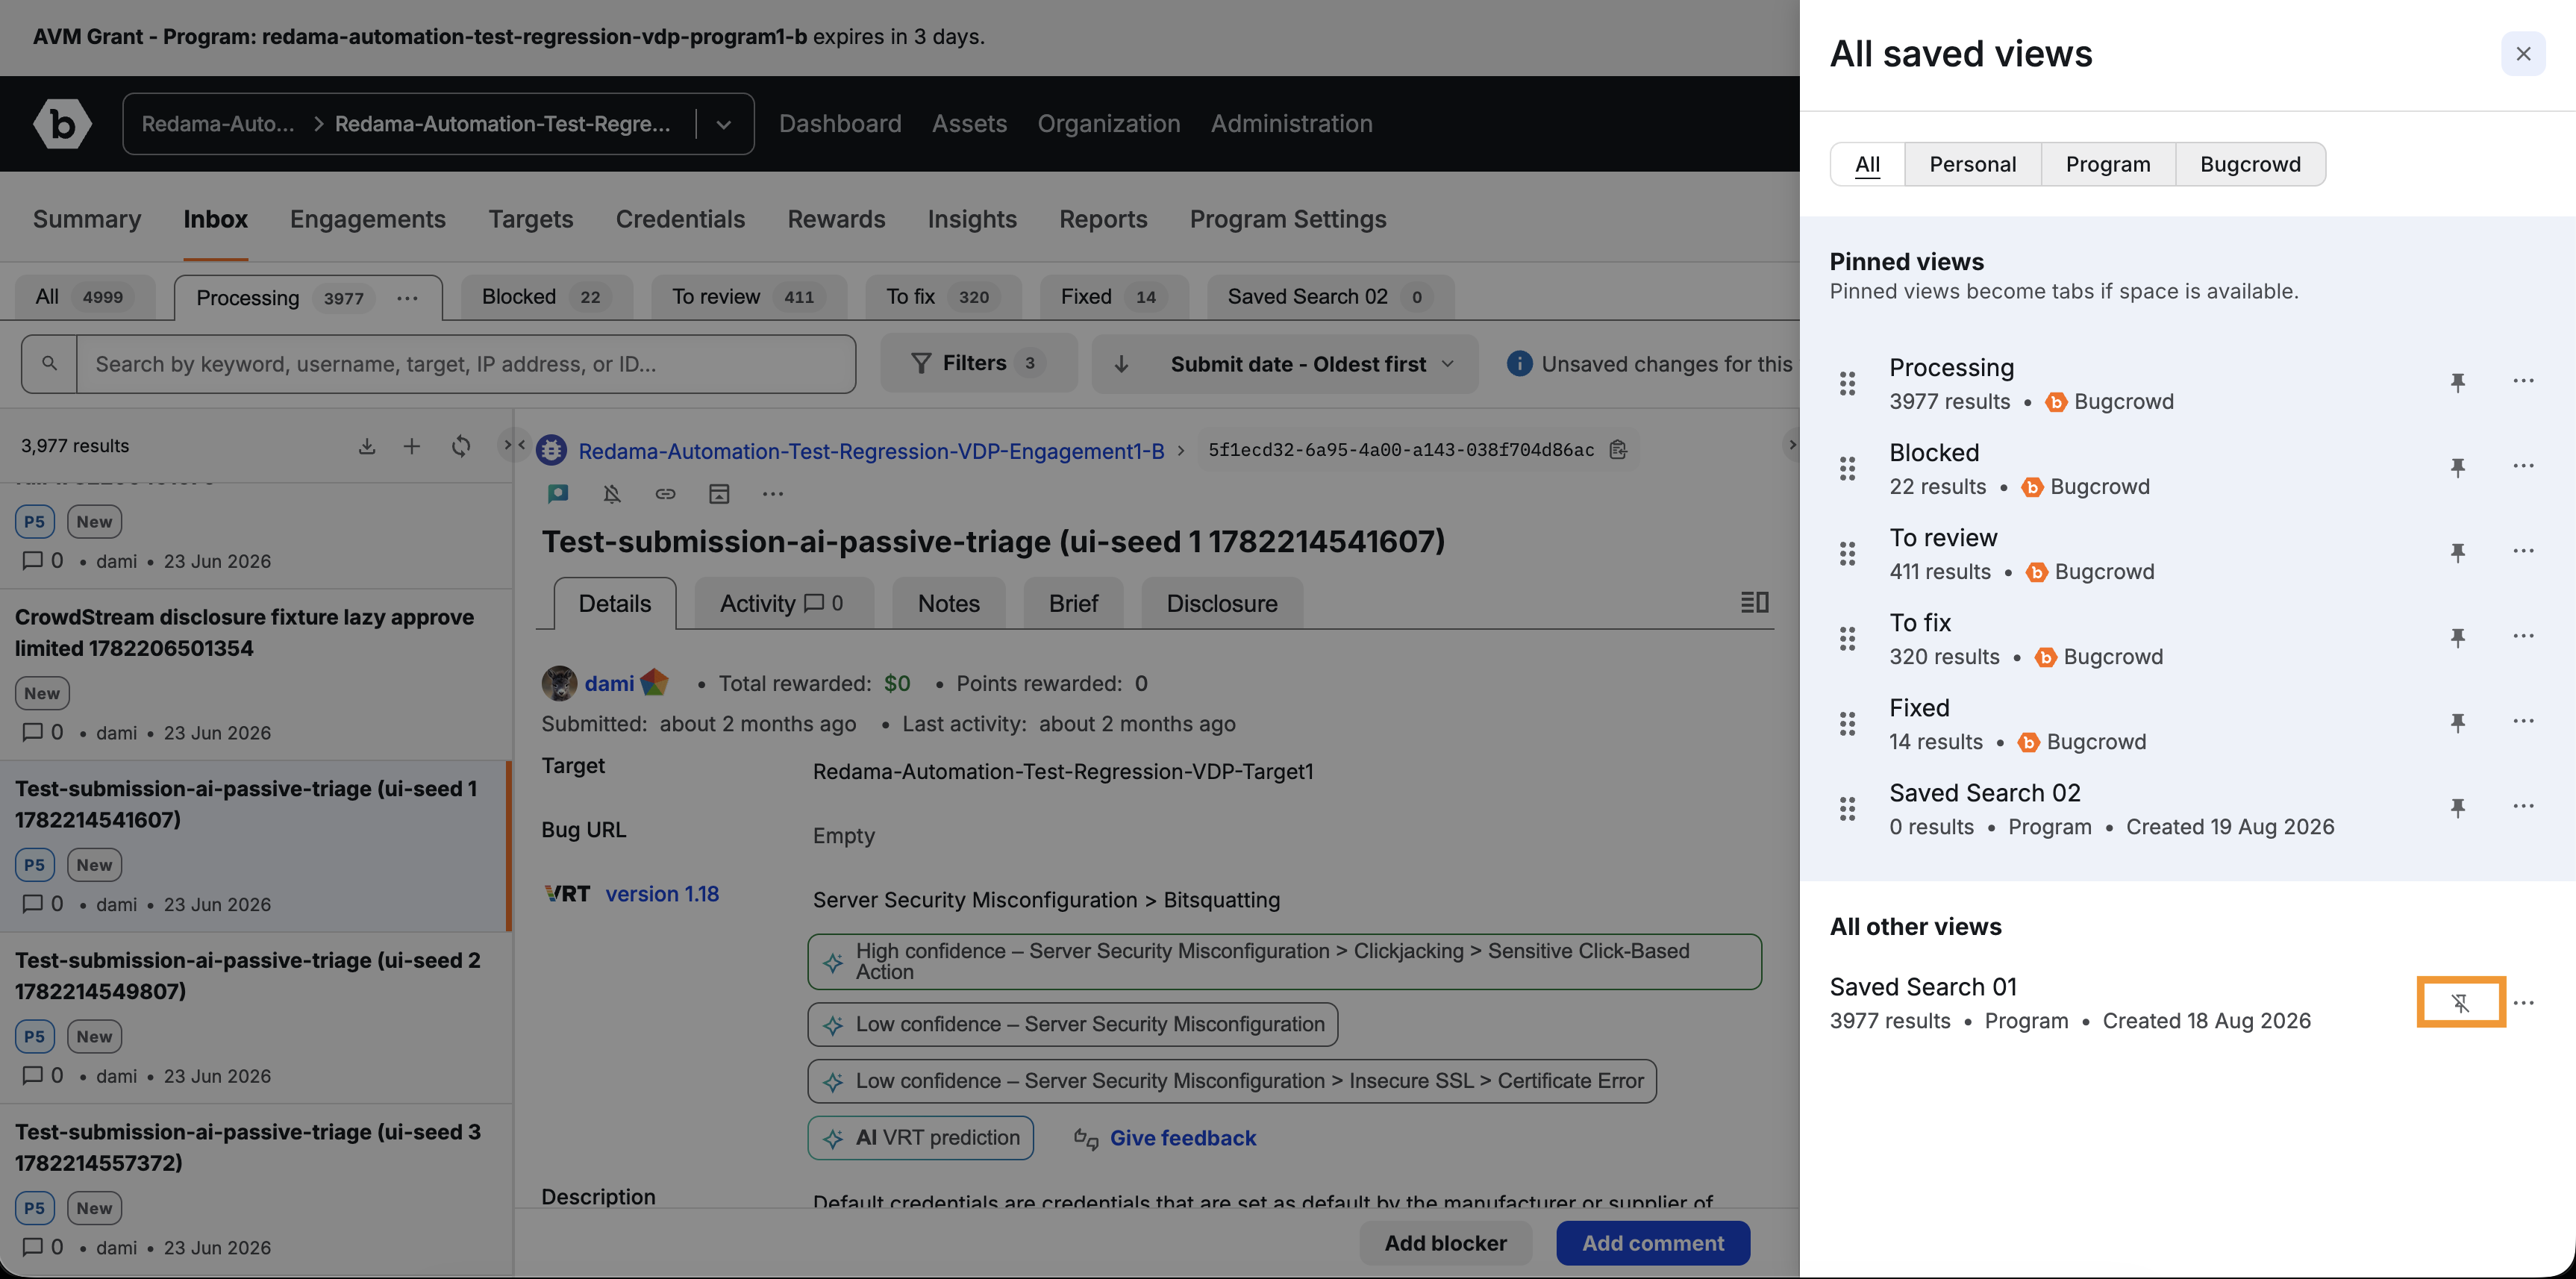
Click on the All views button. Under the All saved views, locate the saved search you want to pin. Select Pin view from the menu and the saved search will now appear as a tab at the top of the Submissions inbox for quick access.

-
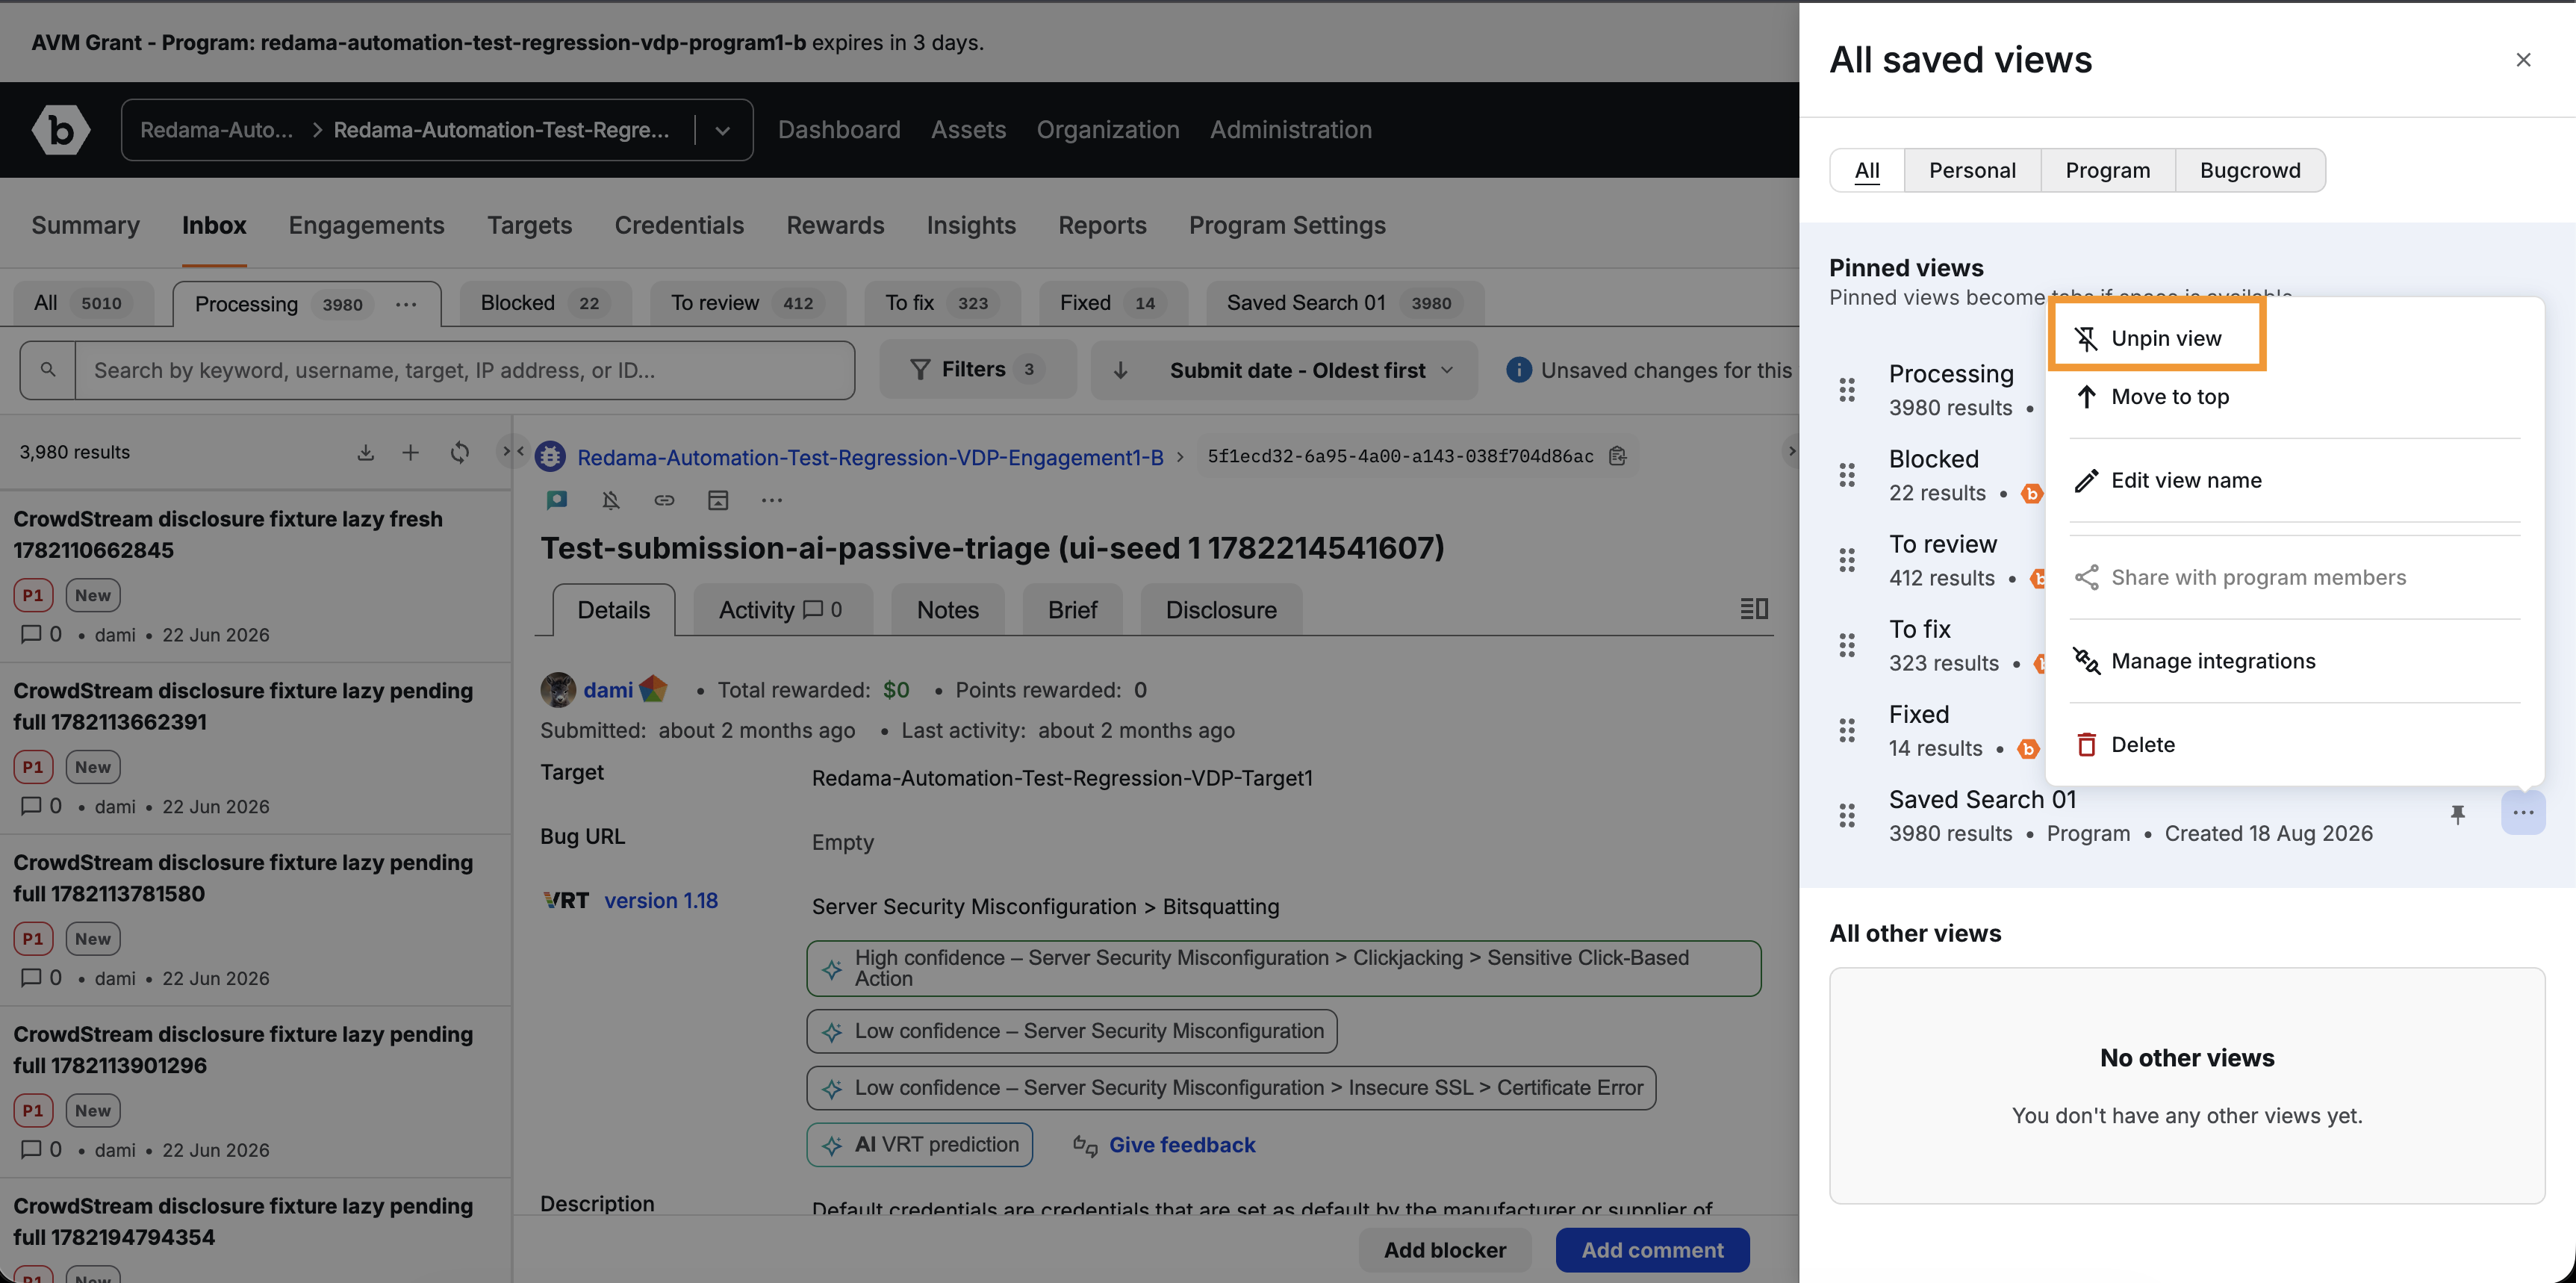
Click on the All views button. Under the All saved views click the three-dot menu (•••) next to the pinned saved search and select Unpin view. The saved search tab will be removed from the top of the Submissions inbox.
Mapping Integrations to Saved Search
A Saved search can be mapped to one or more integrations that are already configured in your Security Program. Integrations utilizing Saved search will filter the submissions based on the Saved search criteria, and direct those filtered submissions to the mapped integration.
To map a Saved search filter to an integration, follow these steps:
-
Click on the All views button. Under the All saved views, click the three-dot menu next to a saved search and select Manage integrations.
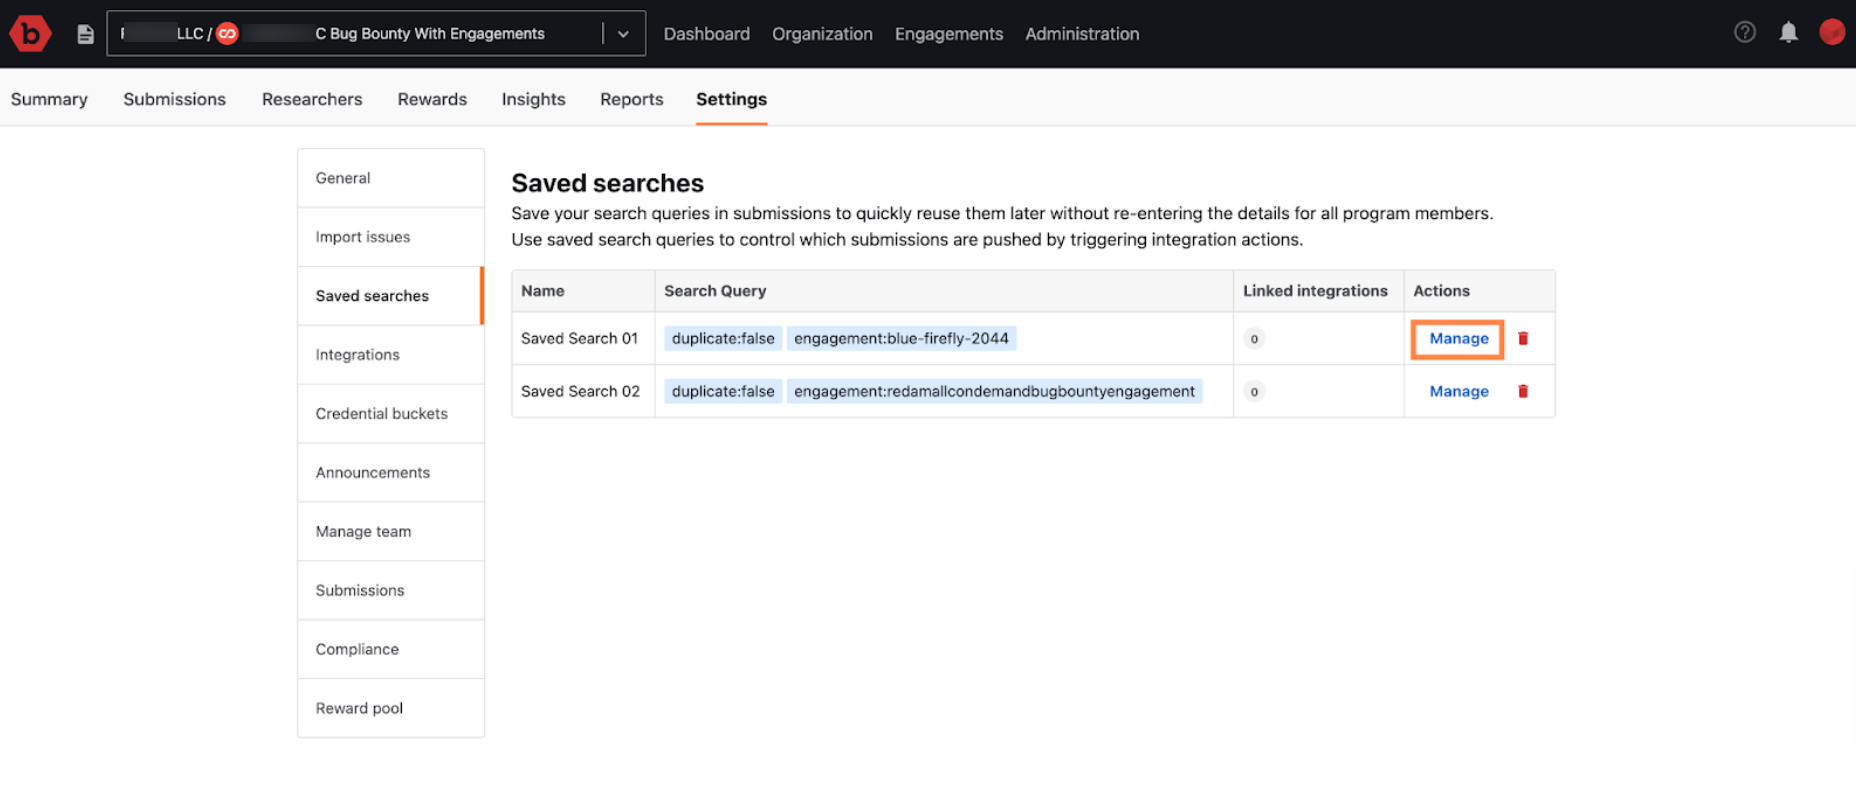
The Manage integrations page will populate enabling you map the Saved search to an integration.

-
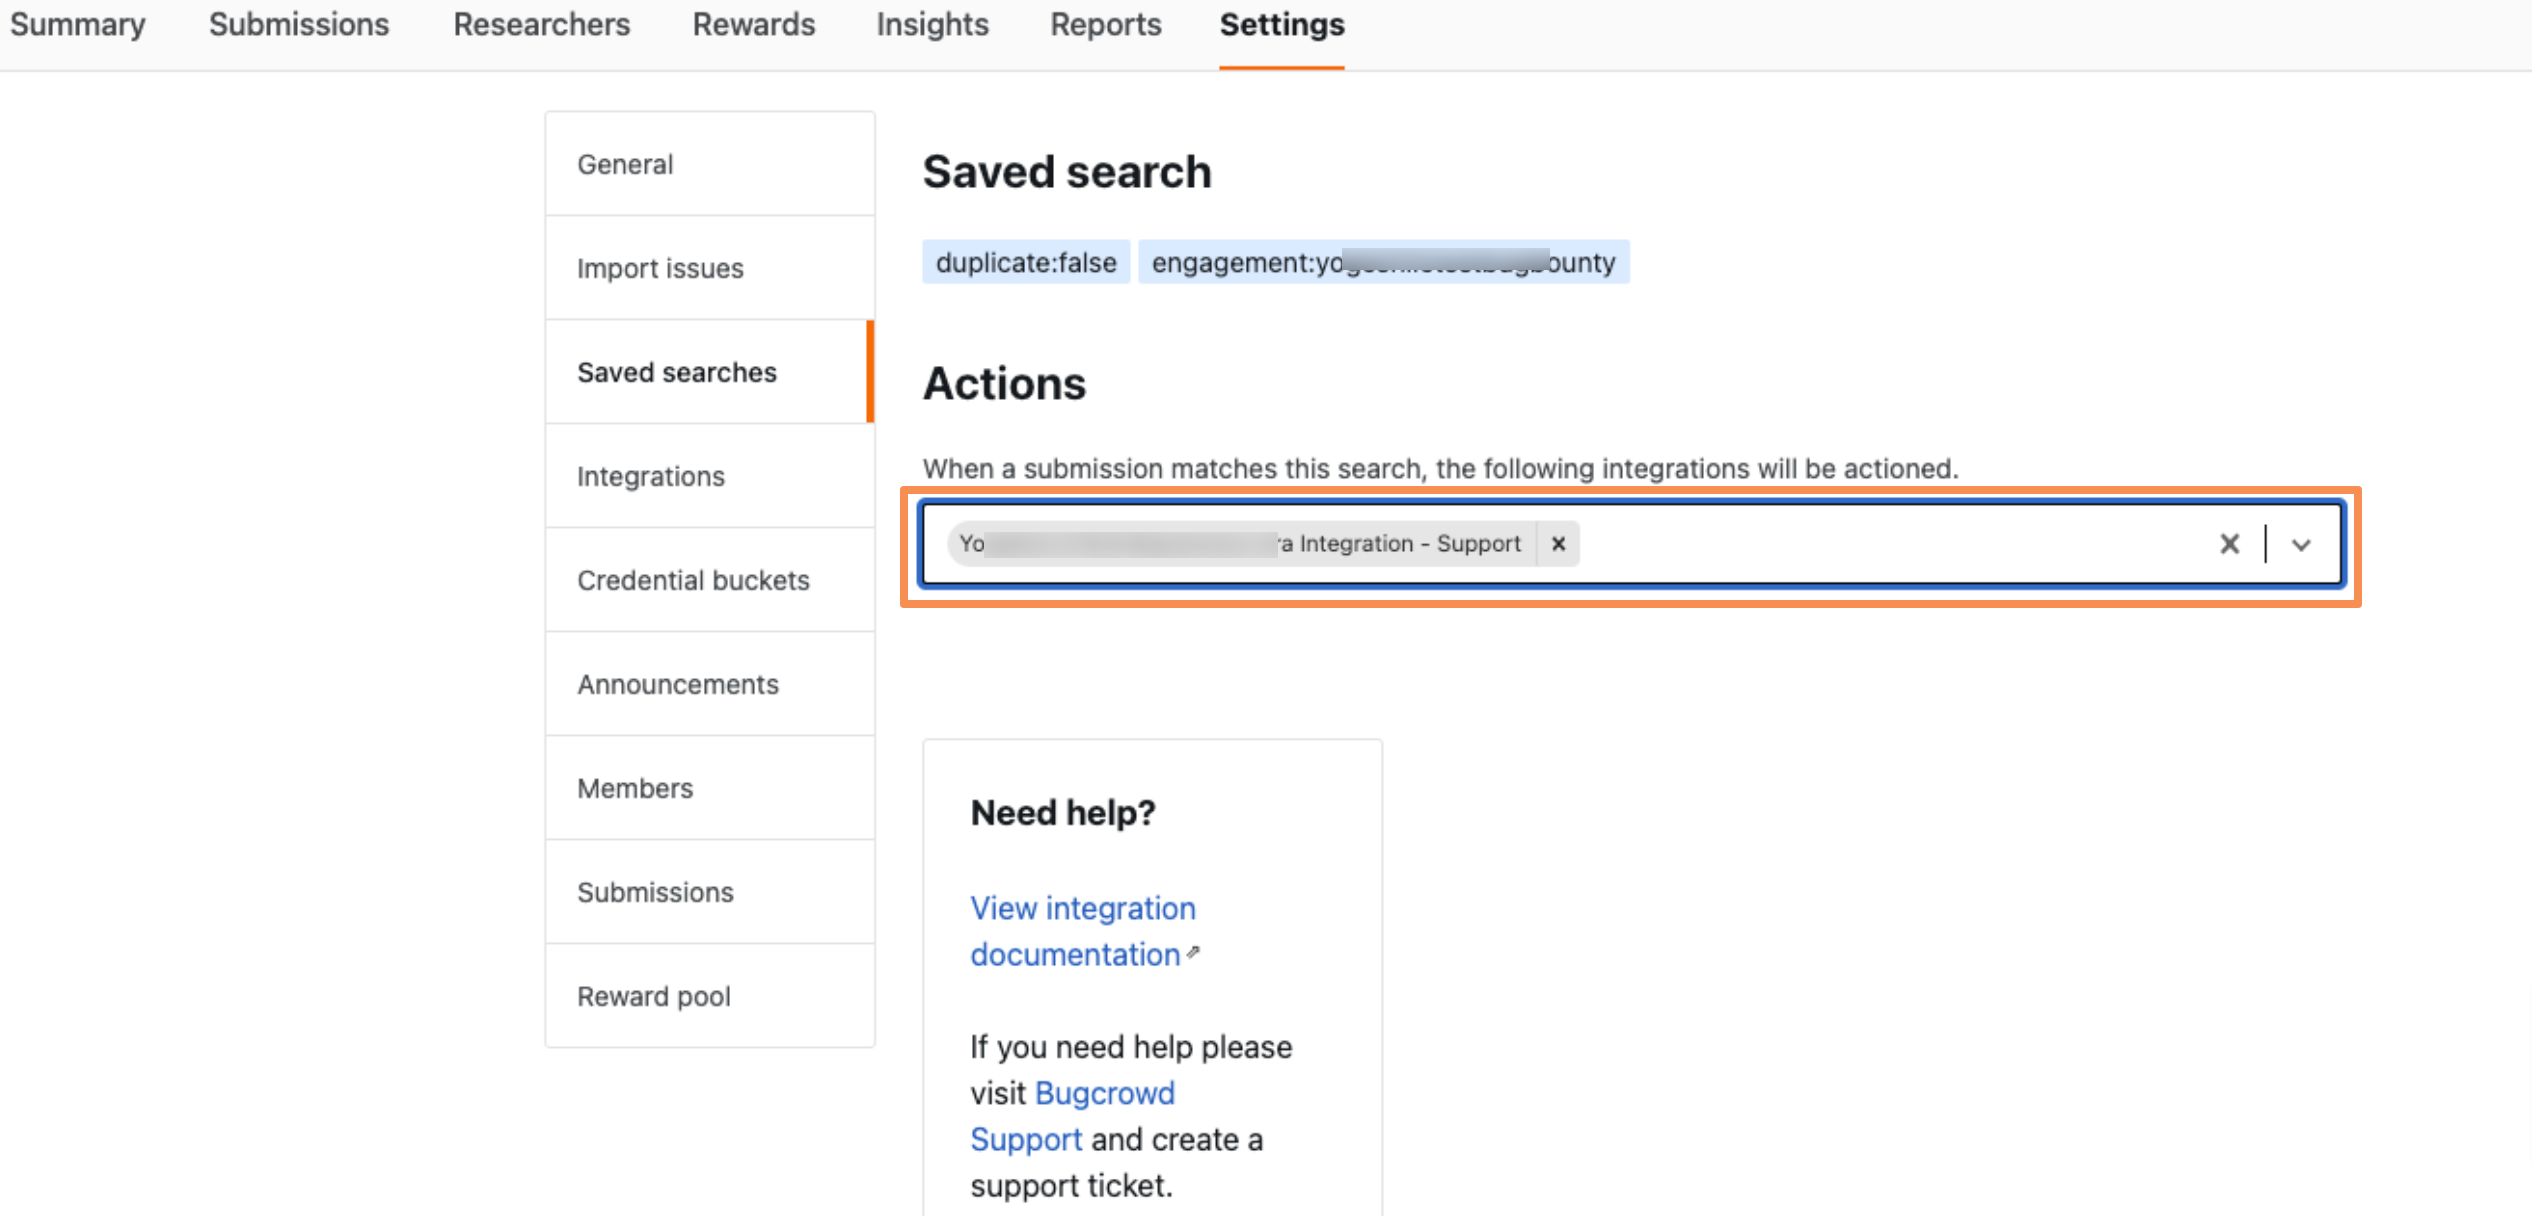
From the drop-down, select one of the integrations to map to the Saved search.
-
Integrations mapped to the Saved search will be shown.
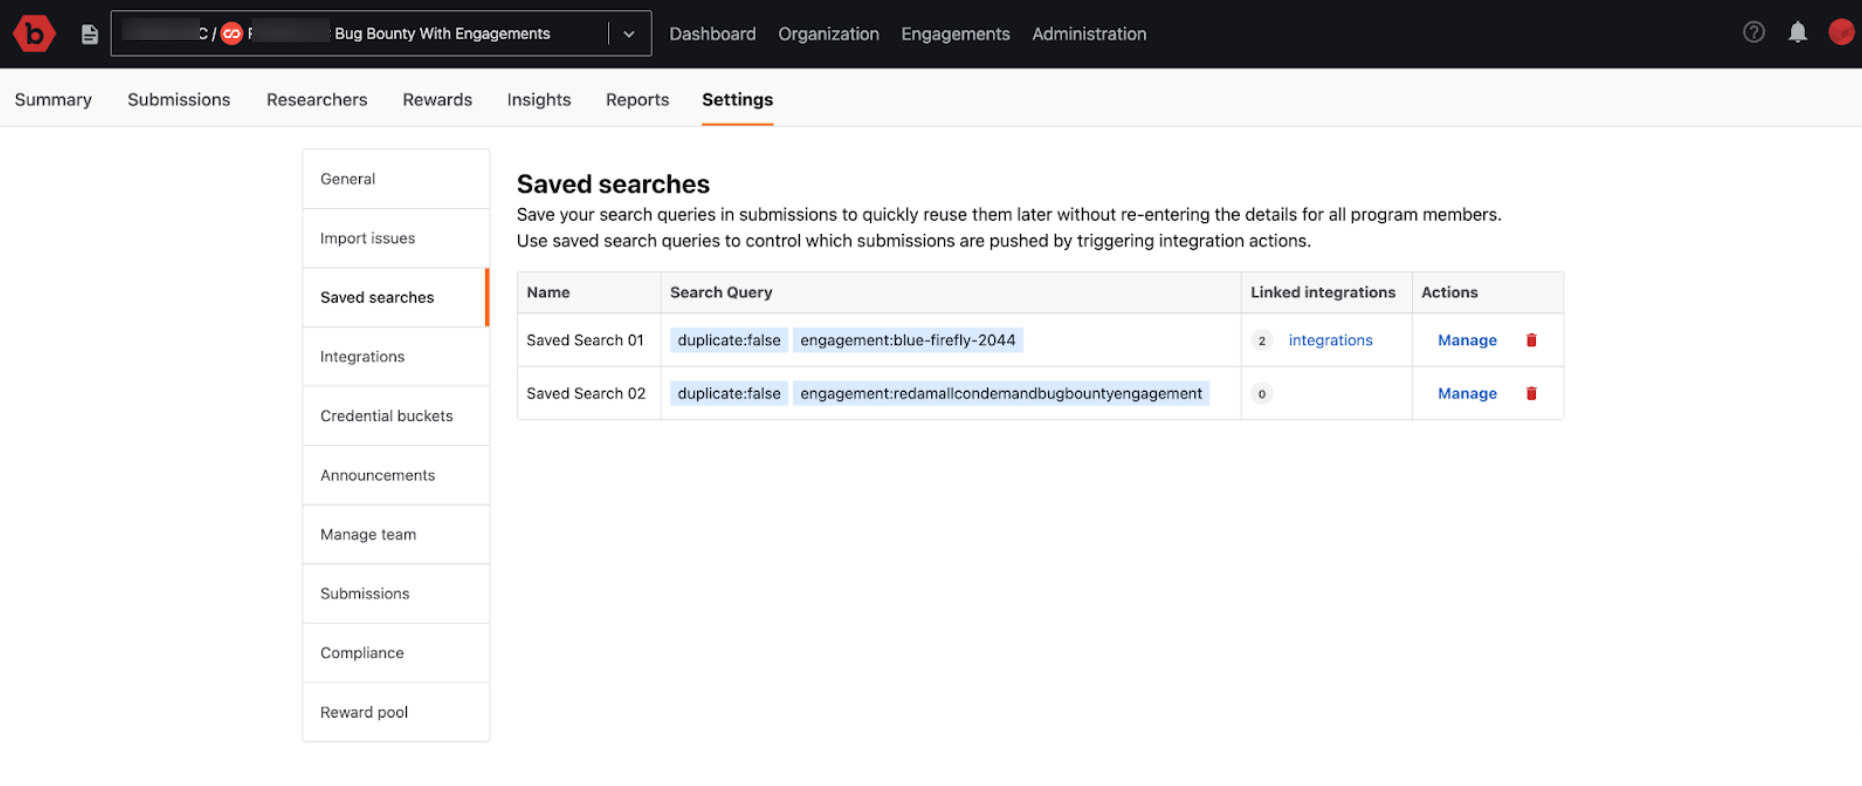
Here are some important considerations for using Saved search for configured integrations:
-
Messaging integrations, such as Slack and Microsoft Teams, automatically create messages based on the configured submission field changes. Due to this, messaging integrations require a Saved search criteria to be mapped to them. If a Saved search is not mapped to a messaging integration, the user will receive an error message.
-
External ticketing integrations, such as Jira, create or update tickets in the external system based on a submission. There are two configurations you can set up to push tickets to an external system:
a. You can configure the integration to automatically create and update tickets to an external system based on certain submission field changes. This automatic creation of external tickets is currently only available for the Jira integration, and requires a Saved search be mapped to it.
b. You can configure the integration to allow a user to press a button to manually create and push a ticket to an external system. A Saved search can be mapped to this type of integration to direct the filtered submissions to the integration. However, if no Saved search is mapped to the integration, then all submissions will be directed to it.
-
If you change the search criteria of a Saved search associated with an integration and a submission no longer matches the criteria, then the submission will continue to be linked to the external ticket but no new updates will sync to the external ticket.
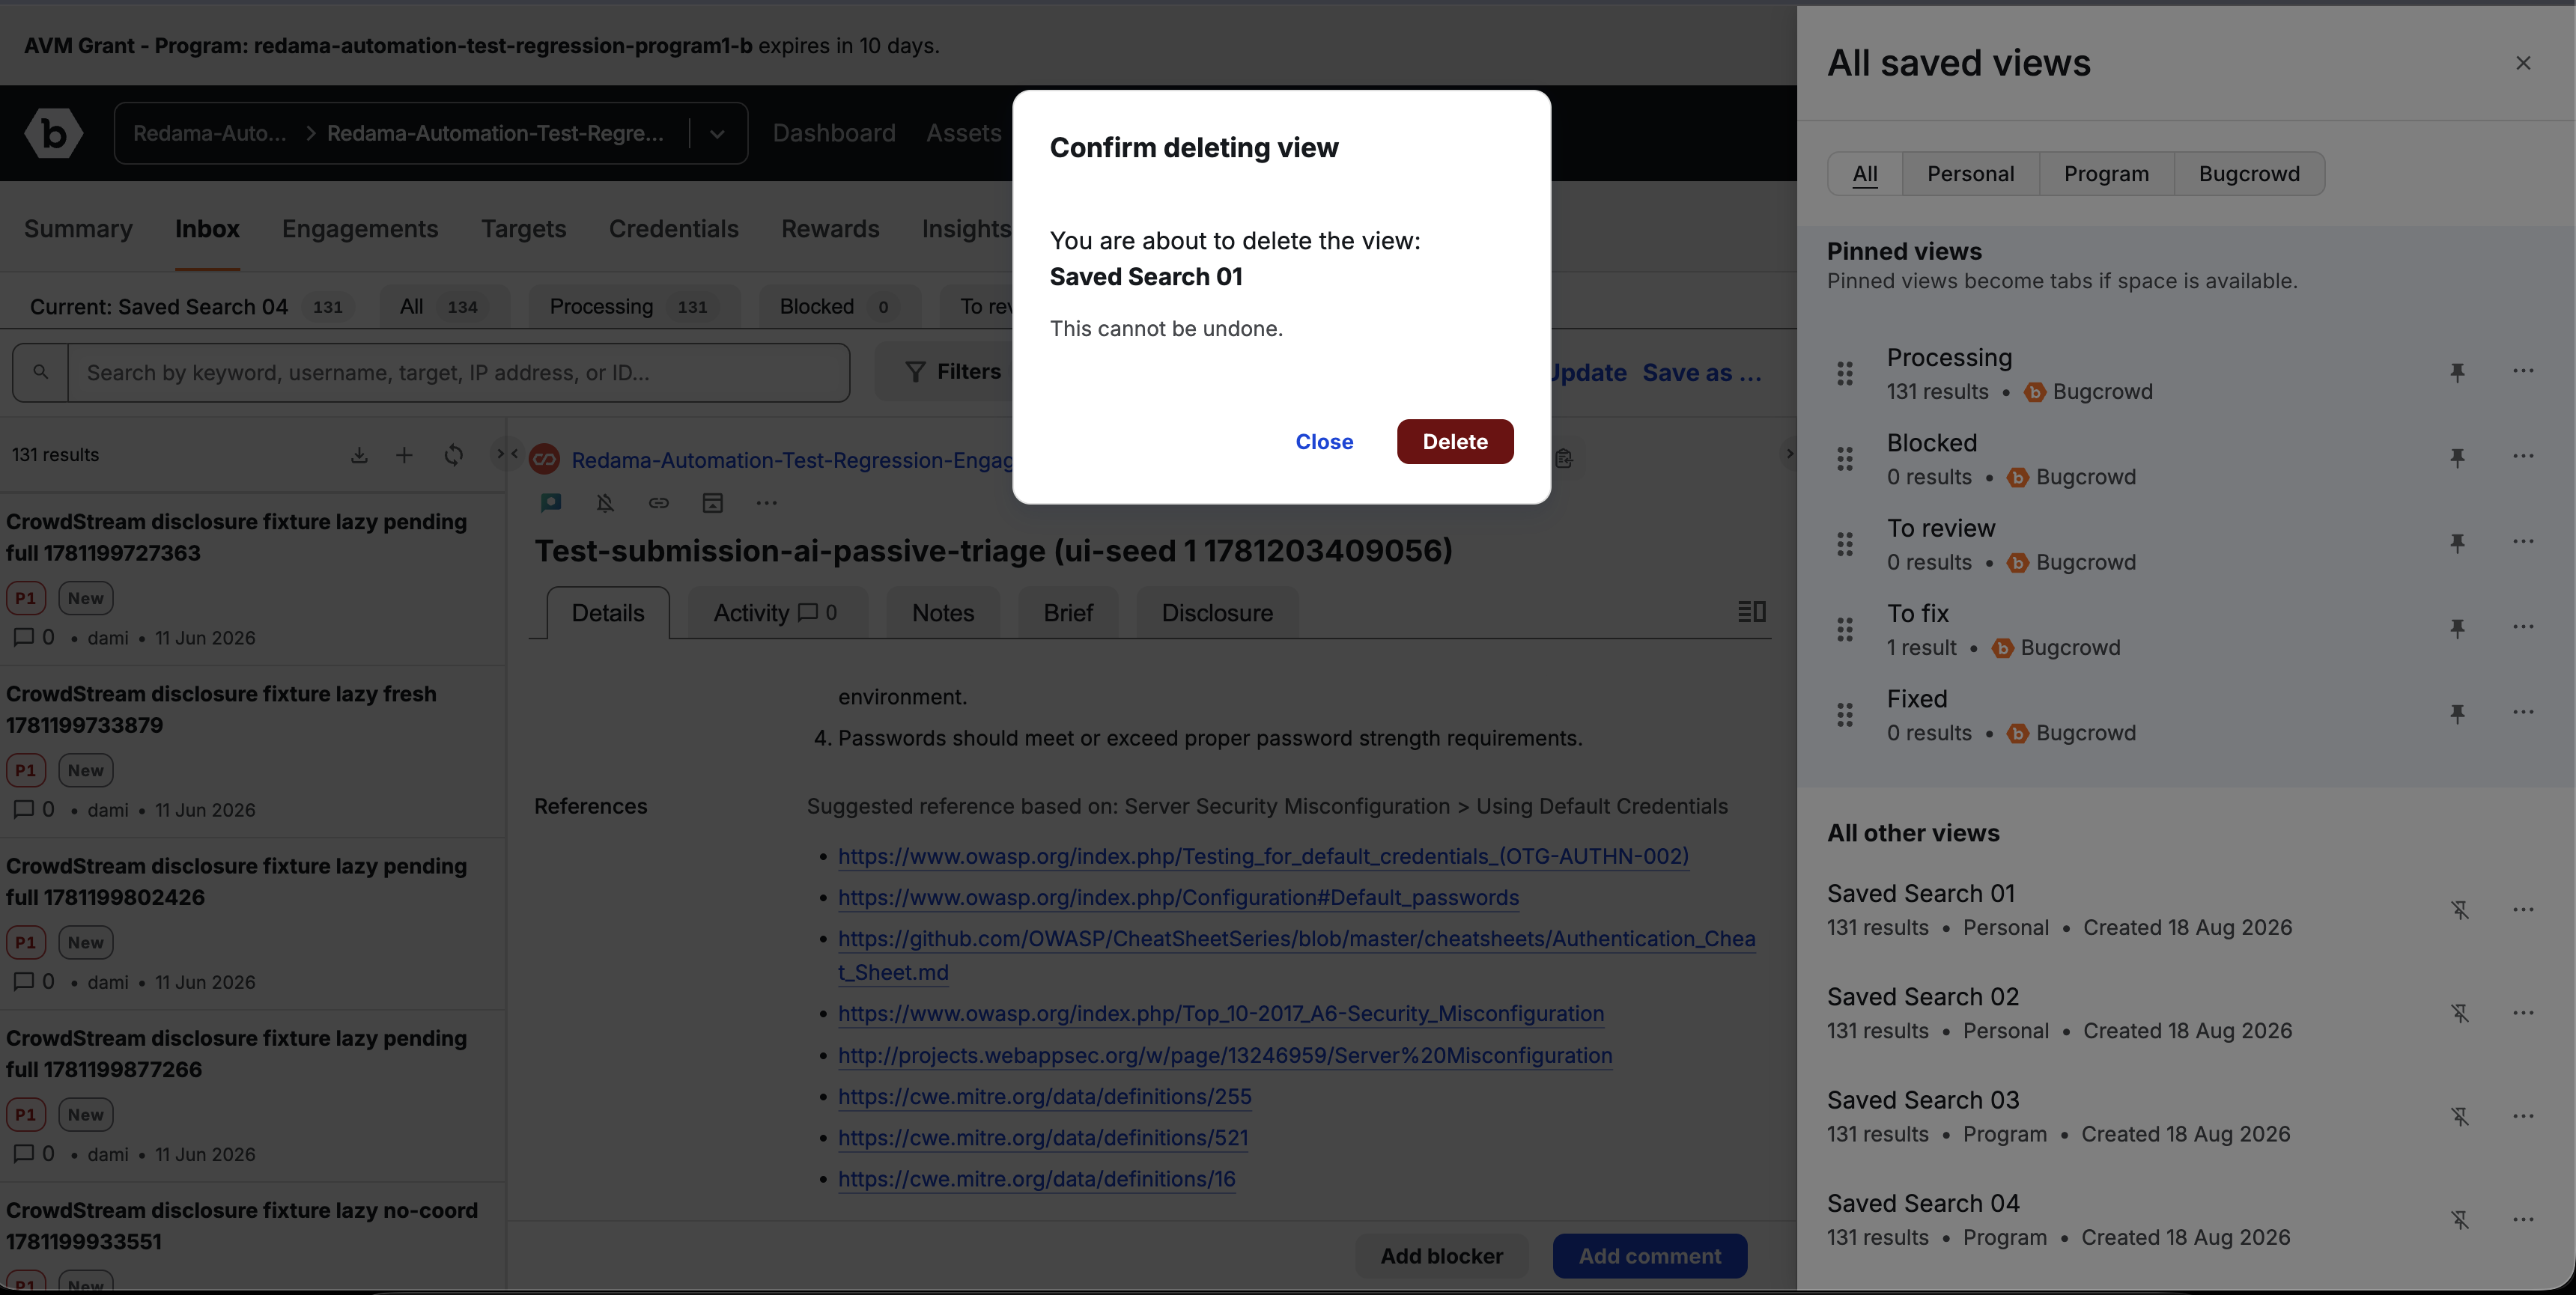
Deleting a Saved Search
To delete a Saved search, follow these steps:
-
In All saved views, click the three-dot menu next to a saved search and select Delete.
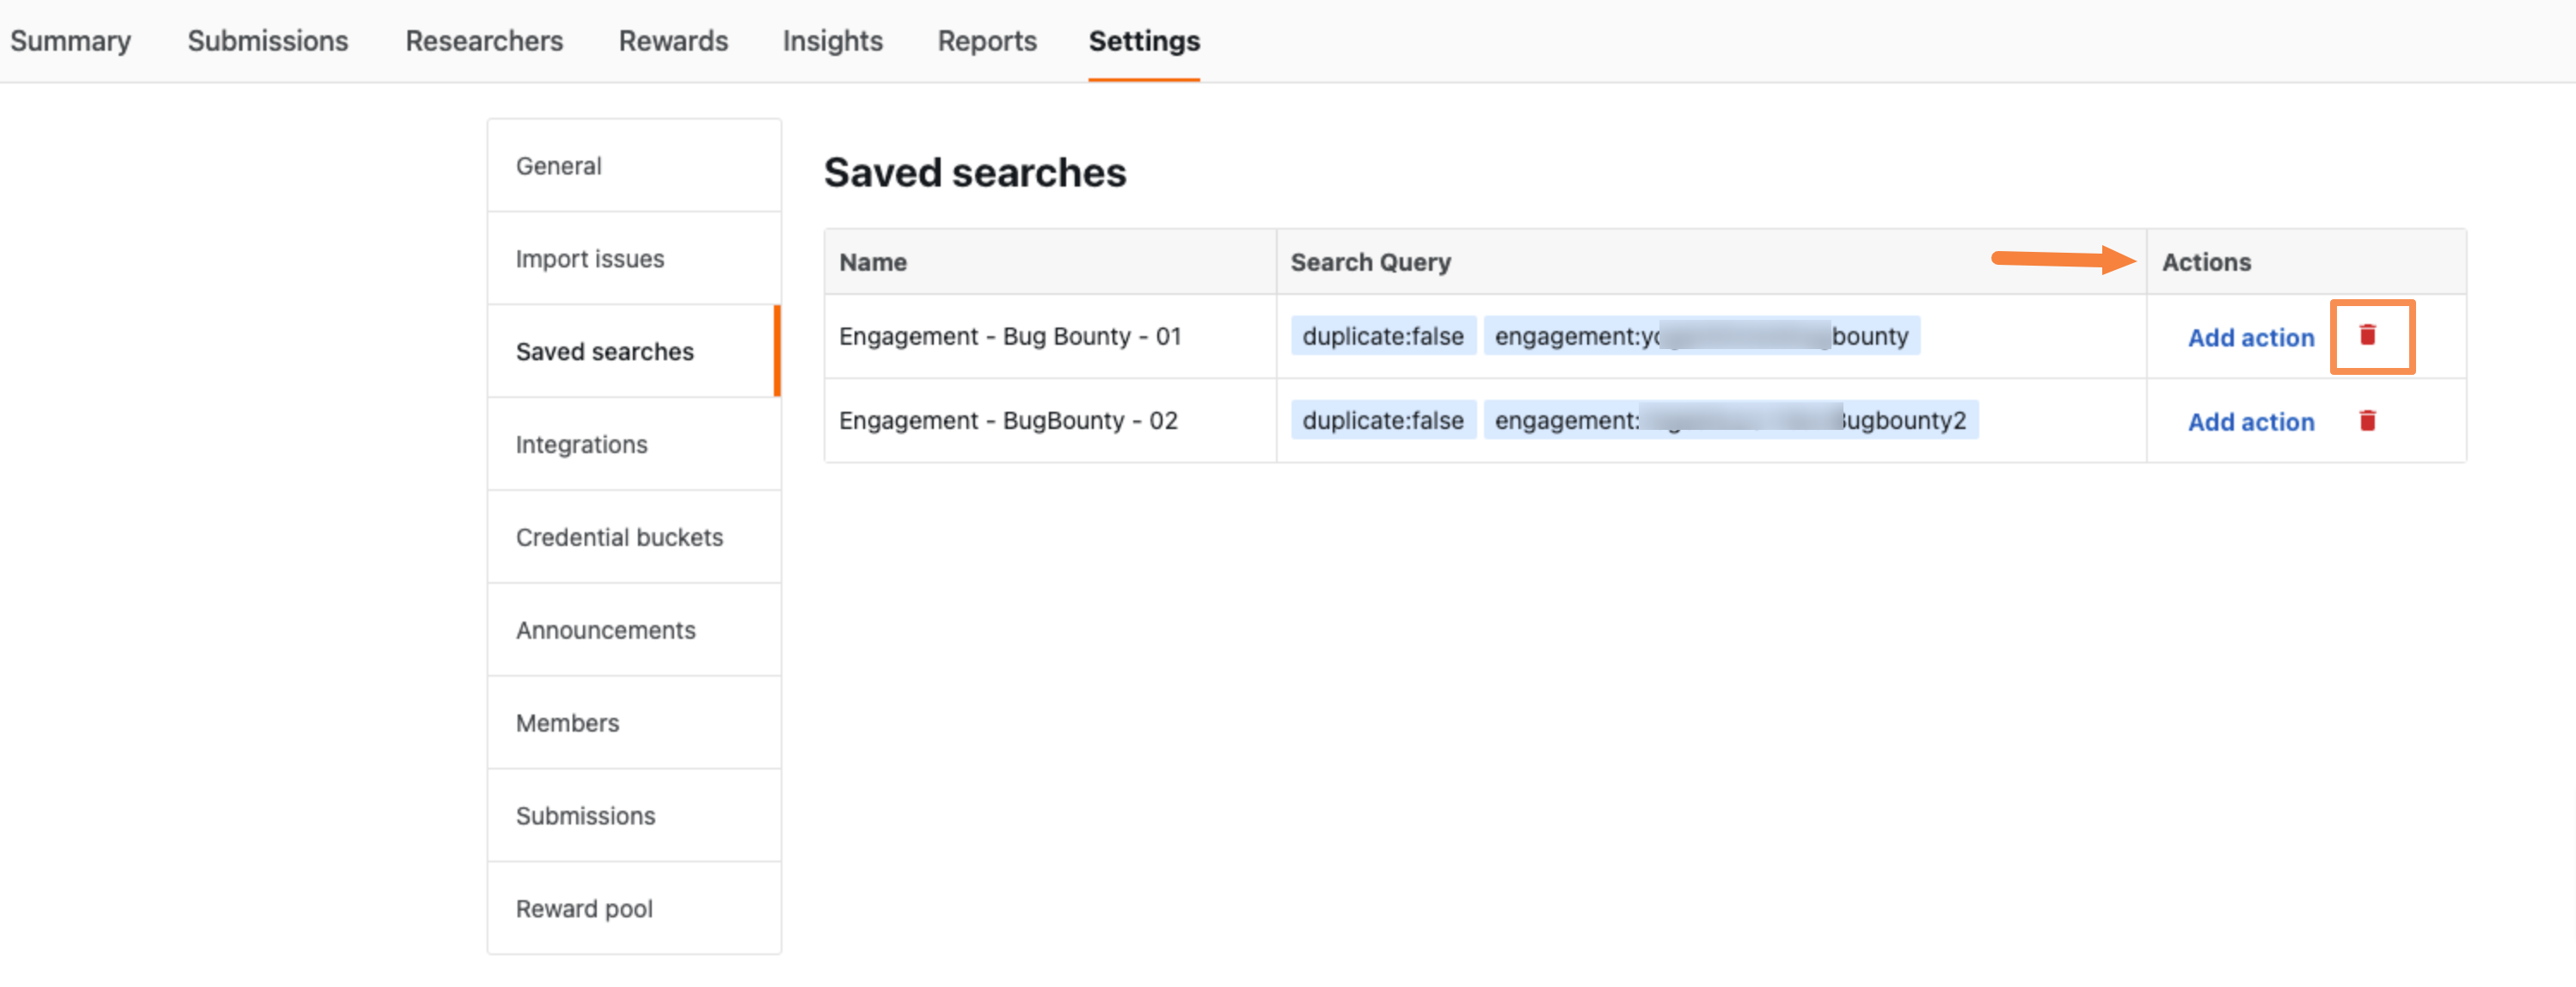
A pop-up confirming the deletion will appear.
-
If a Saved search is already linked to an integration, the following confirmation message will appear.
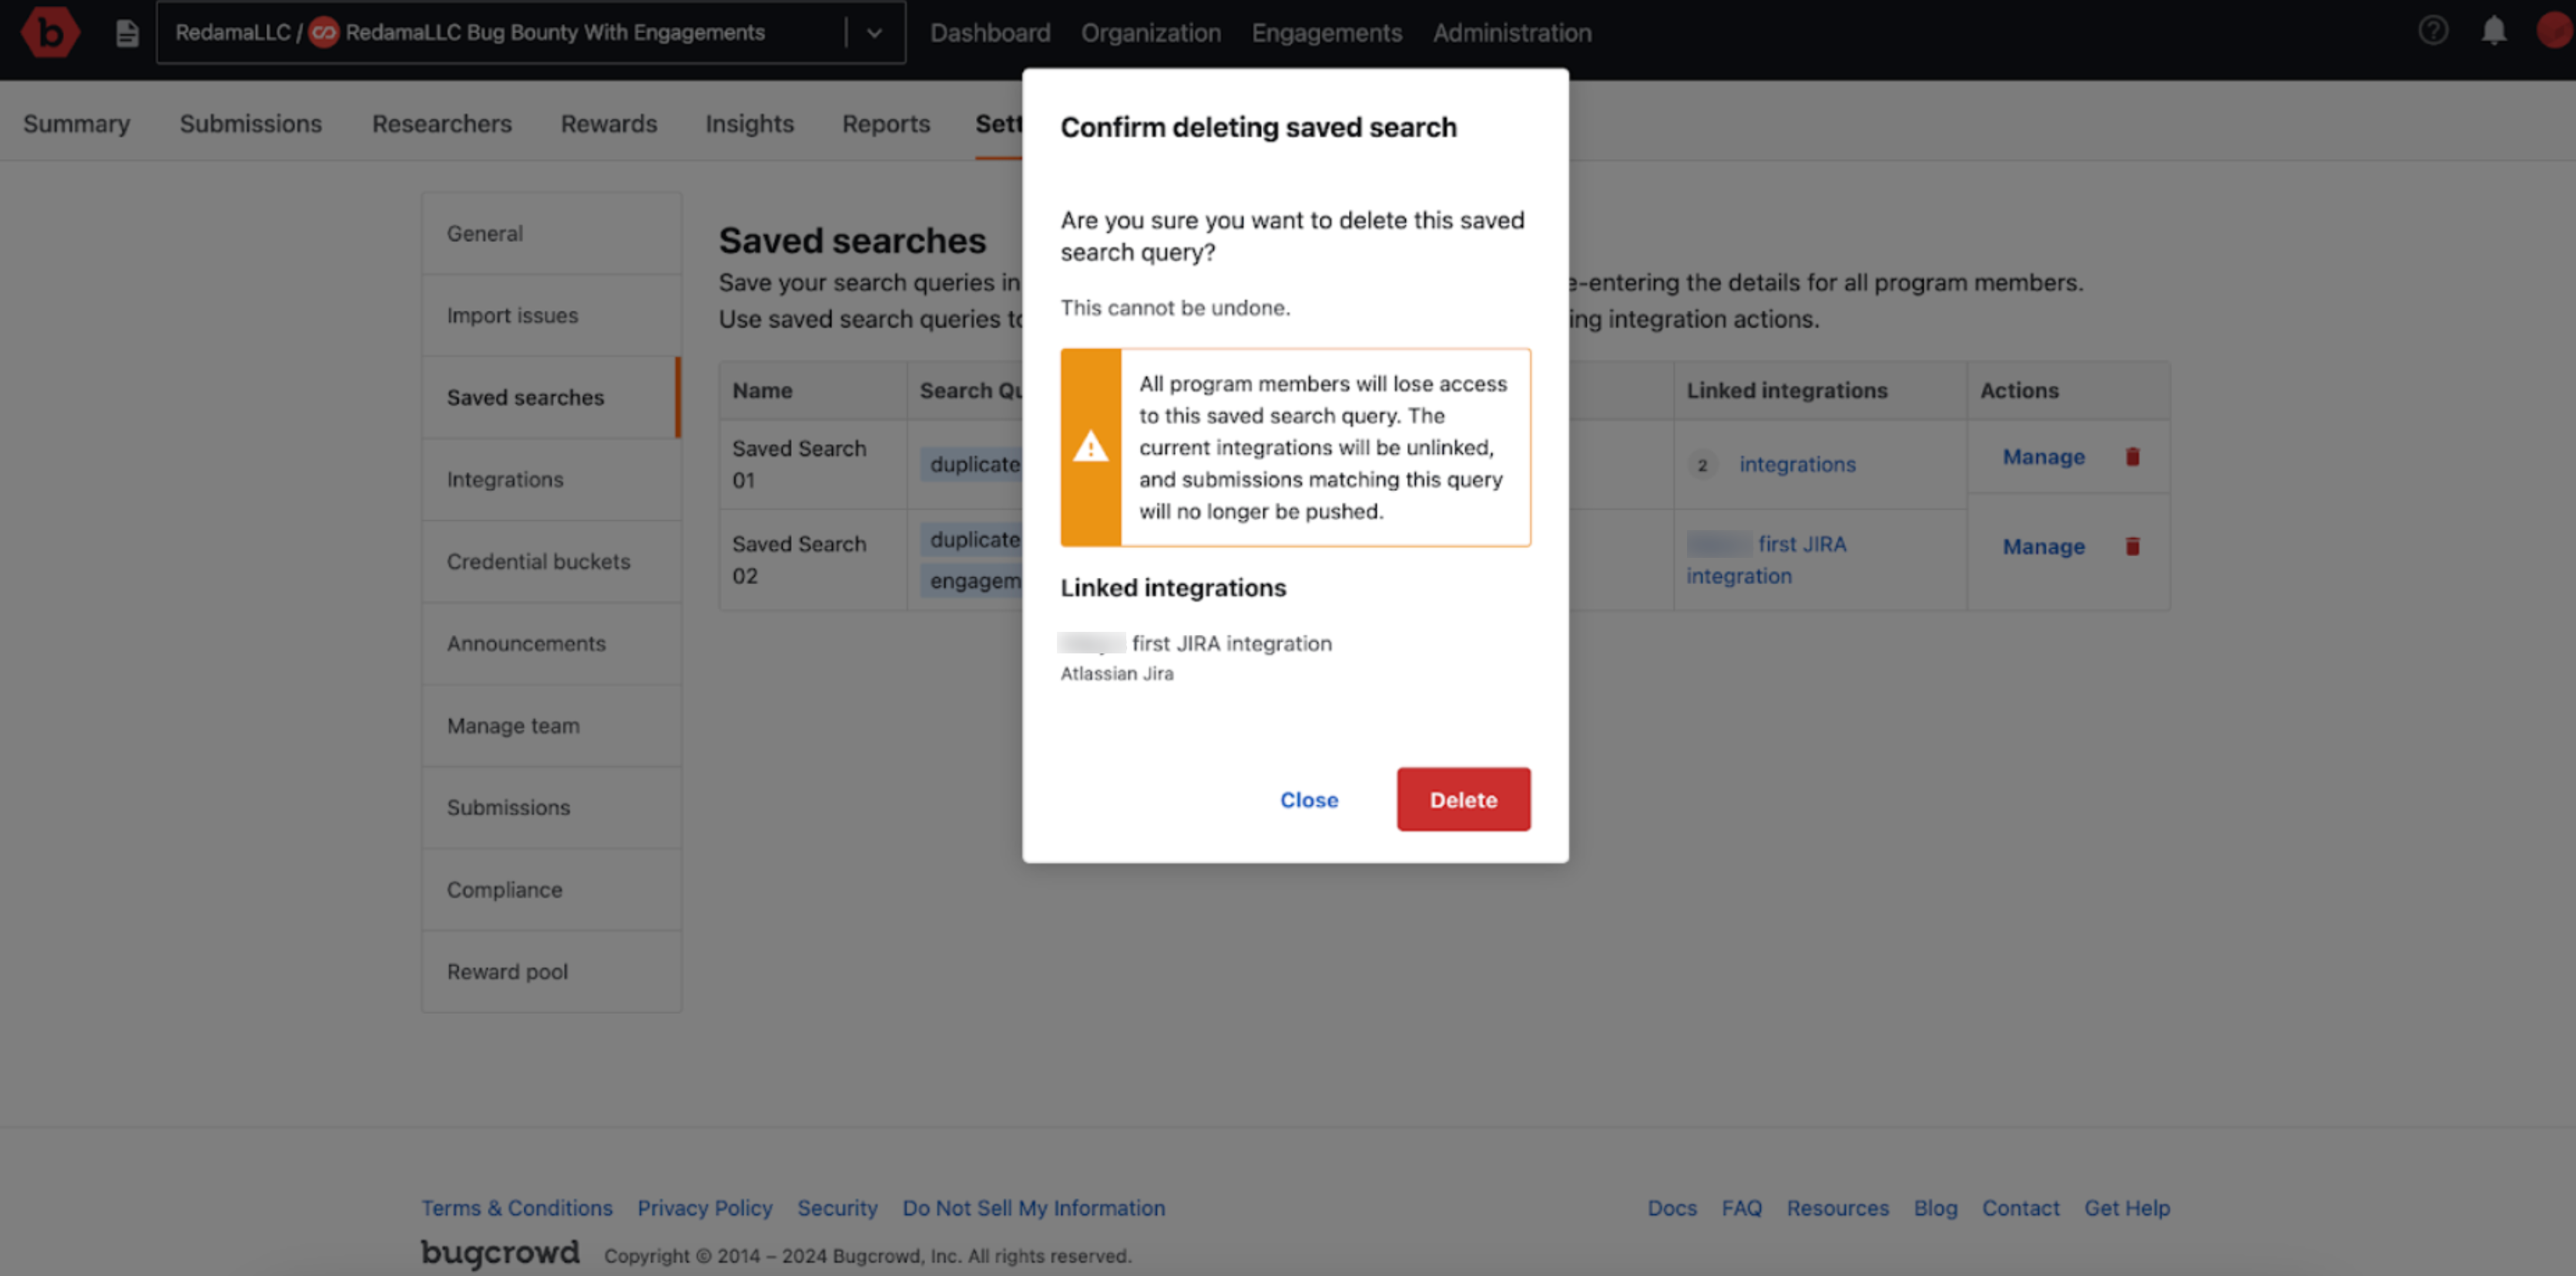
-
If a saved search is not linked to any integration but is shared with program members, the following confirmation message will appear.
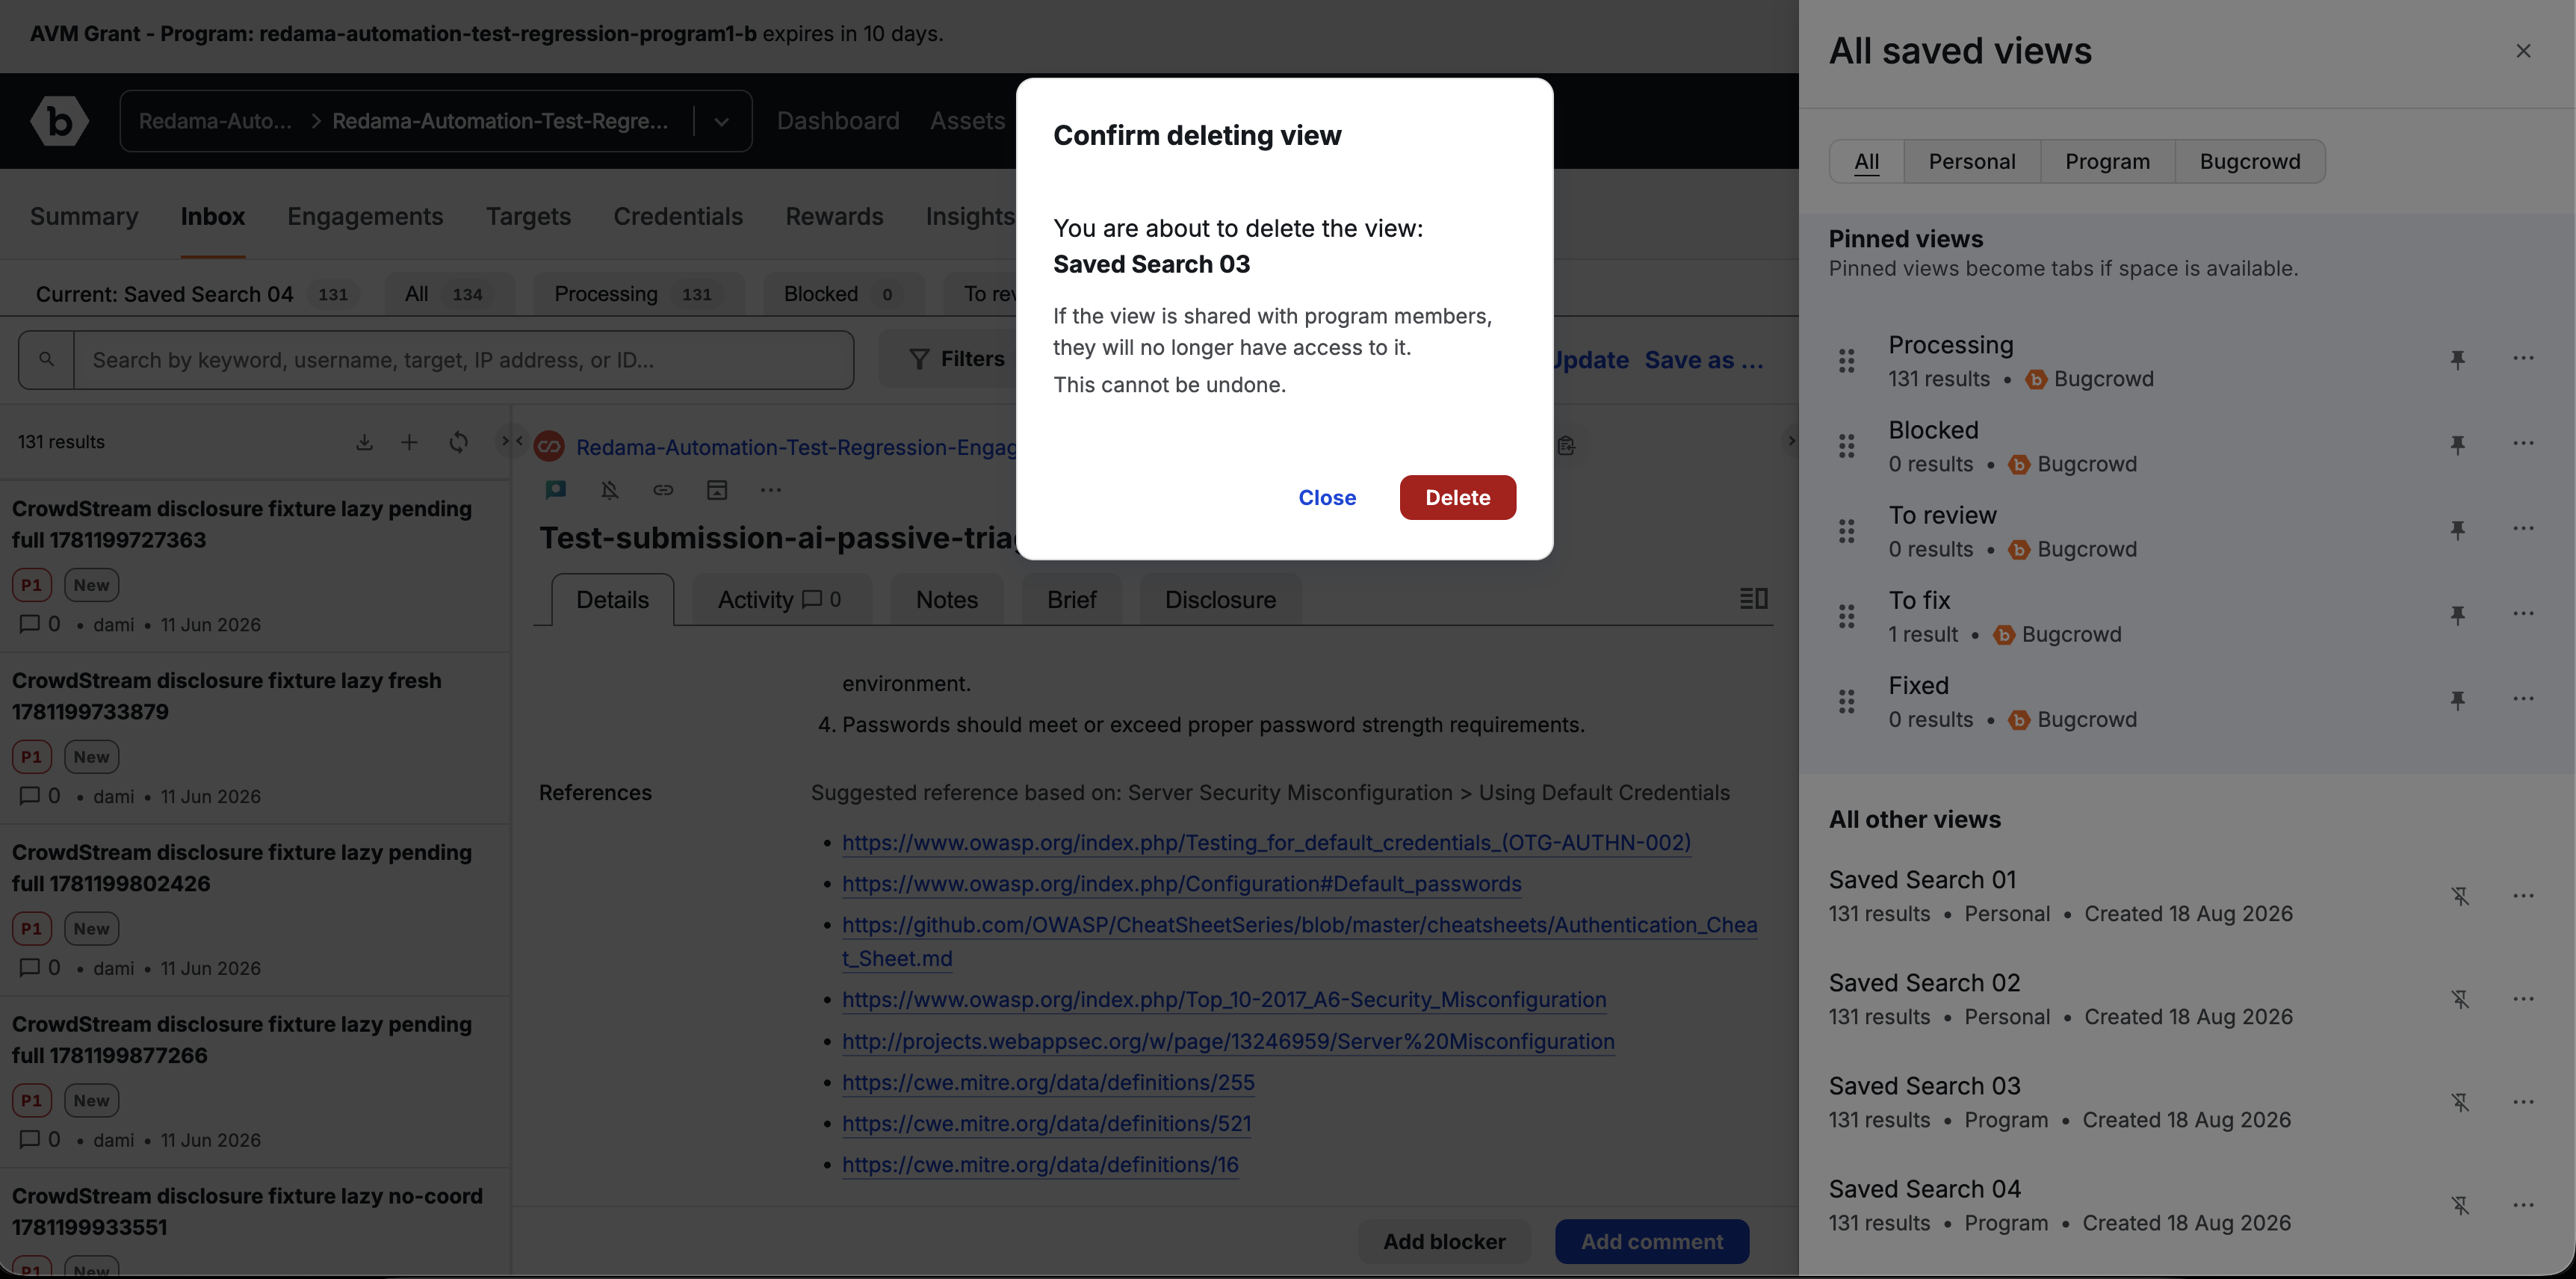
-
If a saved search is not linked to any integration and not shared with program members, the following confirmation message will appear.
-
-
Click Delete to confirm the deletion.