- Key Benefits
- Embedded Submission Form Fields
- Supported Browsers
- Setting Up the Embedded Submission Form
- Step 1: Select the Security Program and Engagement
- Step 2: Enabling Target Selection
- Step 3: Enabling Required Email
- Step 4: Allow Listing Domains
- Step 5: Customize the Appearance of your Embedded Submission Form
- Step 6: Embedding the Embedded Submission Form
- Step 7: Enabling the Integration
- Step 8: Receive Submissions
- Troubleshooting
The Embedded Submission Form integration enables you to use a submission form on your own website rather than through Bugcrowd. This integration provides a streamlined workflow to allow anyone to responsibly disclose a vulnerability found in your application, while enabling you to continue to manage and track submissions through Crowdcontrol.
With Embedded Submission Form, a user does not need to sign into or sign up for a Bugcrowd account. Instead, they can provide their email address and receive a claim ticket, which they can later use to log into or create a Bugcrowd account to receive credit for their submission.
Key Benefits
Here are some key benefits to using an Embedded Submission Form:
- You can accept vulnerability reports from any researcher, whether they have a Bugcrowd account or not.
- You can promote security best practices by enabling your partners, employees, and customers to report bugs and vulnerabilities.
- You can manage and track submissions through Crowdcontrol for private and public Security Programs.
- The Submission form pulls all the fields from your Security Program settings requiring no additional configuration which saves you time and effort.
Embedded Submission Form Fields
The Embedded Submission Form includes the following fields:
| Field | Subfield | Details |
|---|---|---|
| Info | A brief note or header that best identifies what the vulnerability is about. | |
| Target (Optional) | Drop-down field the researcher can use to identify the target affected. Selections only include in-scope targets. | |
| Require Email | A field for researcher to fill out. Entering their email will trigger an automated email that will allow the researcher to claim the submission. | |
| Technical Severity | Based on Bugcrowd’s Vulnerability Rating Taxonomy (VRT), researchers use this drop-down field to identify the type of vulnerability found which is then given a baseline technical severity rating. To learn more about Bugcrowd’s Vulnerability Rating Taxonomy (VRT) visit: Bugcrowd’s Vulnerability Rating Taxonomy | |
| Vulnerability Details | Includes sub-fields for descriptive and clear details about the vulnerability found. | |
| URL / Location of vulnerability | Enter the URL or location of the vulnerability found. | |
| Description | Comprehensive information about the vulnerability such as “what is the vulnerability?”, “what is the security impact?”, “replication steps”, “proof of concept”, etc. | |
| Trace dump/HTTP request | Trace dump or HTTP request is entered in here. | |
| Additional information | Researchers enter any additional information or data relevant to the vulnerability submitted. | |
| Attachment | Images or videos can be uploaded to help clarify and demonstrate replication steps. | |
| Researcher Email | An optional field for researcher to fill out. Entering their email will trigger an automated email that will allow the researcher to claim the submission. |
Supported Browsers
Embedded Submission Forms currently work with the following browsers:
- Safari
- Firefox
- Edge
- Chrome
- Internet Explorer 11
Setting Up the Embedded Submission Form
You can create multiple Embedded Submission Forms in a Security Program. However, each Embedded Submission Form is mapped to one Engagement. All submissions that come through an Embedded Submission Form are associated with that mapped Engagement. This is managed in the Security Program’s integration settings.
To create an Embedded Submission Form for an Engagement, follow these steps:
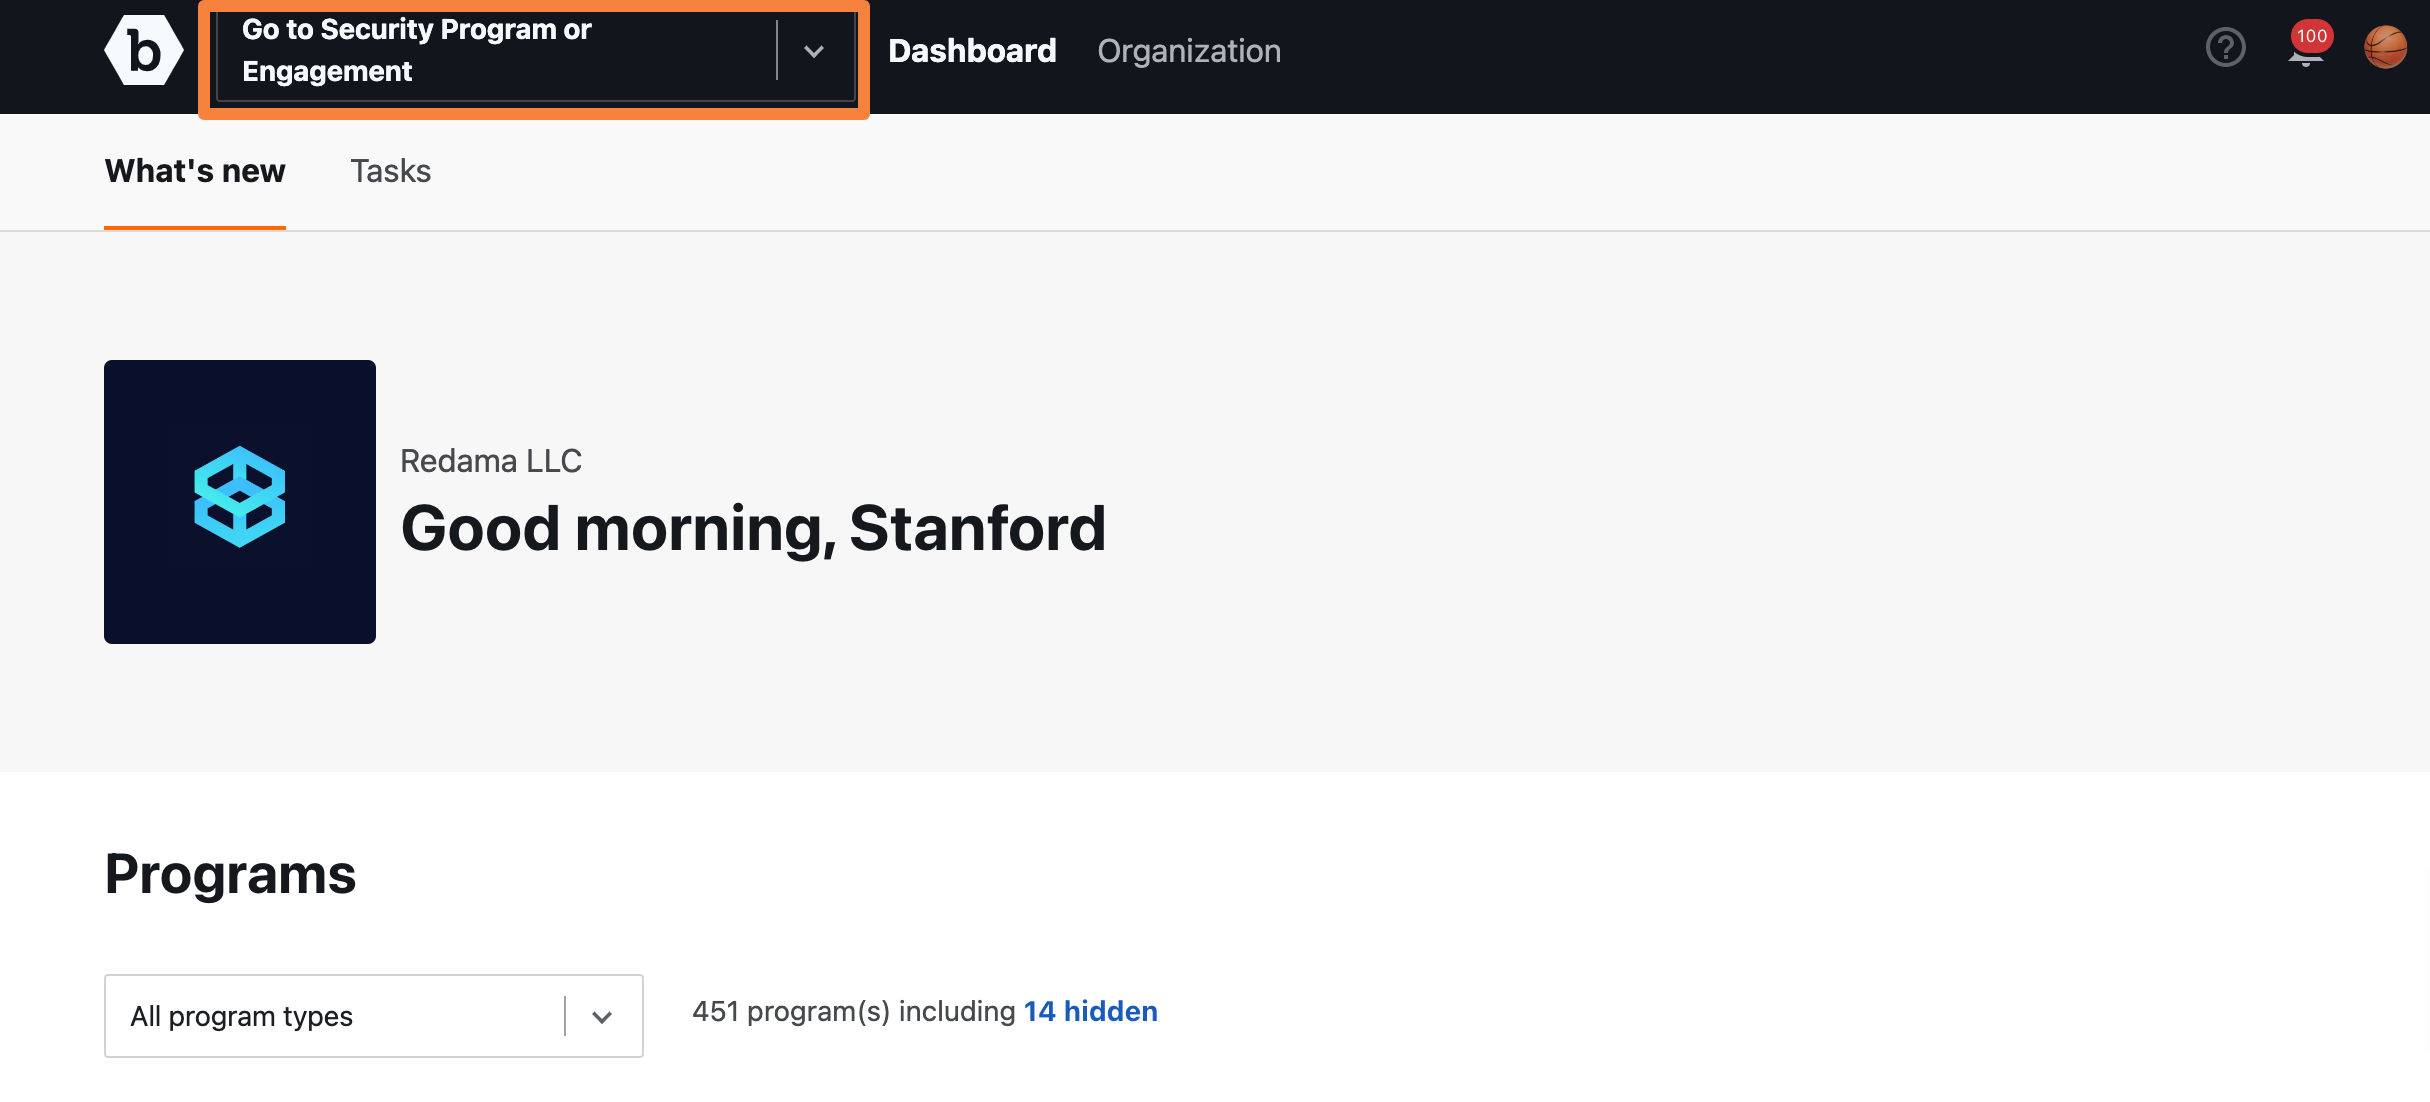
Step 1: Select the Security Program and Engagement
-
Select a security program from the Go to Security Program or Engagement drop-down.
-
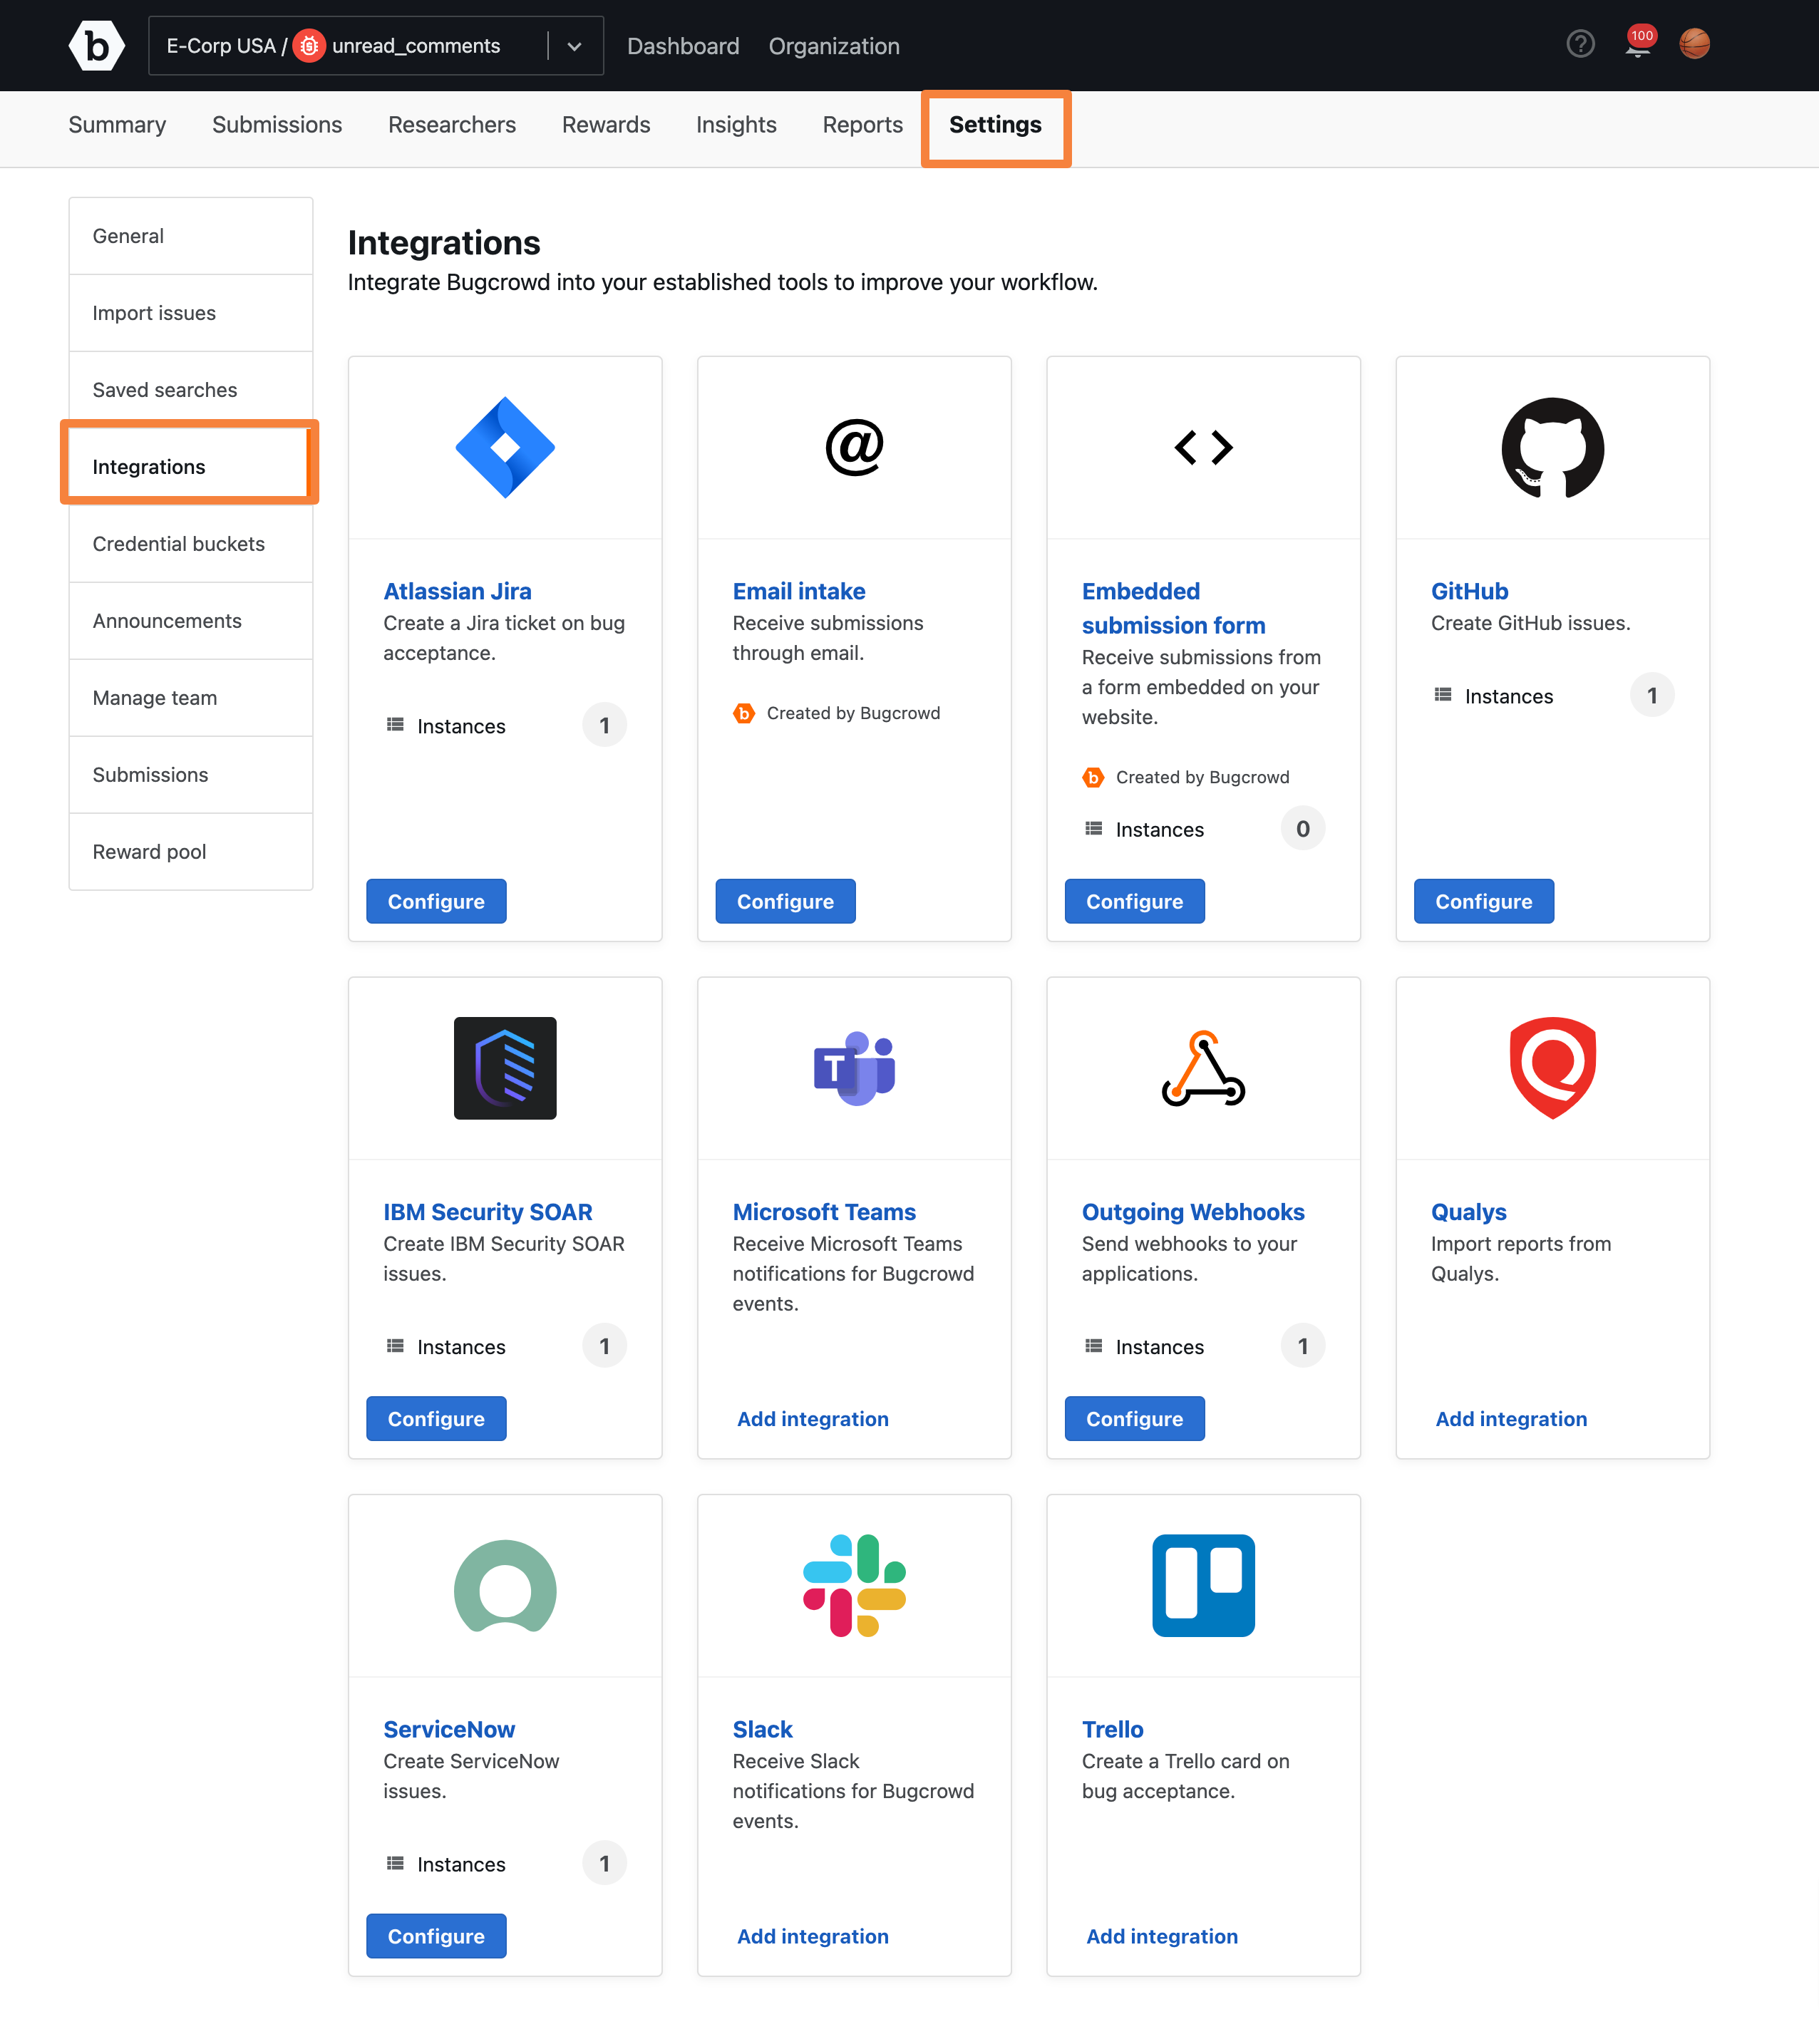
Go to Settings and click the Integrations tab.
-
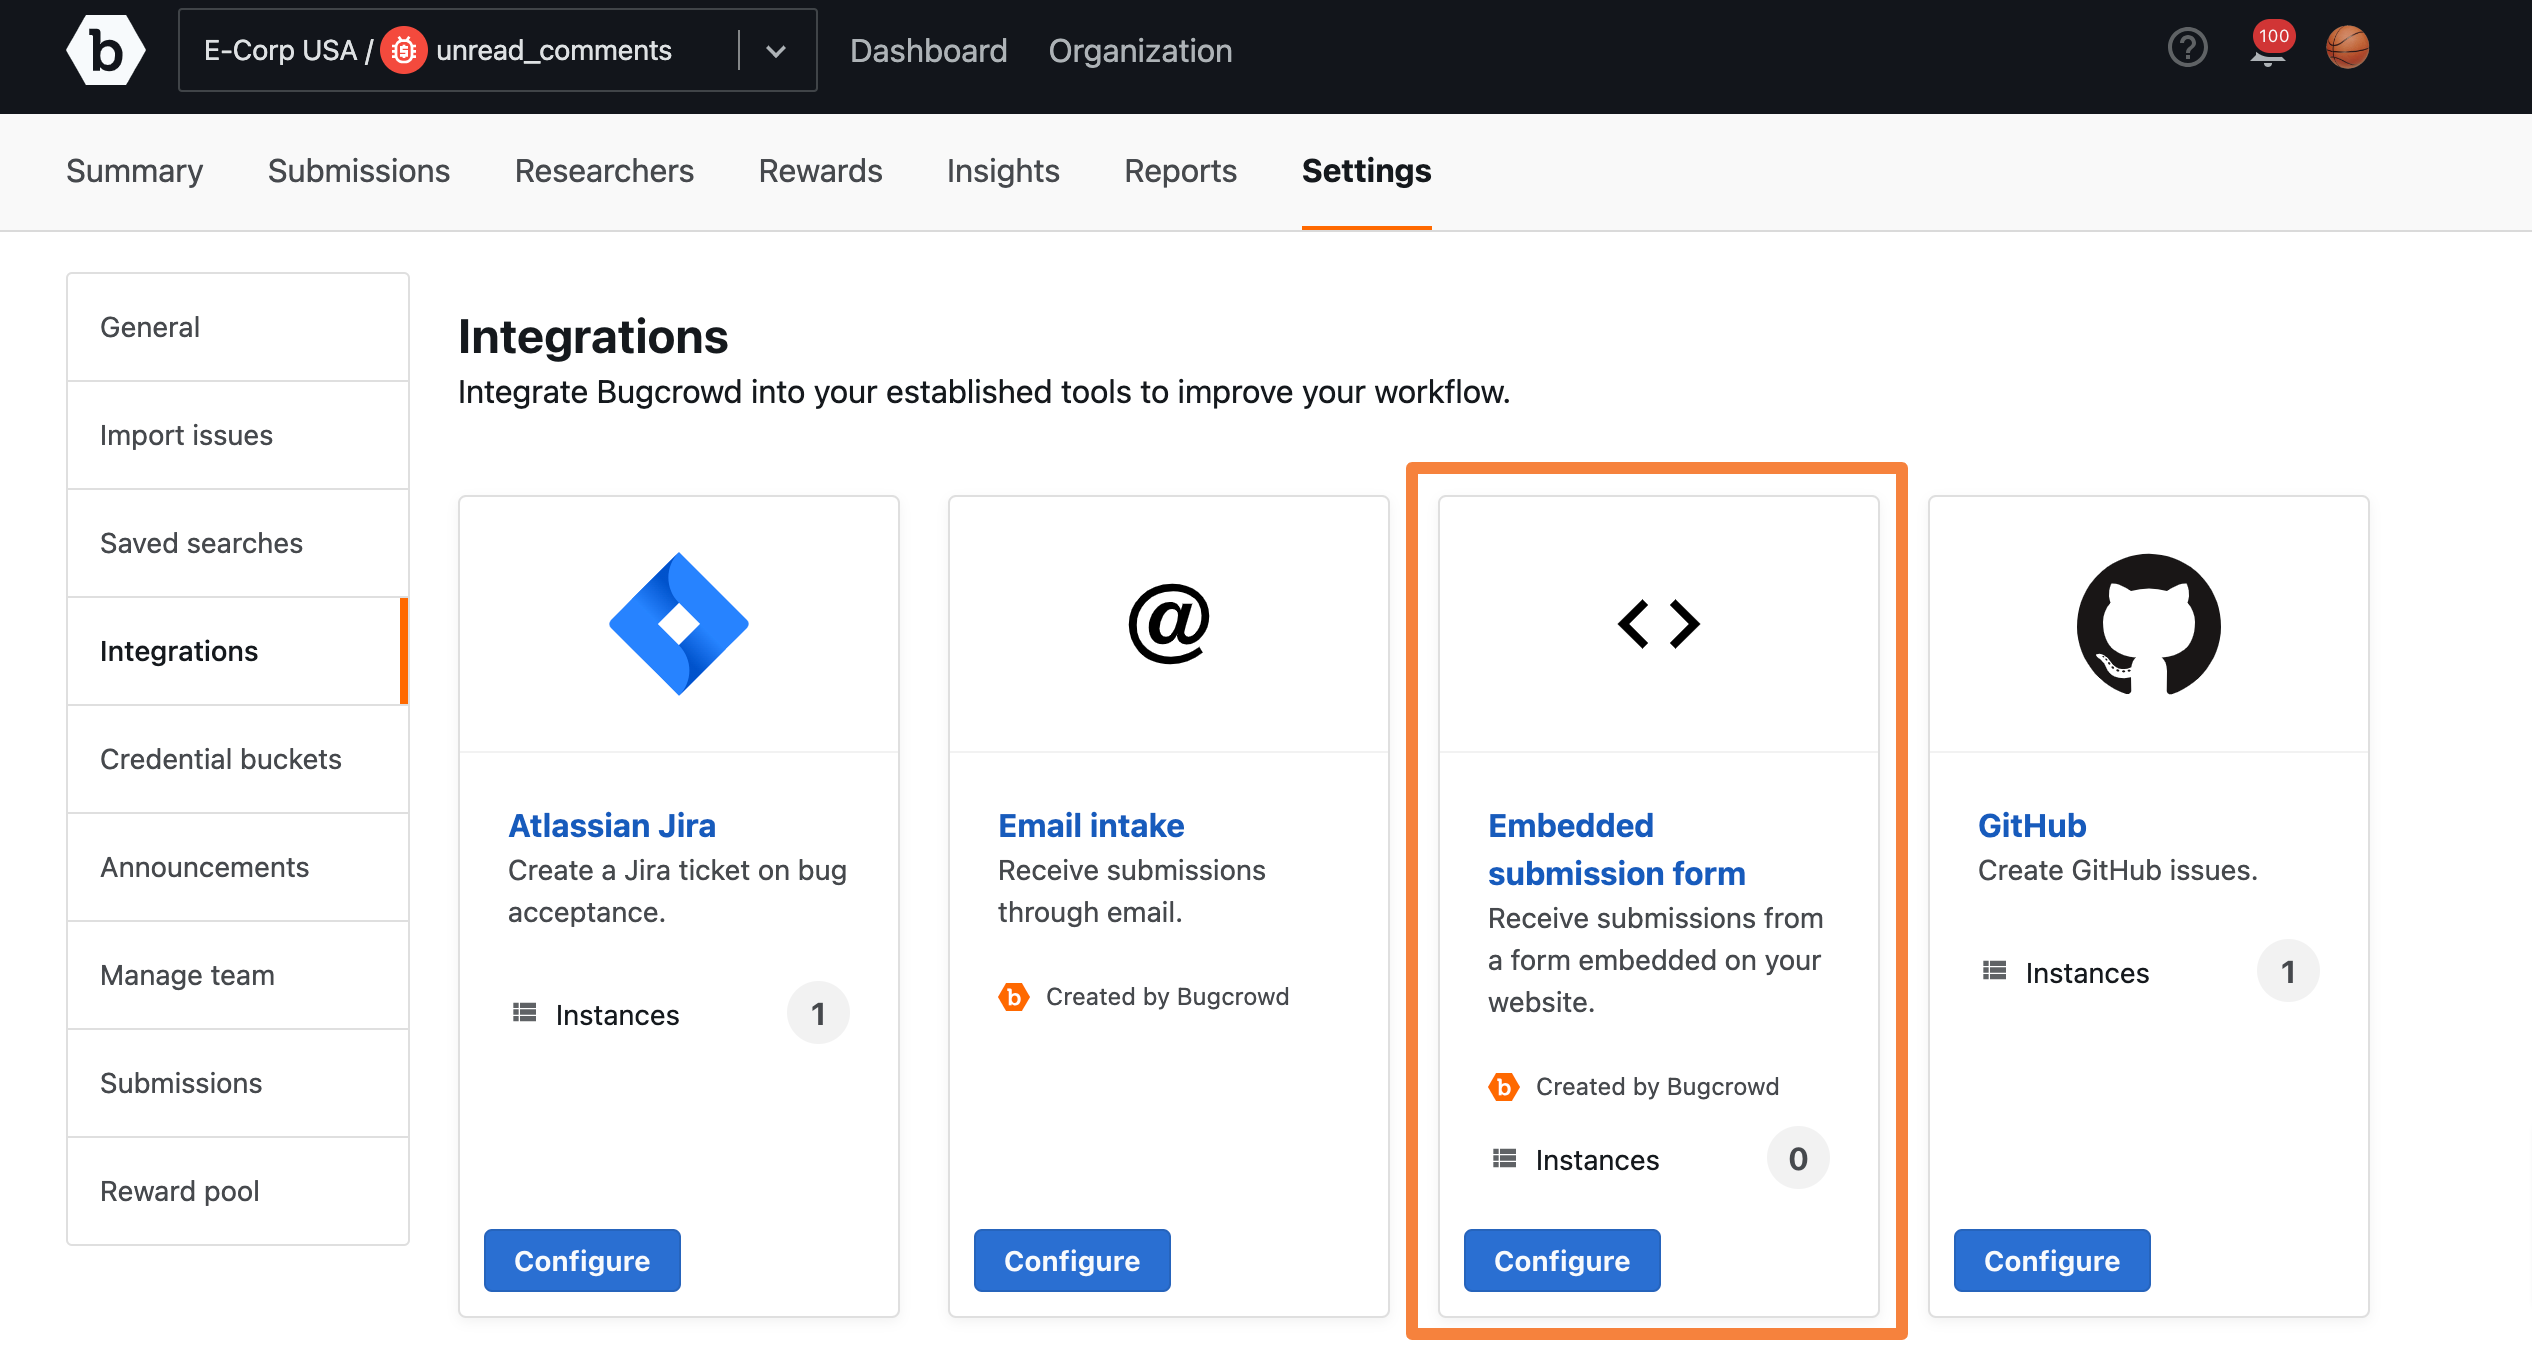
Click the Embedded submission form integration.
-
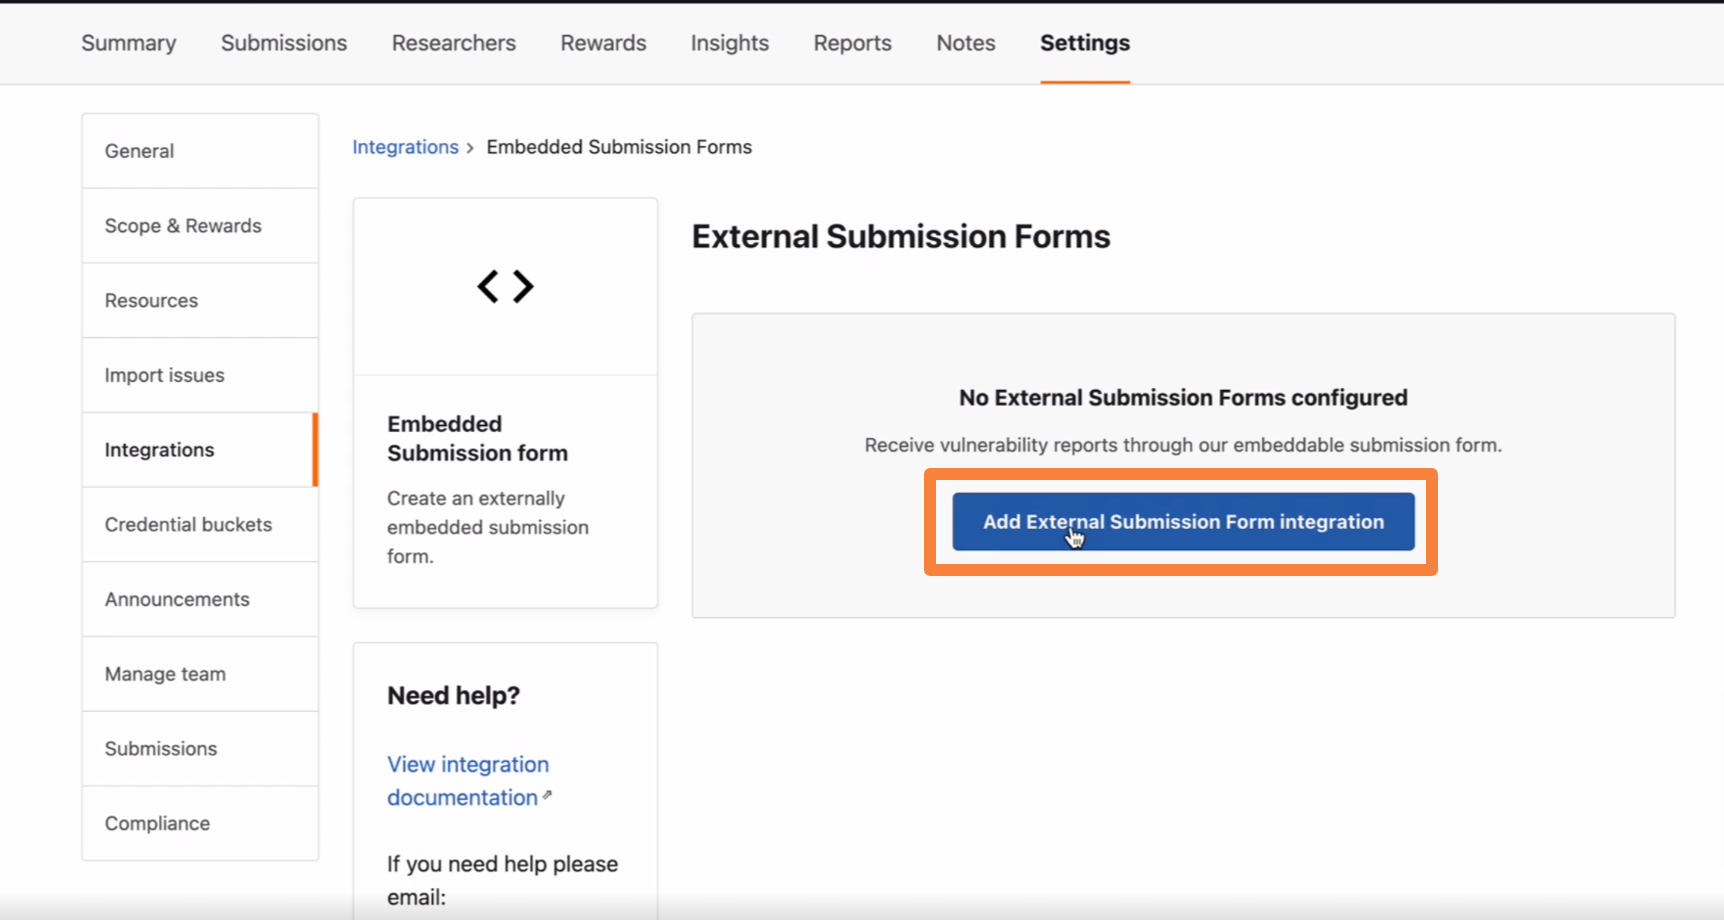
On the External Submissions Forms page, click the Add External Submission Form integration tab.
-
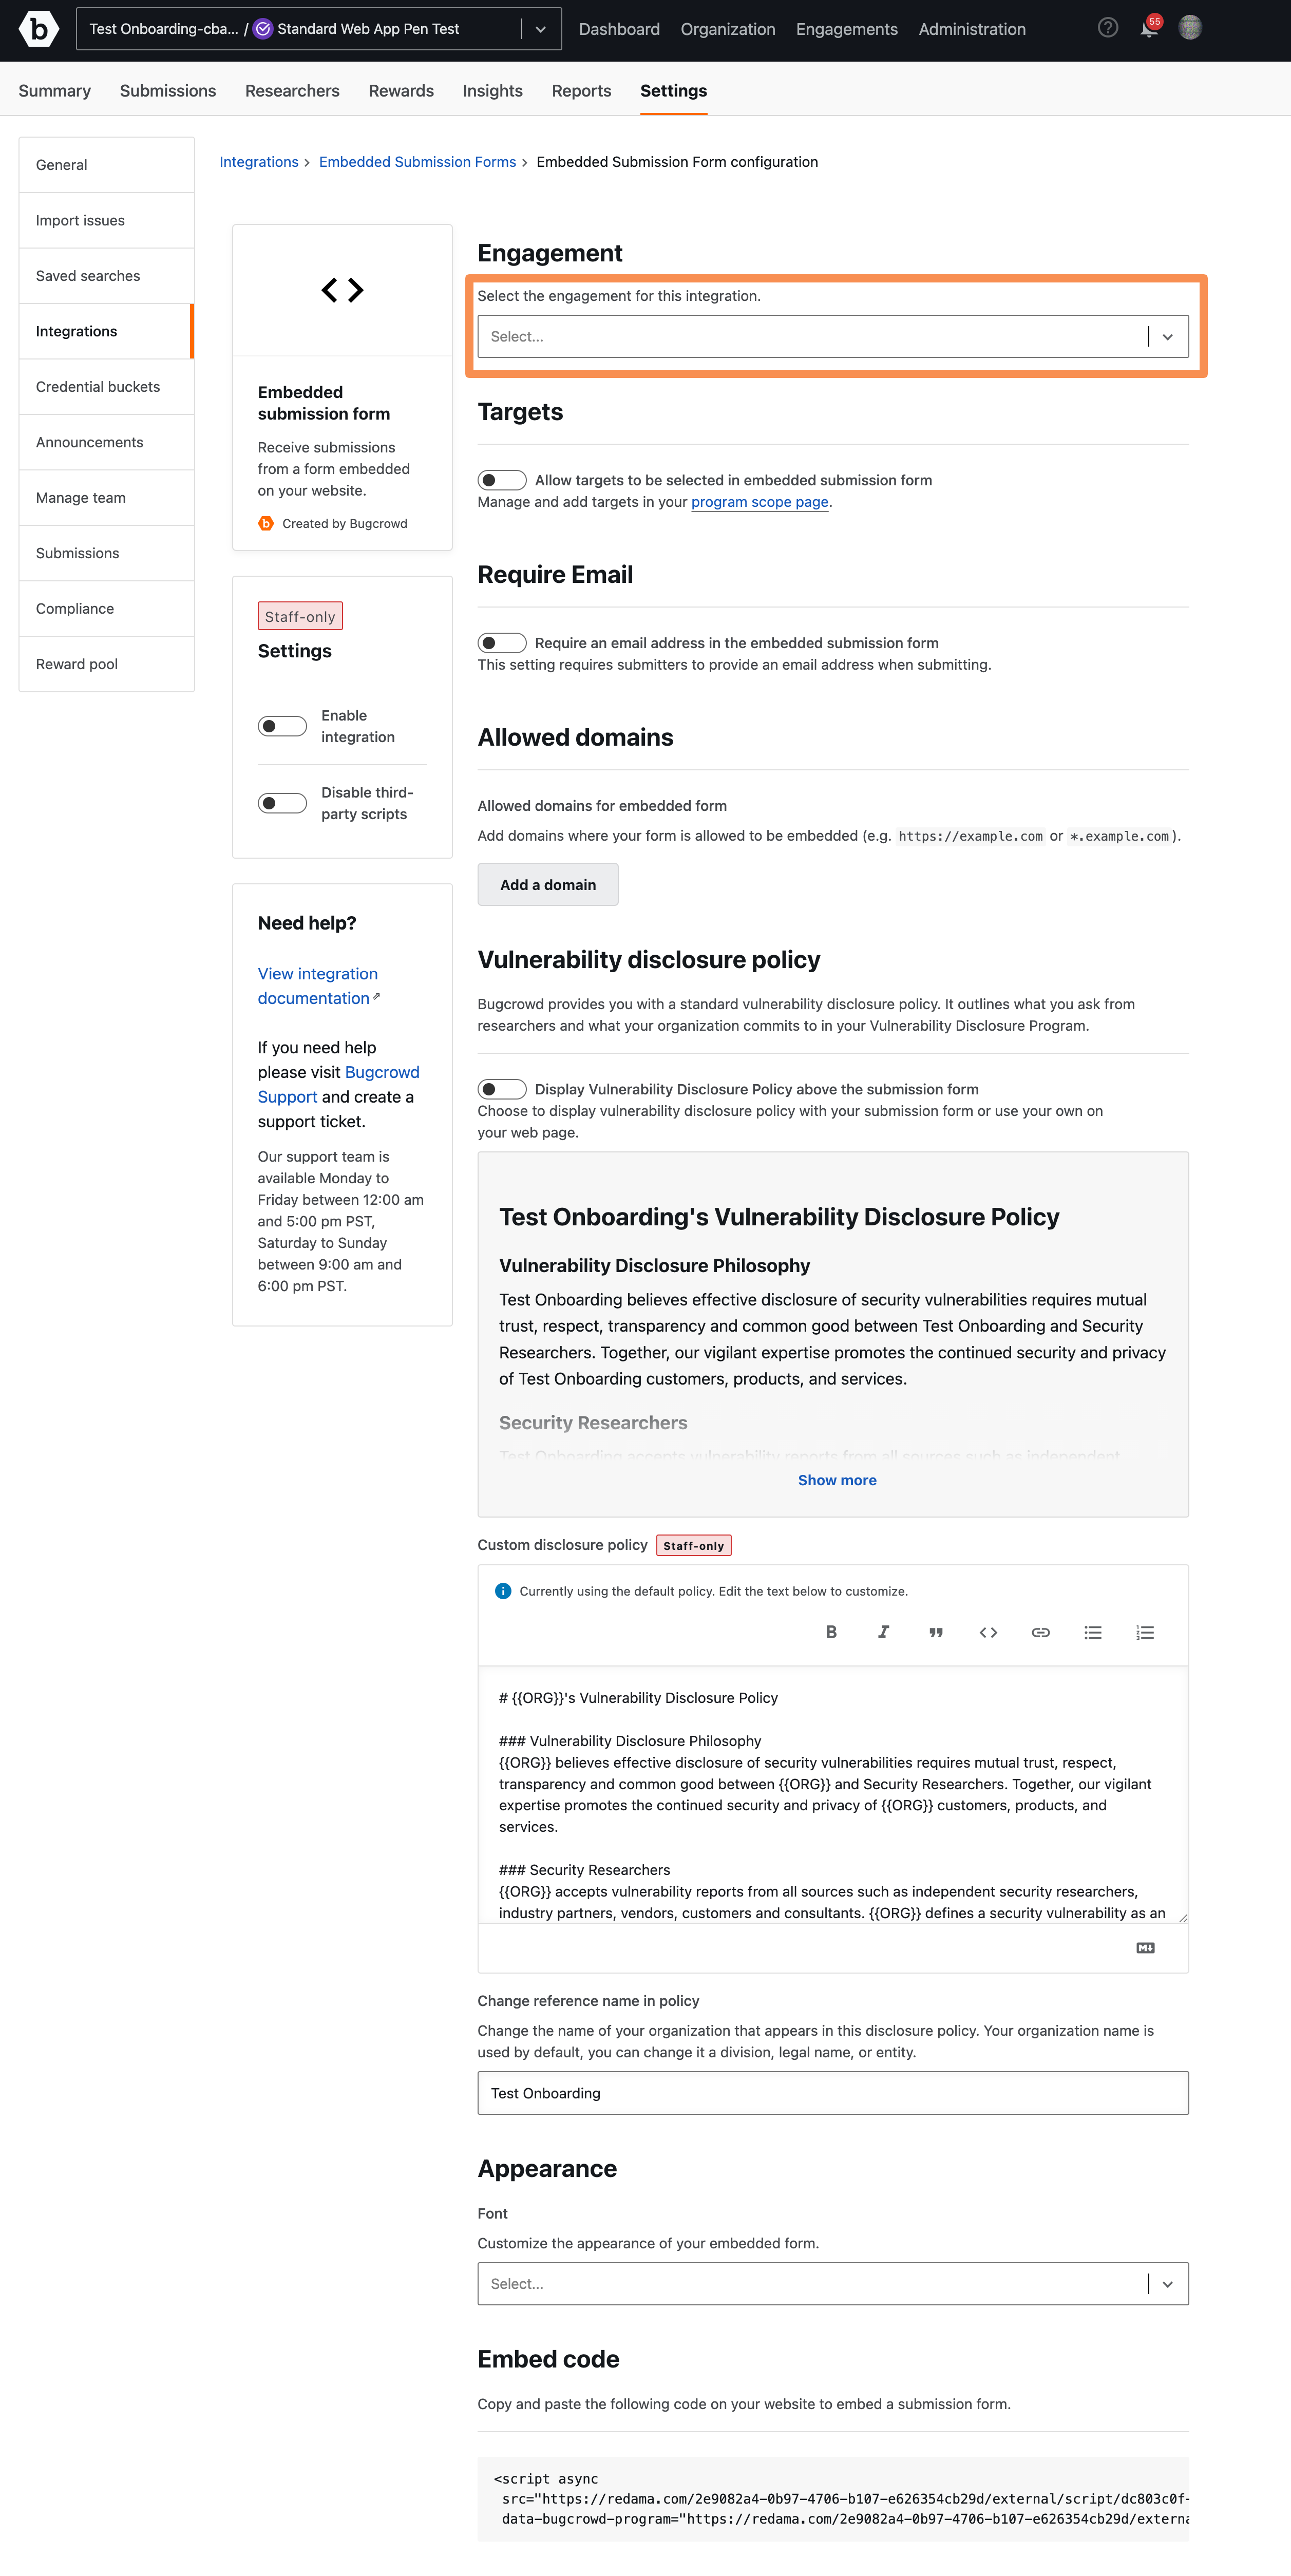
Select the Engagement from the drop-down.
Step 2: Enabling Target Selection
Target selection allows users to select from a list of targets that are within an engagement’s scope. By default, target selection is turned off. If you are running a public engagement, you may want to turn this option on to make this information available to users.
To enable target selection on the Submission form, select the Allow targets to be selected in embedded submission form option.

Step 3: Enabling Required Email
Enabling Require Email will require the user to provide an email address when they submit the form. By default the Require Email setting is turned Off.
To enable the Require Email, select the Require an email address in the embedded submission form option.

Step 4: Allow Listing Domains
It is necessary for you to allow list your site domain to prevent users from using your Submission form elsewhere. This can be done directly from the configuration page.
-
From the Allowed domains section of the configuration page, click Add a domain.

-
Enter the domain you want to allow and click outside the text box. The Integration updated message is displayed and the specified domain is saved. You can enter a fully qualified domain name or use an asterisk (*) as a wildcard.

Non-HTTPS site: If you using the embedded form on a non-https page, you have to include the scheme (
http://) on the allow list. -
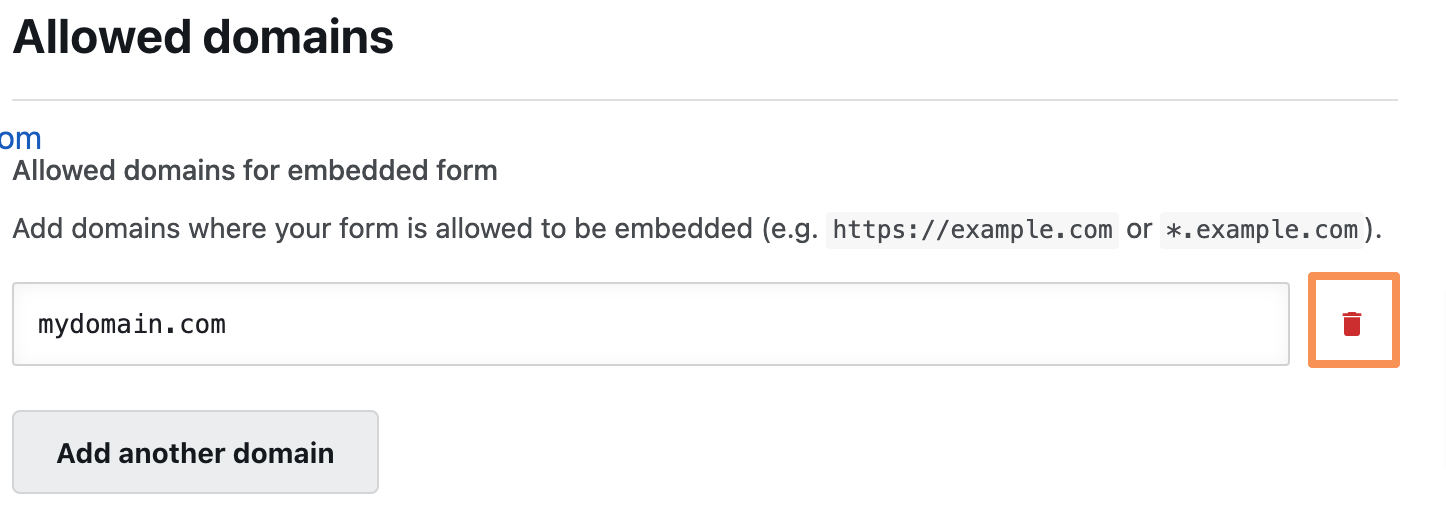
To remove a domain, click the bin icon.
Step 5: Customize the Appearance of your Embedded Submission Form
The Appearance section allows you to customize the appearance of your Embedded Submission Form.
To customize the appearance, click the Font drop-down and select a font that you wish to use.

Step 6: Embedding the Embedded Submission Form
-
Scroll down to the Embed Code section and copy the code.

-
Add it to the body of your web page.

-
Load the web page to view the form; you’ll see a notification that the integration has not been enabled.
Step 7: Enabling the Integration
The Embedded Submission Form must be set to live before you can start receiving submissions. To turn it on, submit a support ticket through the Bugcrowd Support Portal.
Step 8: Receive Submissions
Now that you have embedded the form and enabled the integration, users will be able to go to the web page to submit vulnerabilities via the embedded form. As vulnerabilities are submitted, they will appear in Crowdcontrol for you to review.
Troubleshooting
If your Embedded Submission Form is not working, use the following to troubleshoot the issue:
-
If you are running any content filtering intermediary (such as Ensighten MarSec), make sure that it does not block the loading of the submission form javascript. The javascript snippet must be in the <body> of your page and not in the <head>. Some javascript content tools (such as react-helmet) places the snippet in the <head>, which will not load the page.
-
Even though the element of our snippet are namespaced, double-check that there are no conflicts between the class names and the IDs of the snippet.
-
If your company employs a strict CSP policy, then add the following to the rules:
Content-Security-Policy = "default-src 'self' bugcrowd.com
assets.bugcrowdusercontent.com; script-src 'self' bugcrowd.com
assets.bugcrowdusercontent.com; frame-src 'self' bugcrowd.com
assets.bugcrowdusercontent.com;”
