Before you create a Essentials VDP, you must have the following details:
- Organization or company name
- Domains to embed the submission form
- Targets you want to specify in the program
The steps to add a Essentials VDP are:
- Provide a program name
- Review vulnerability disclosure policy
- Add domains where the submission form must be embedded
- Schedule program launch date
- Set targets
- Review details and submit
To add a Essentials VDP:
-
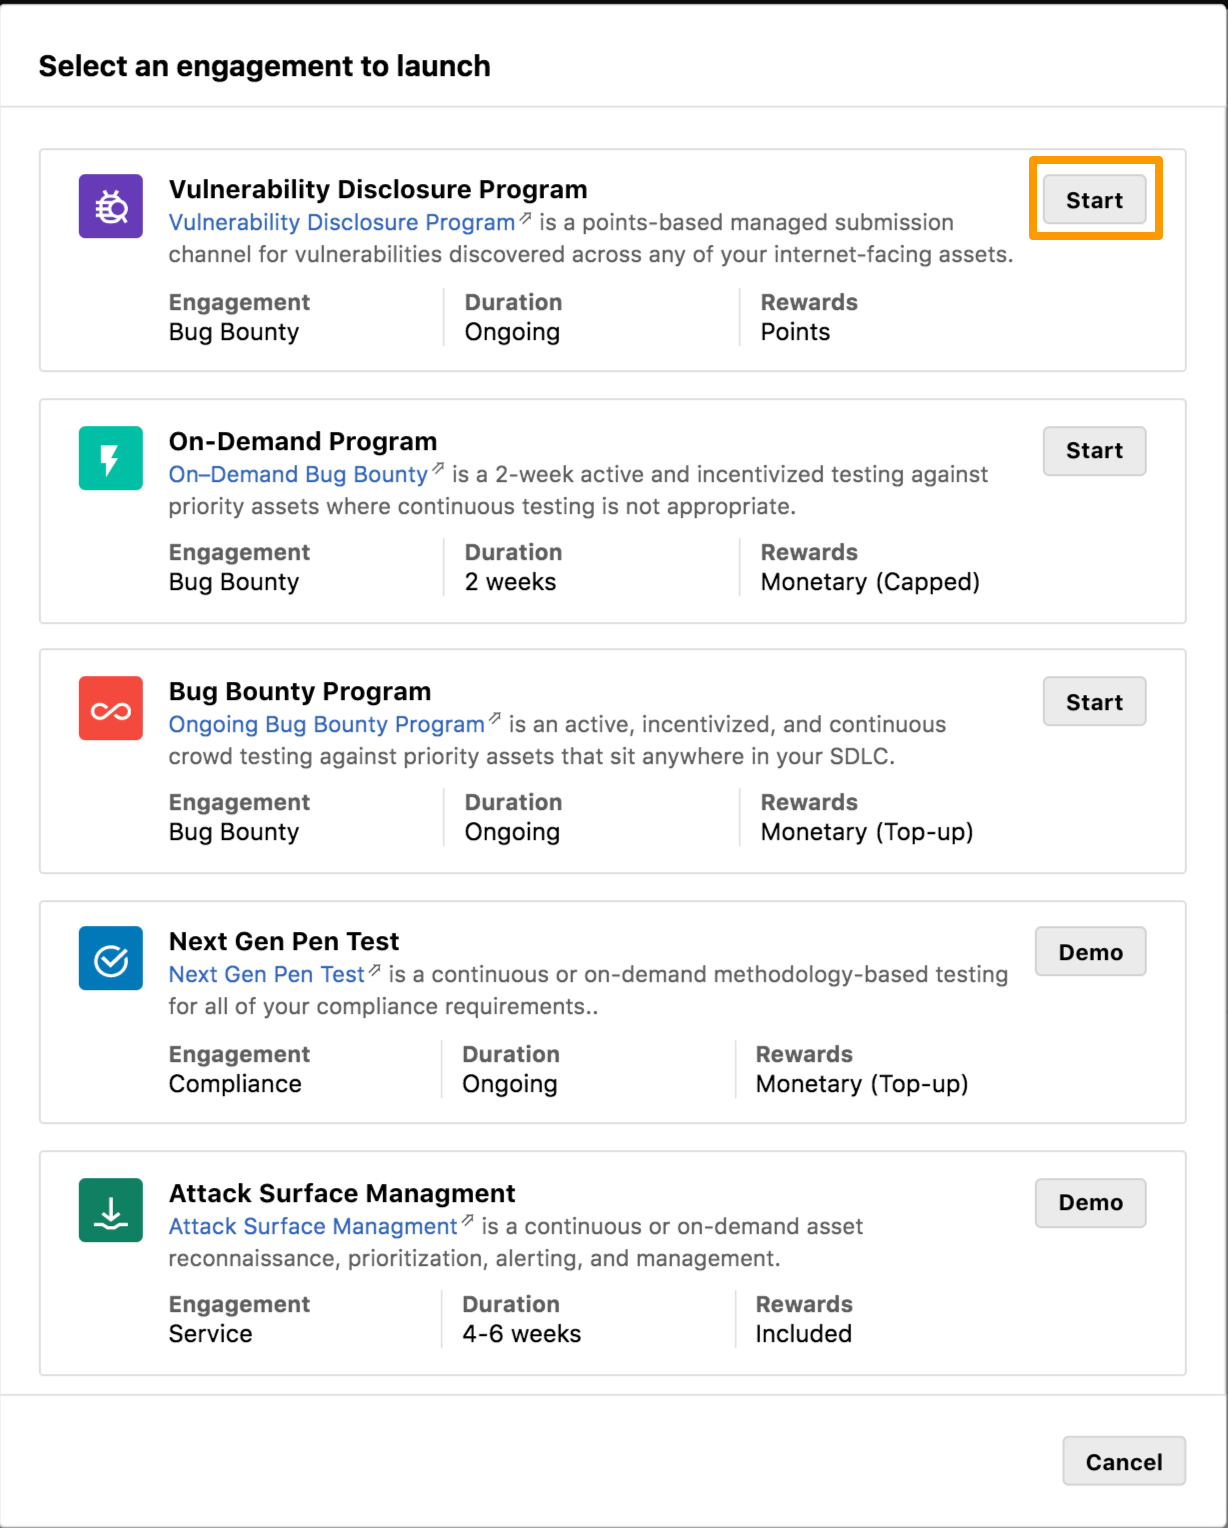
In the Select a program to launch window, click Start for Vulnerability Disclosure Program.
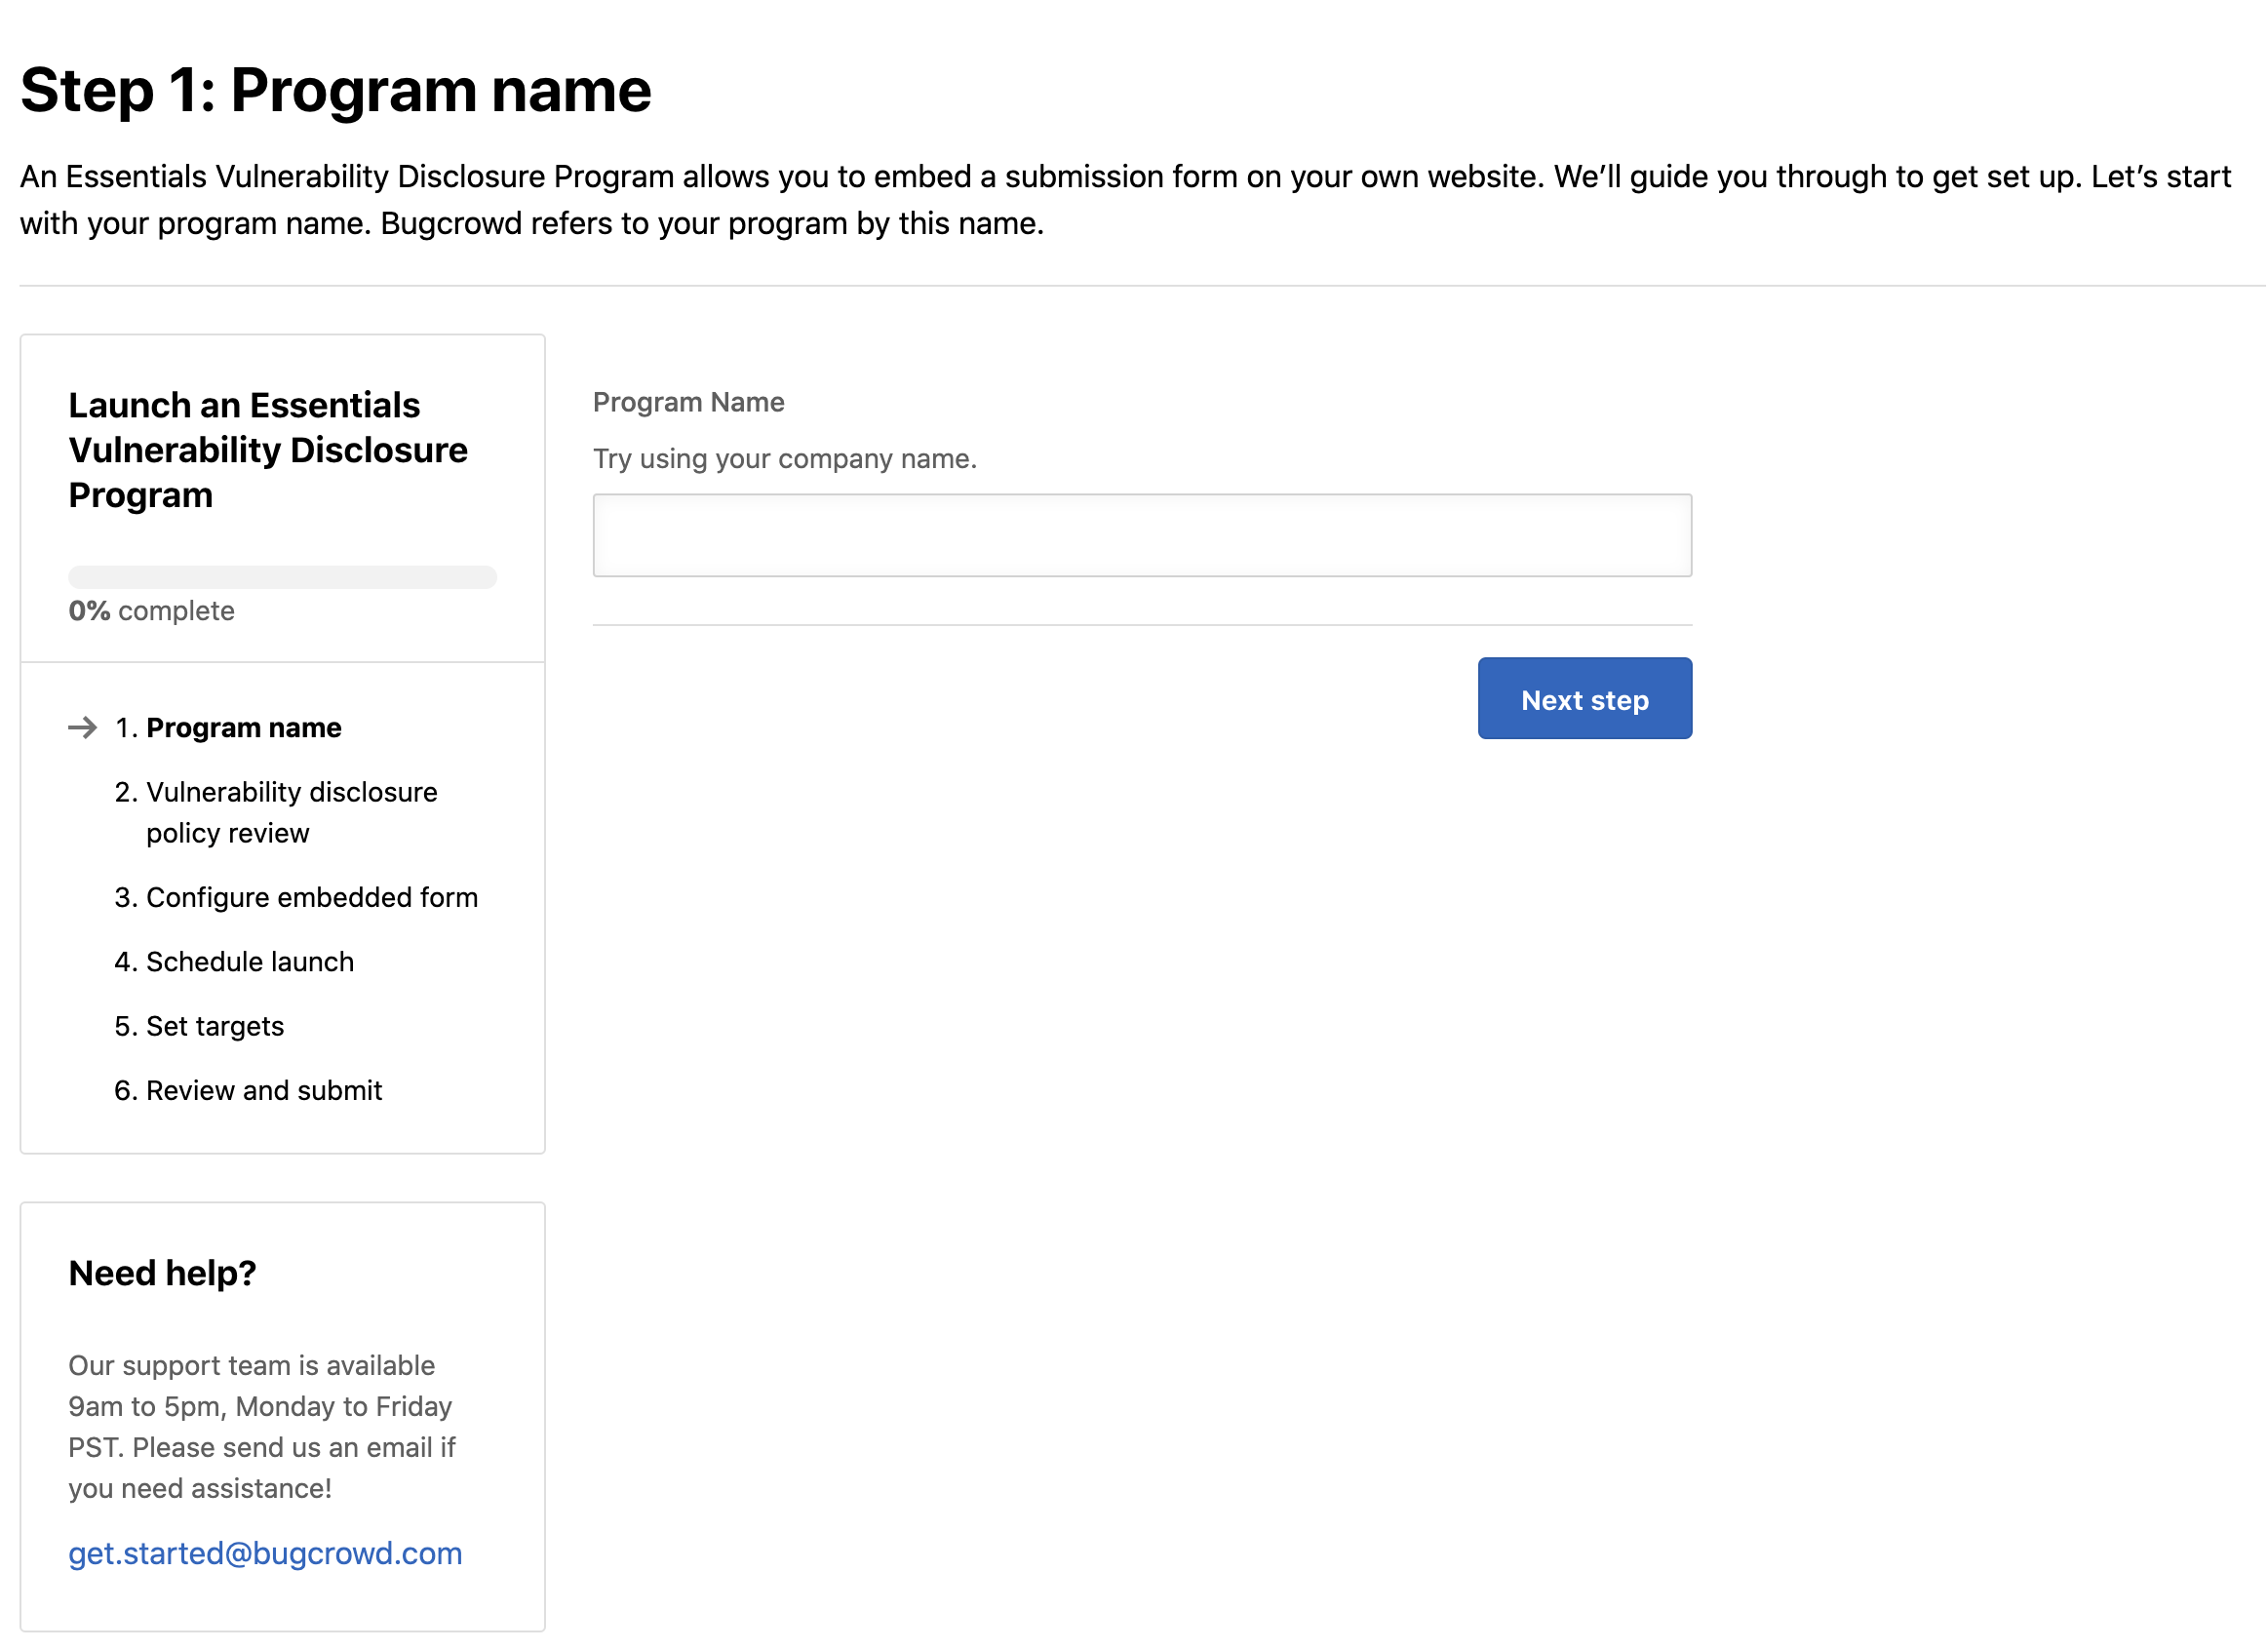
The Step 1: Program name page is displayed.
-
Provide a name for your program and click Next step.
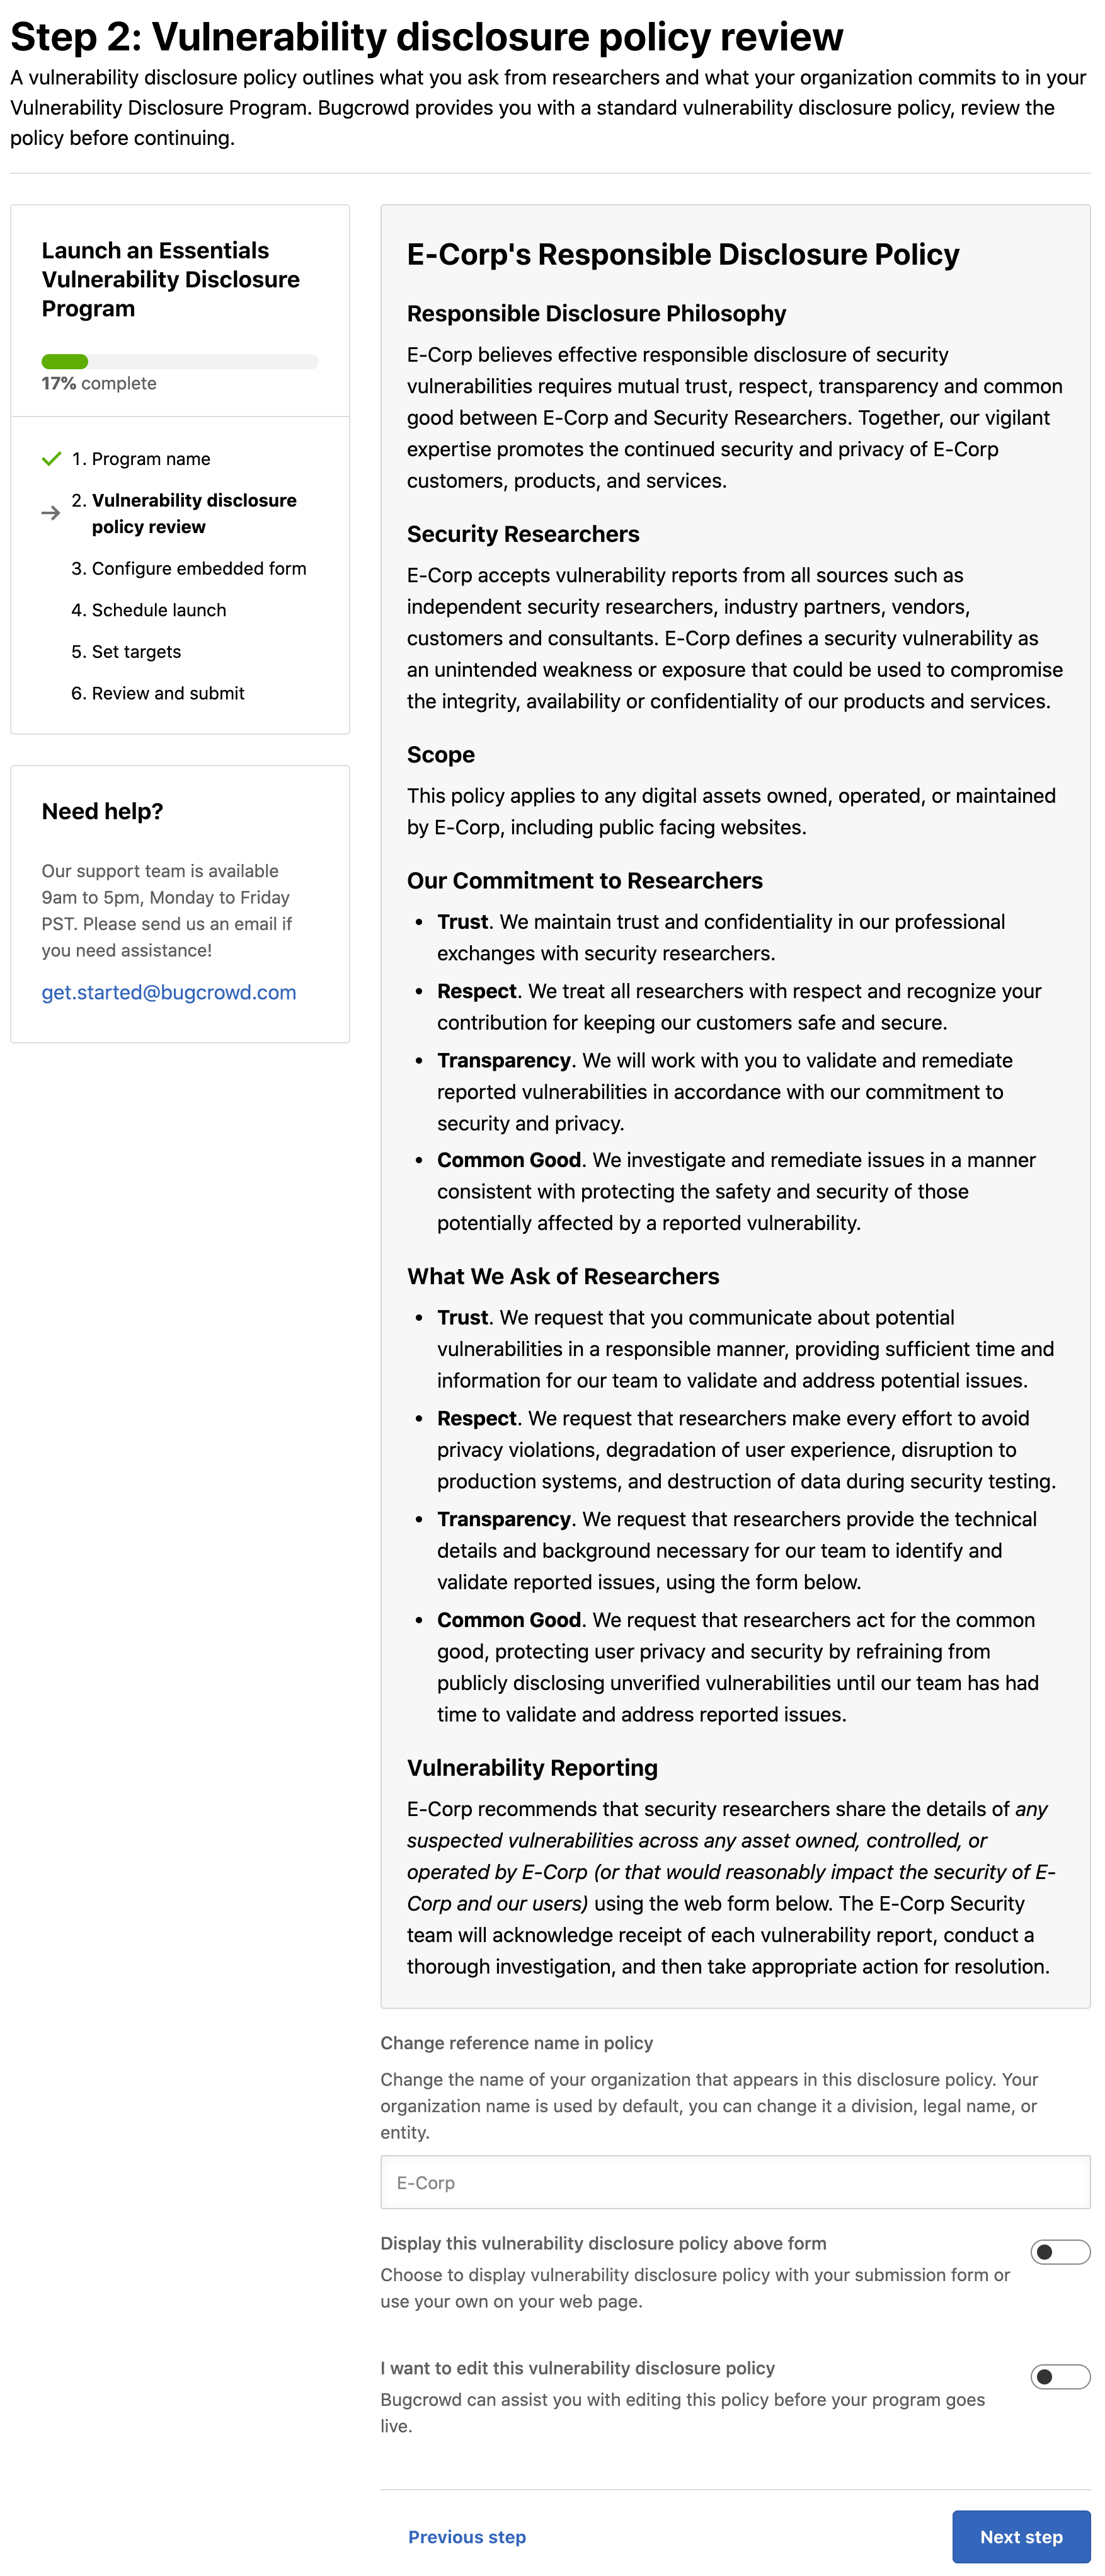
The Step 2: Vulnerability disclosure policy review page is displayed.
-
Read the disclosure policy. Perform the following:
- Change reference name in policy: Change the name of your organization in the policy. Your organization name is used by default. You can change it to a division, legal name or entity.
- Display this vulnerability disclosure policy above form: Bugcrowd provides customers with a standard vulnerability disclosure policy outlining the researchers’ expectations and states the customers’ commitment. You can choose to display your disclosure policy or make changes to the default policy by contacting your Account Manager.
- I want to edit this vulnerability disclosure policy: Bugcrowd can assist you with editing this policy before the program is live.
Click Next step.
The Step 3: Configure embedded form page is displayed.
-
Click Add a domain for specifying the domains where you want the submission form to be embedded.
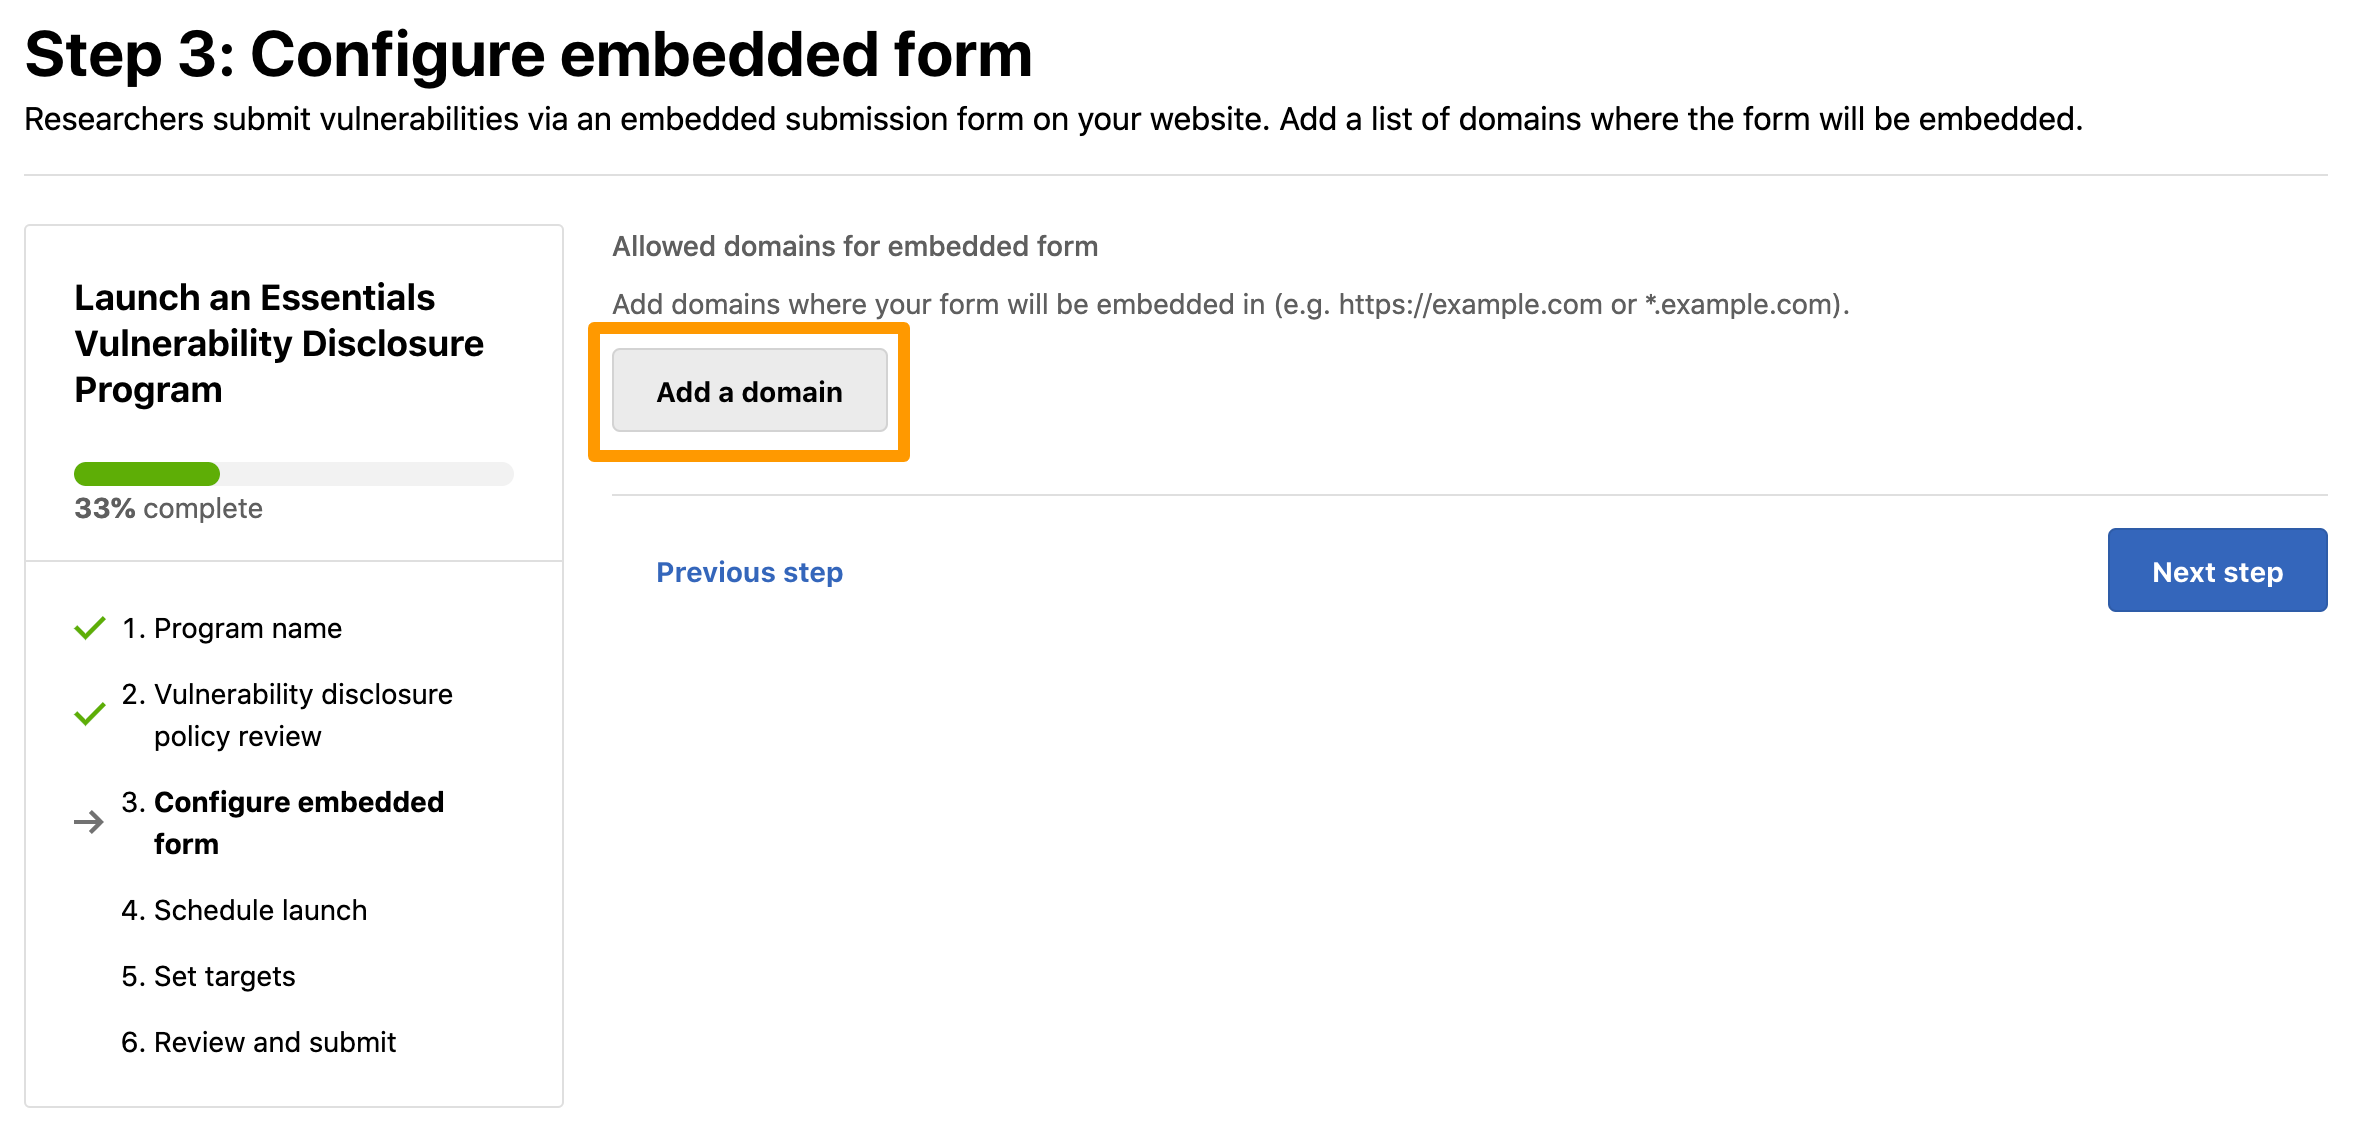
For example,
https://example.comor*.example.com.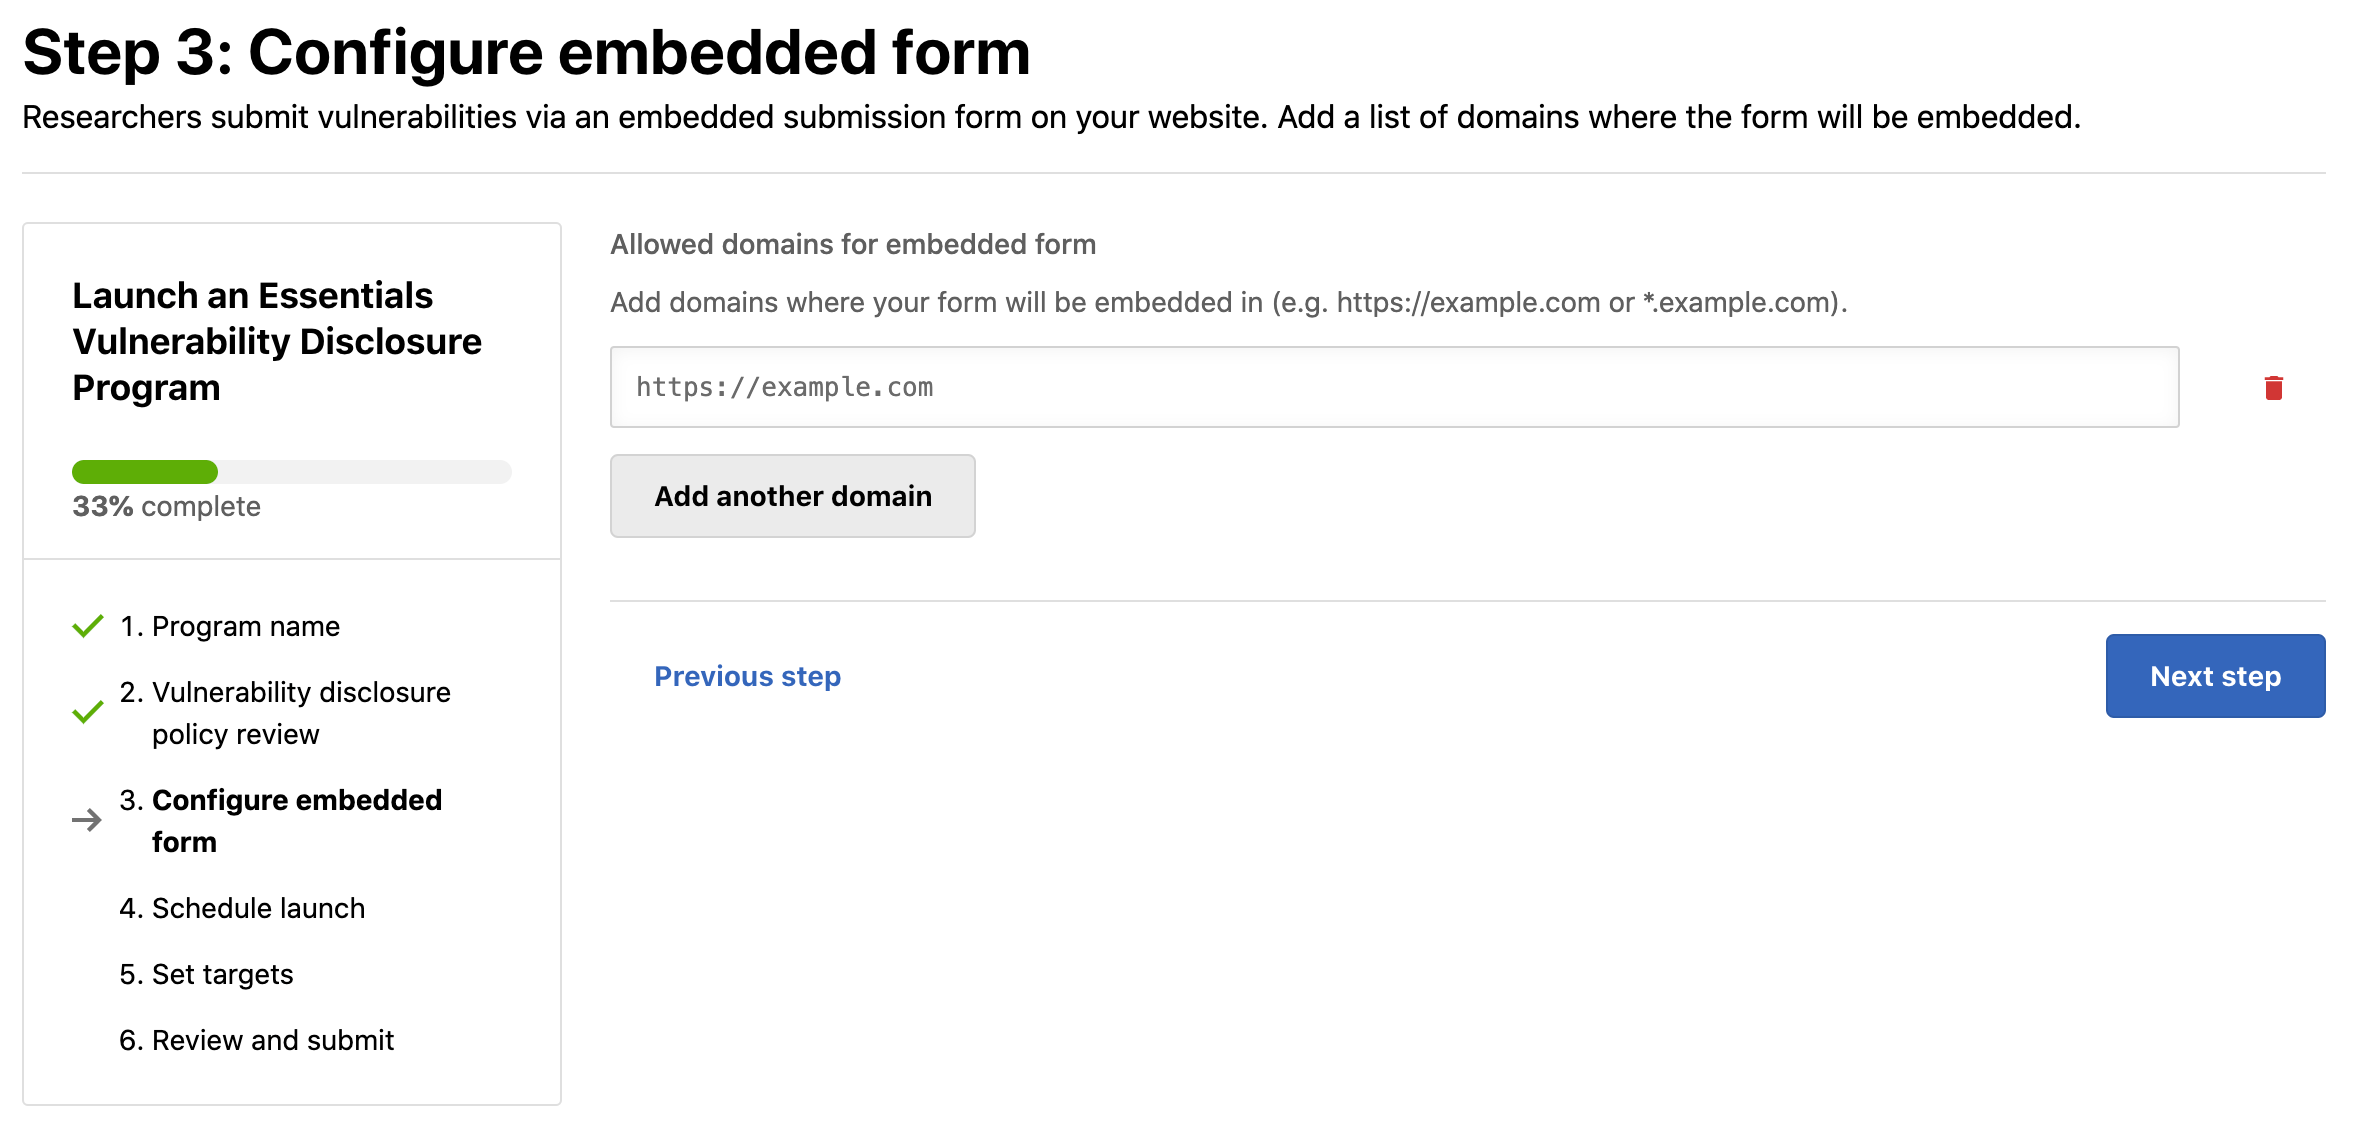
You can add multiple domains using Add another domain.
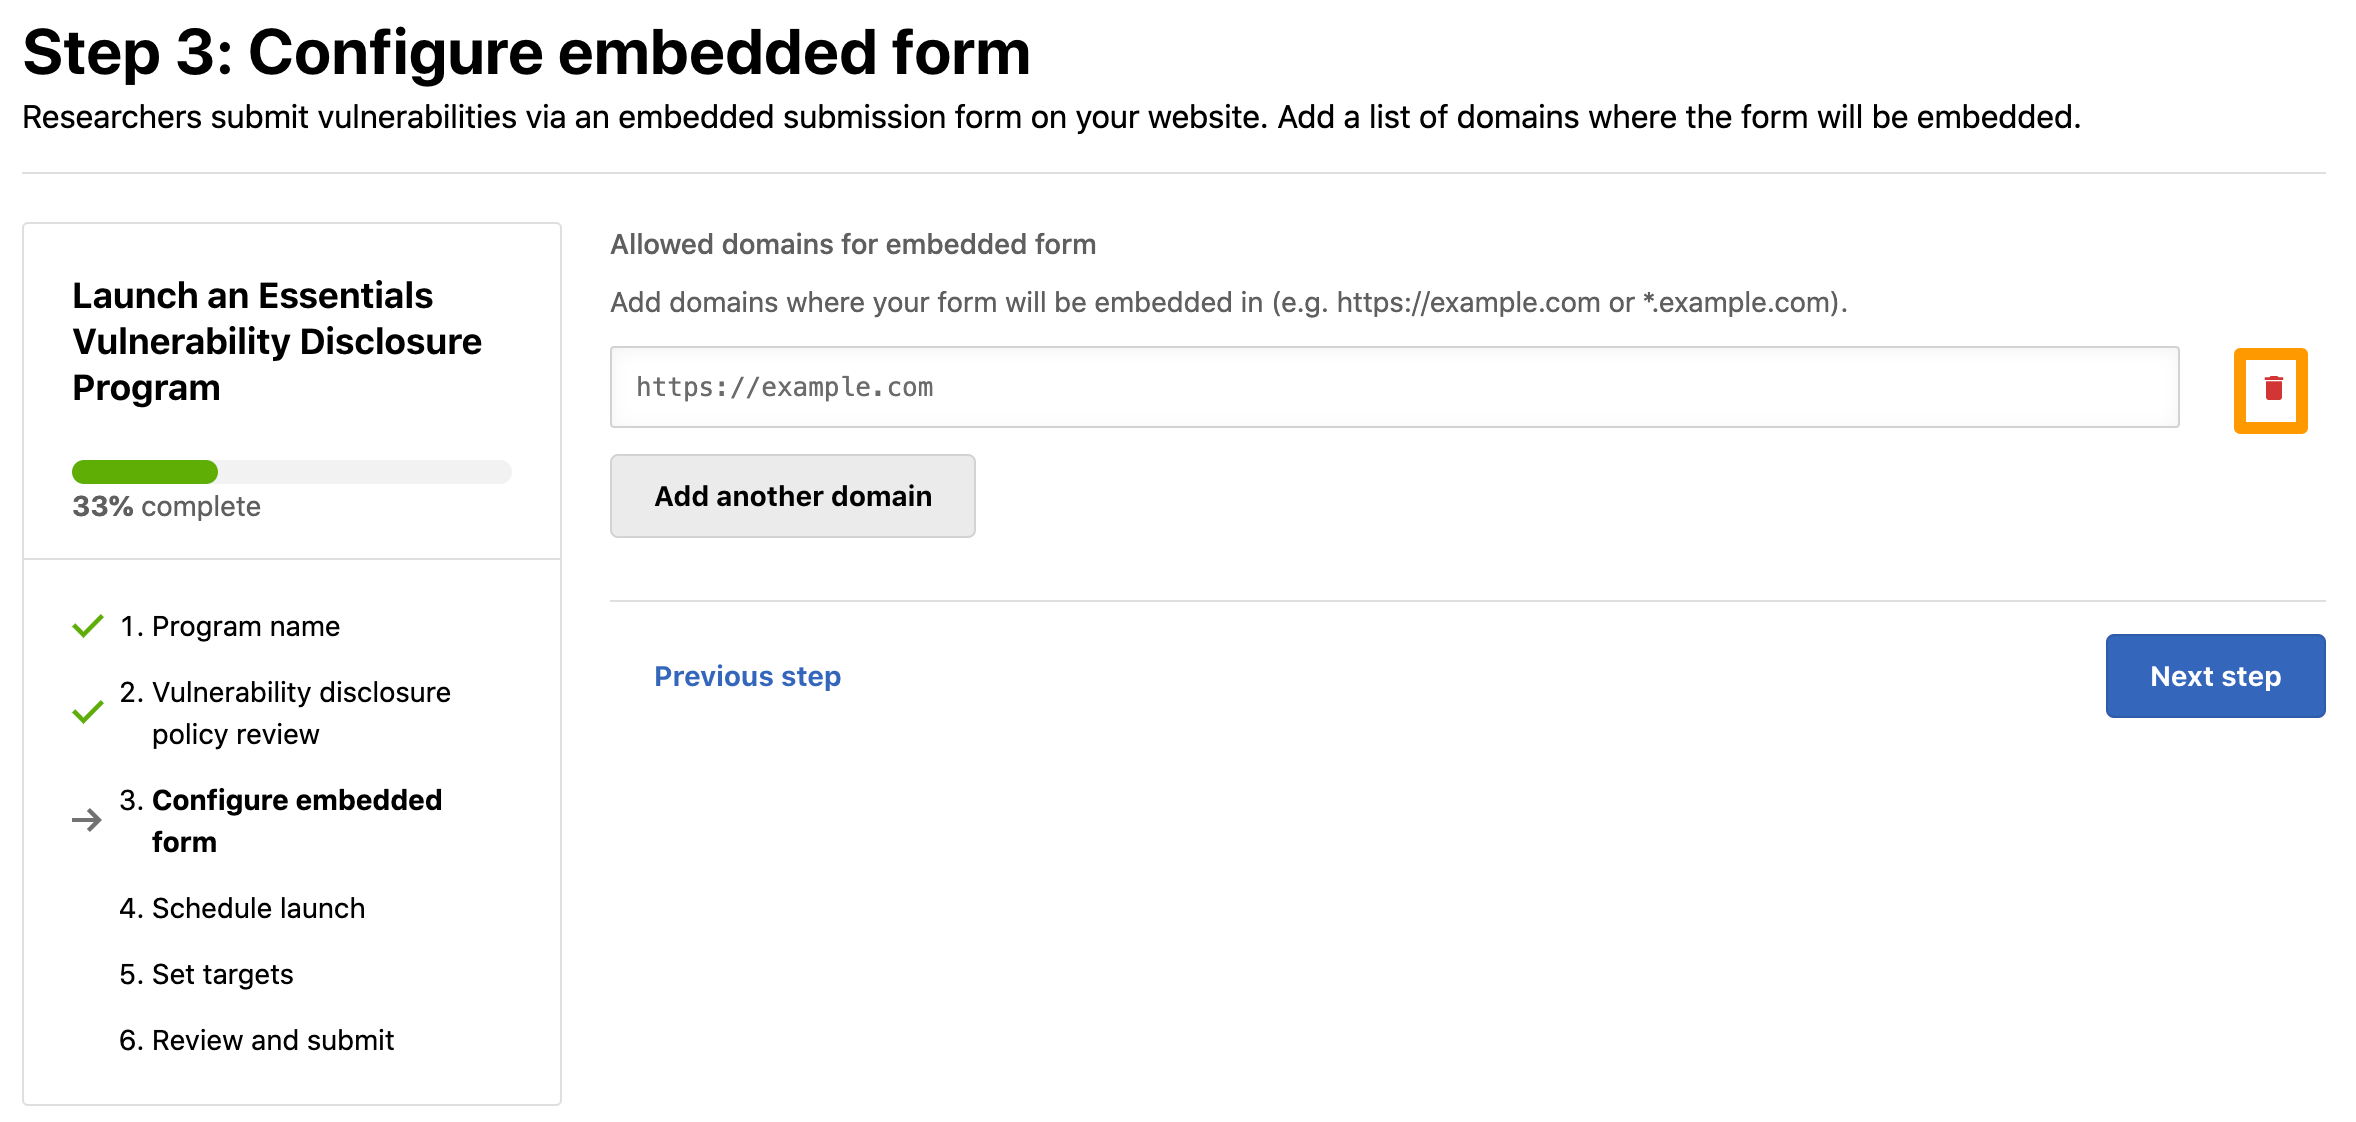
To delete a domain, click the Delete icon.
-
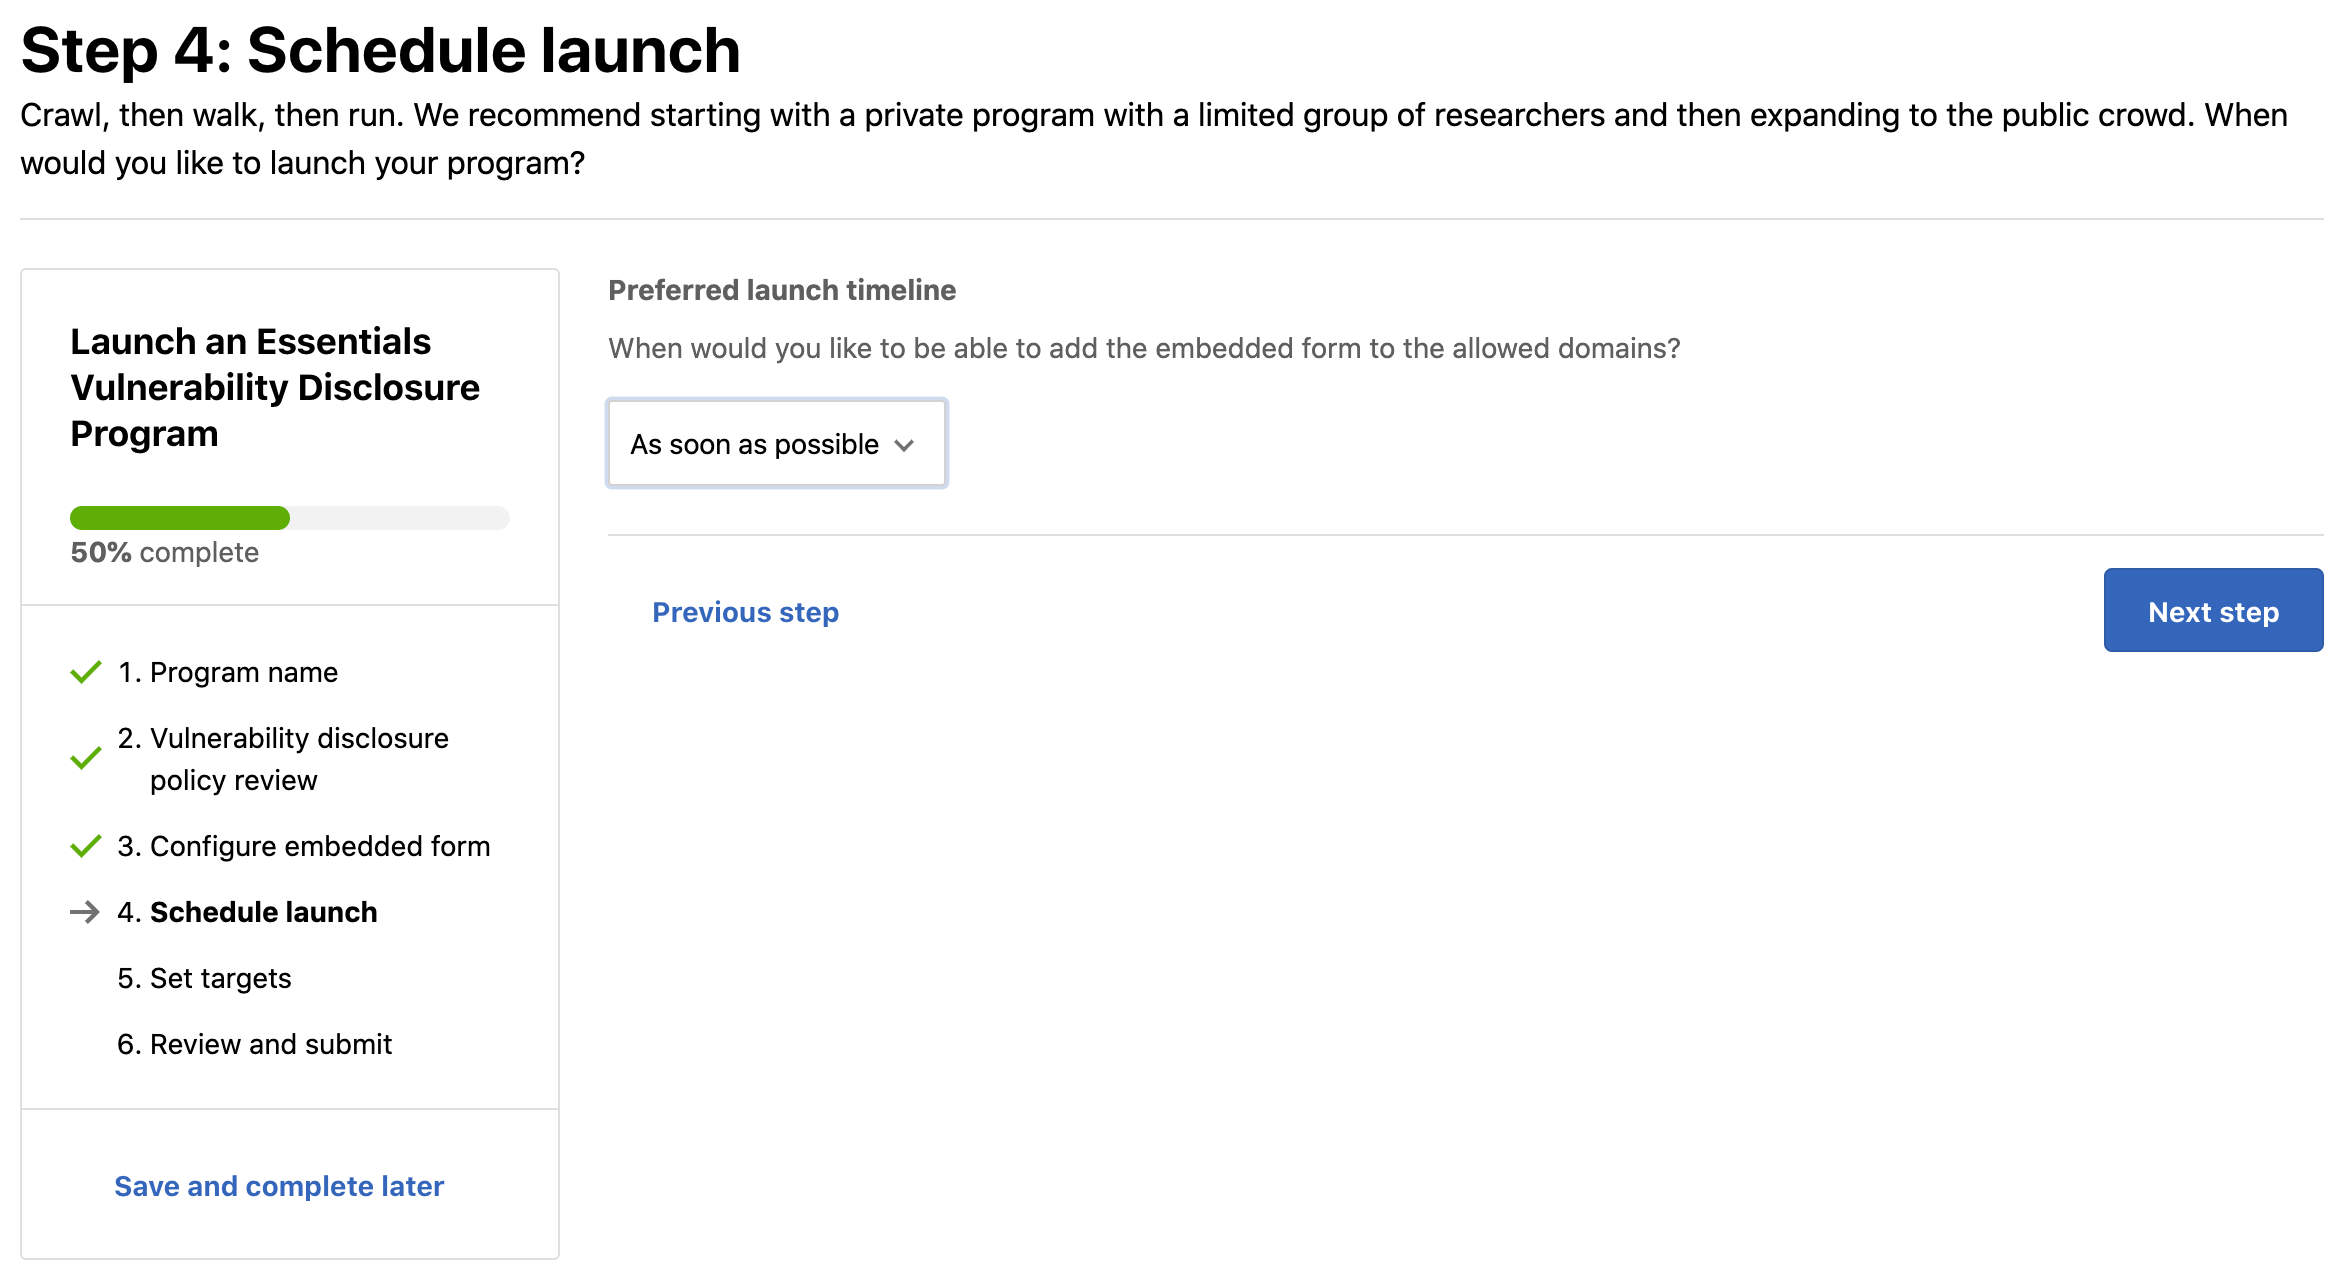
Click Next step. The Step 4: Schedule launch page is displayed.
-
Select the preferred launch timeline. The options are:
- As soon as possible
- Within a month
- More than a month
-
Click Next step.
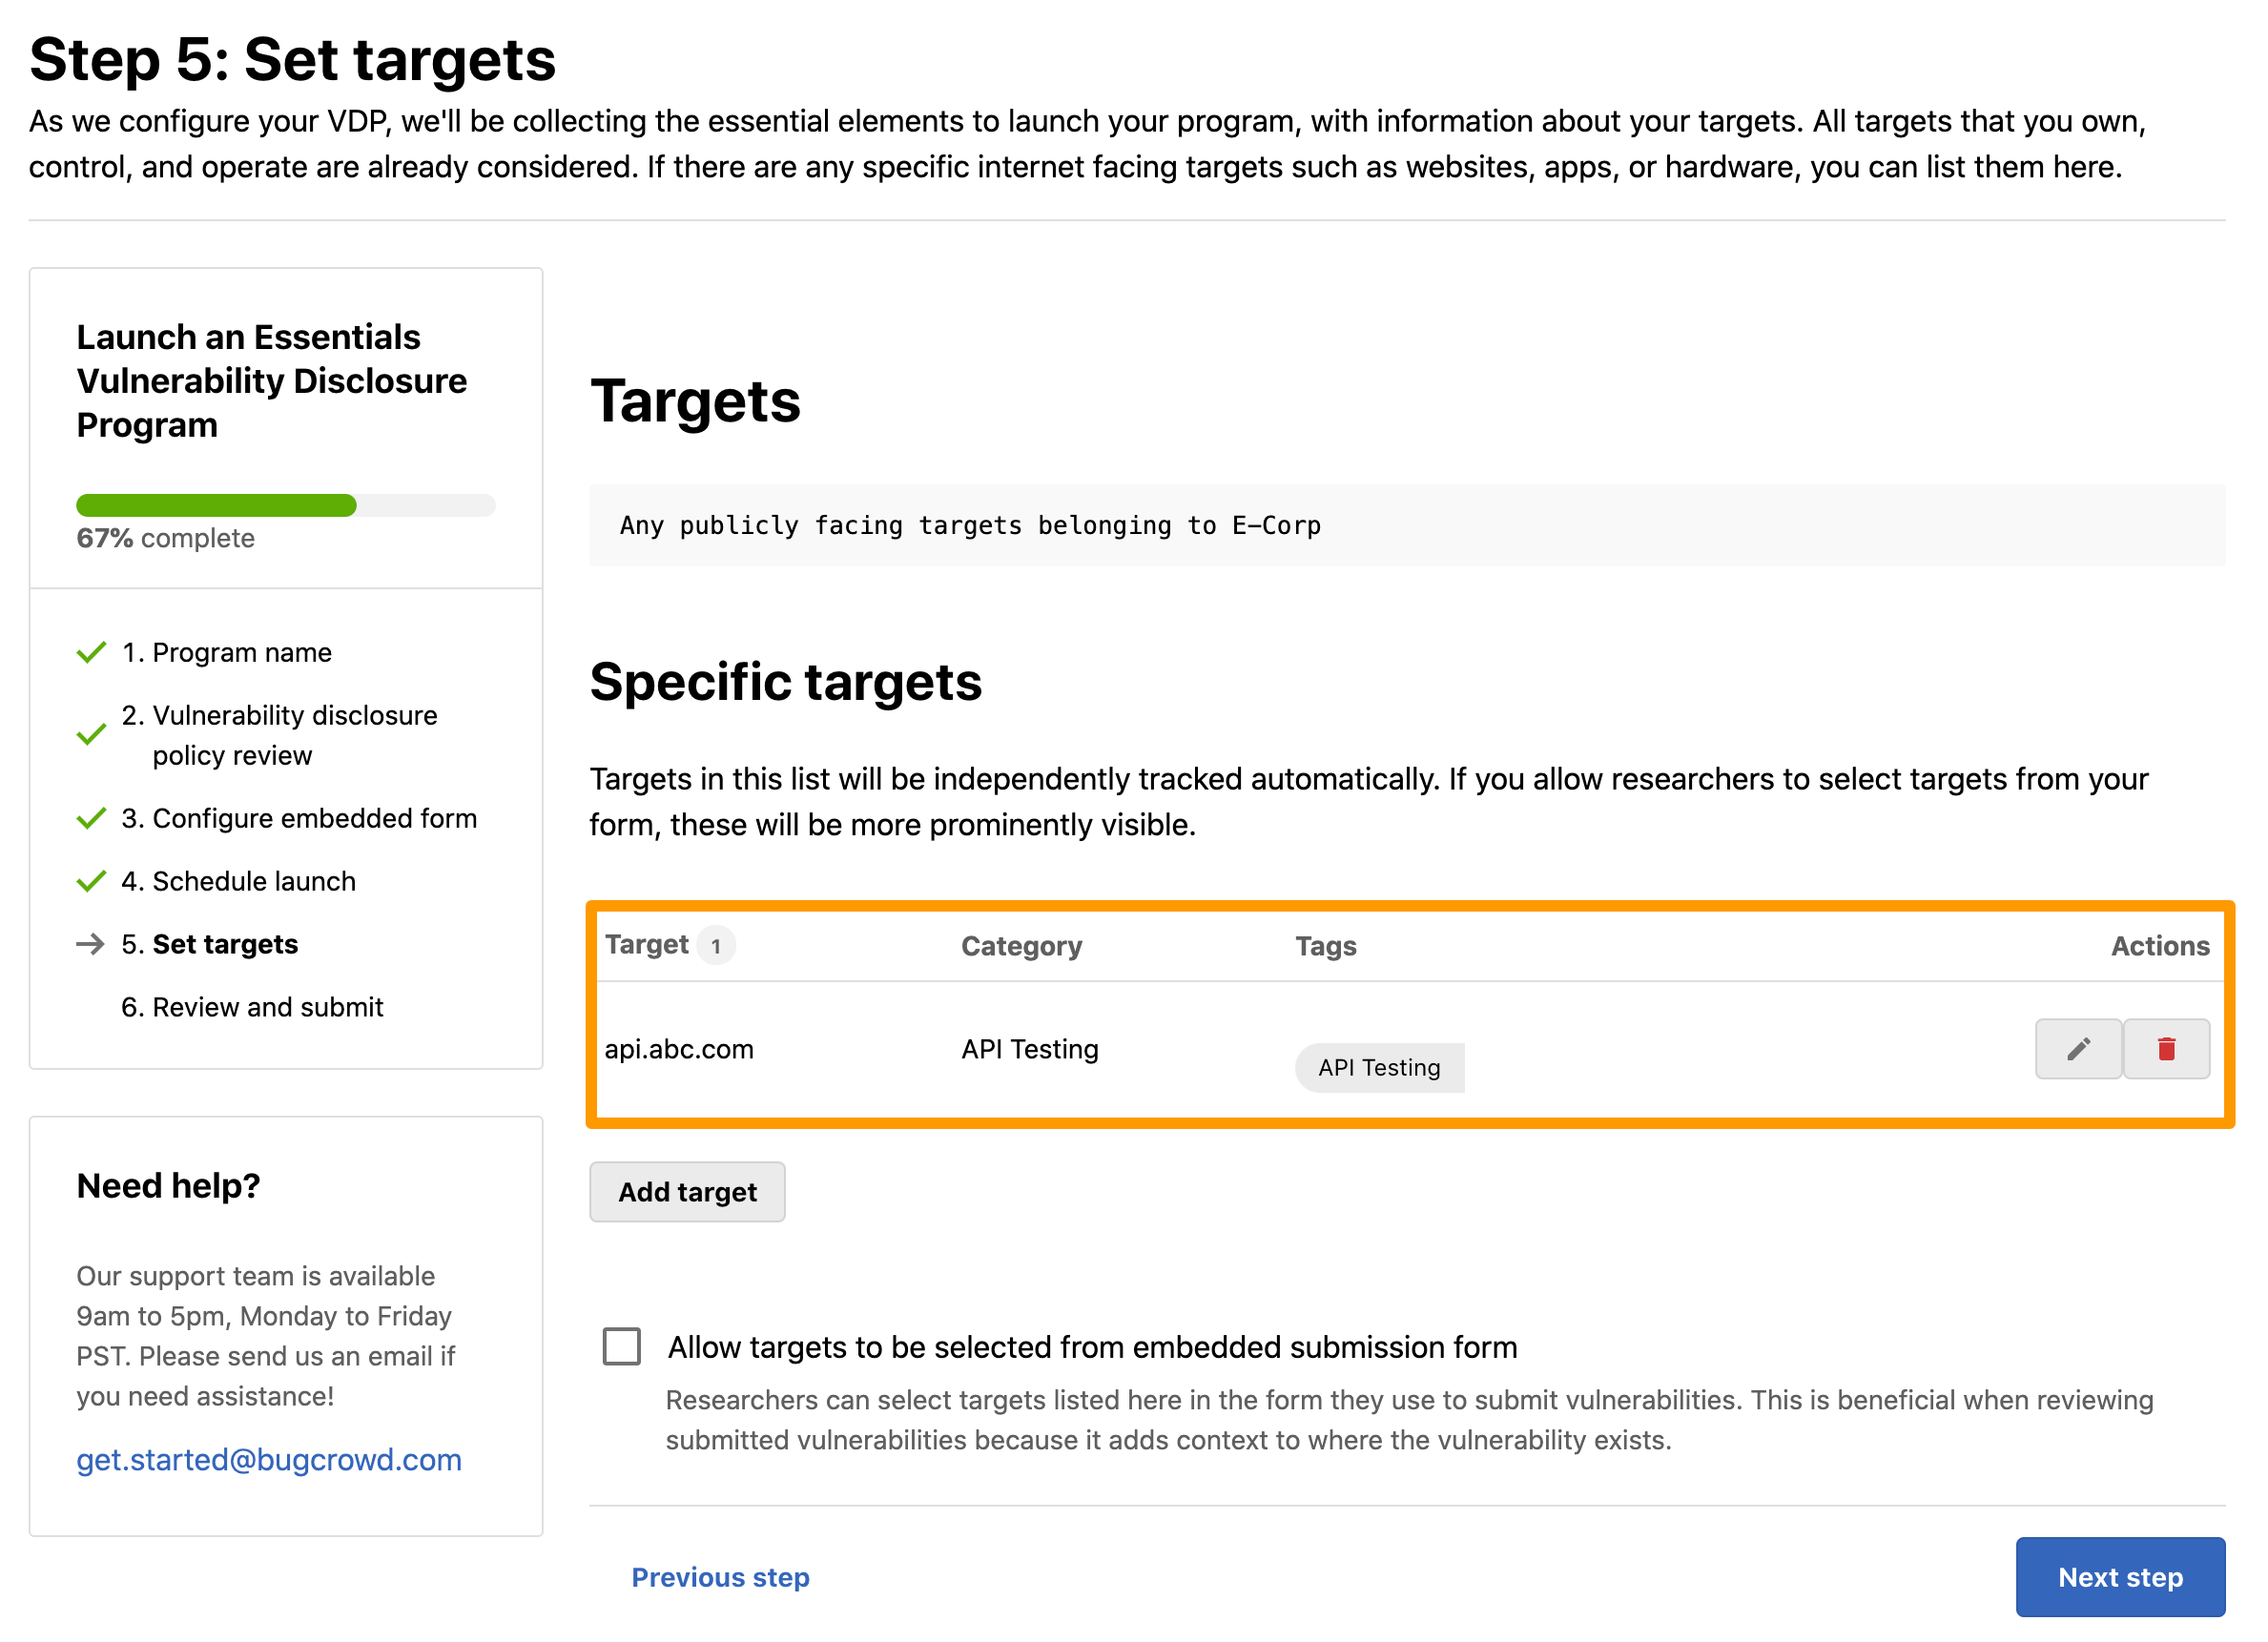
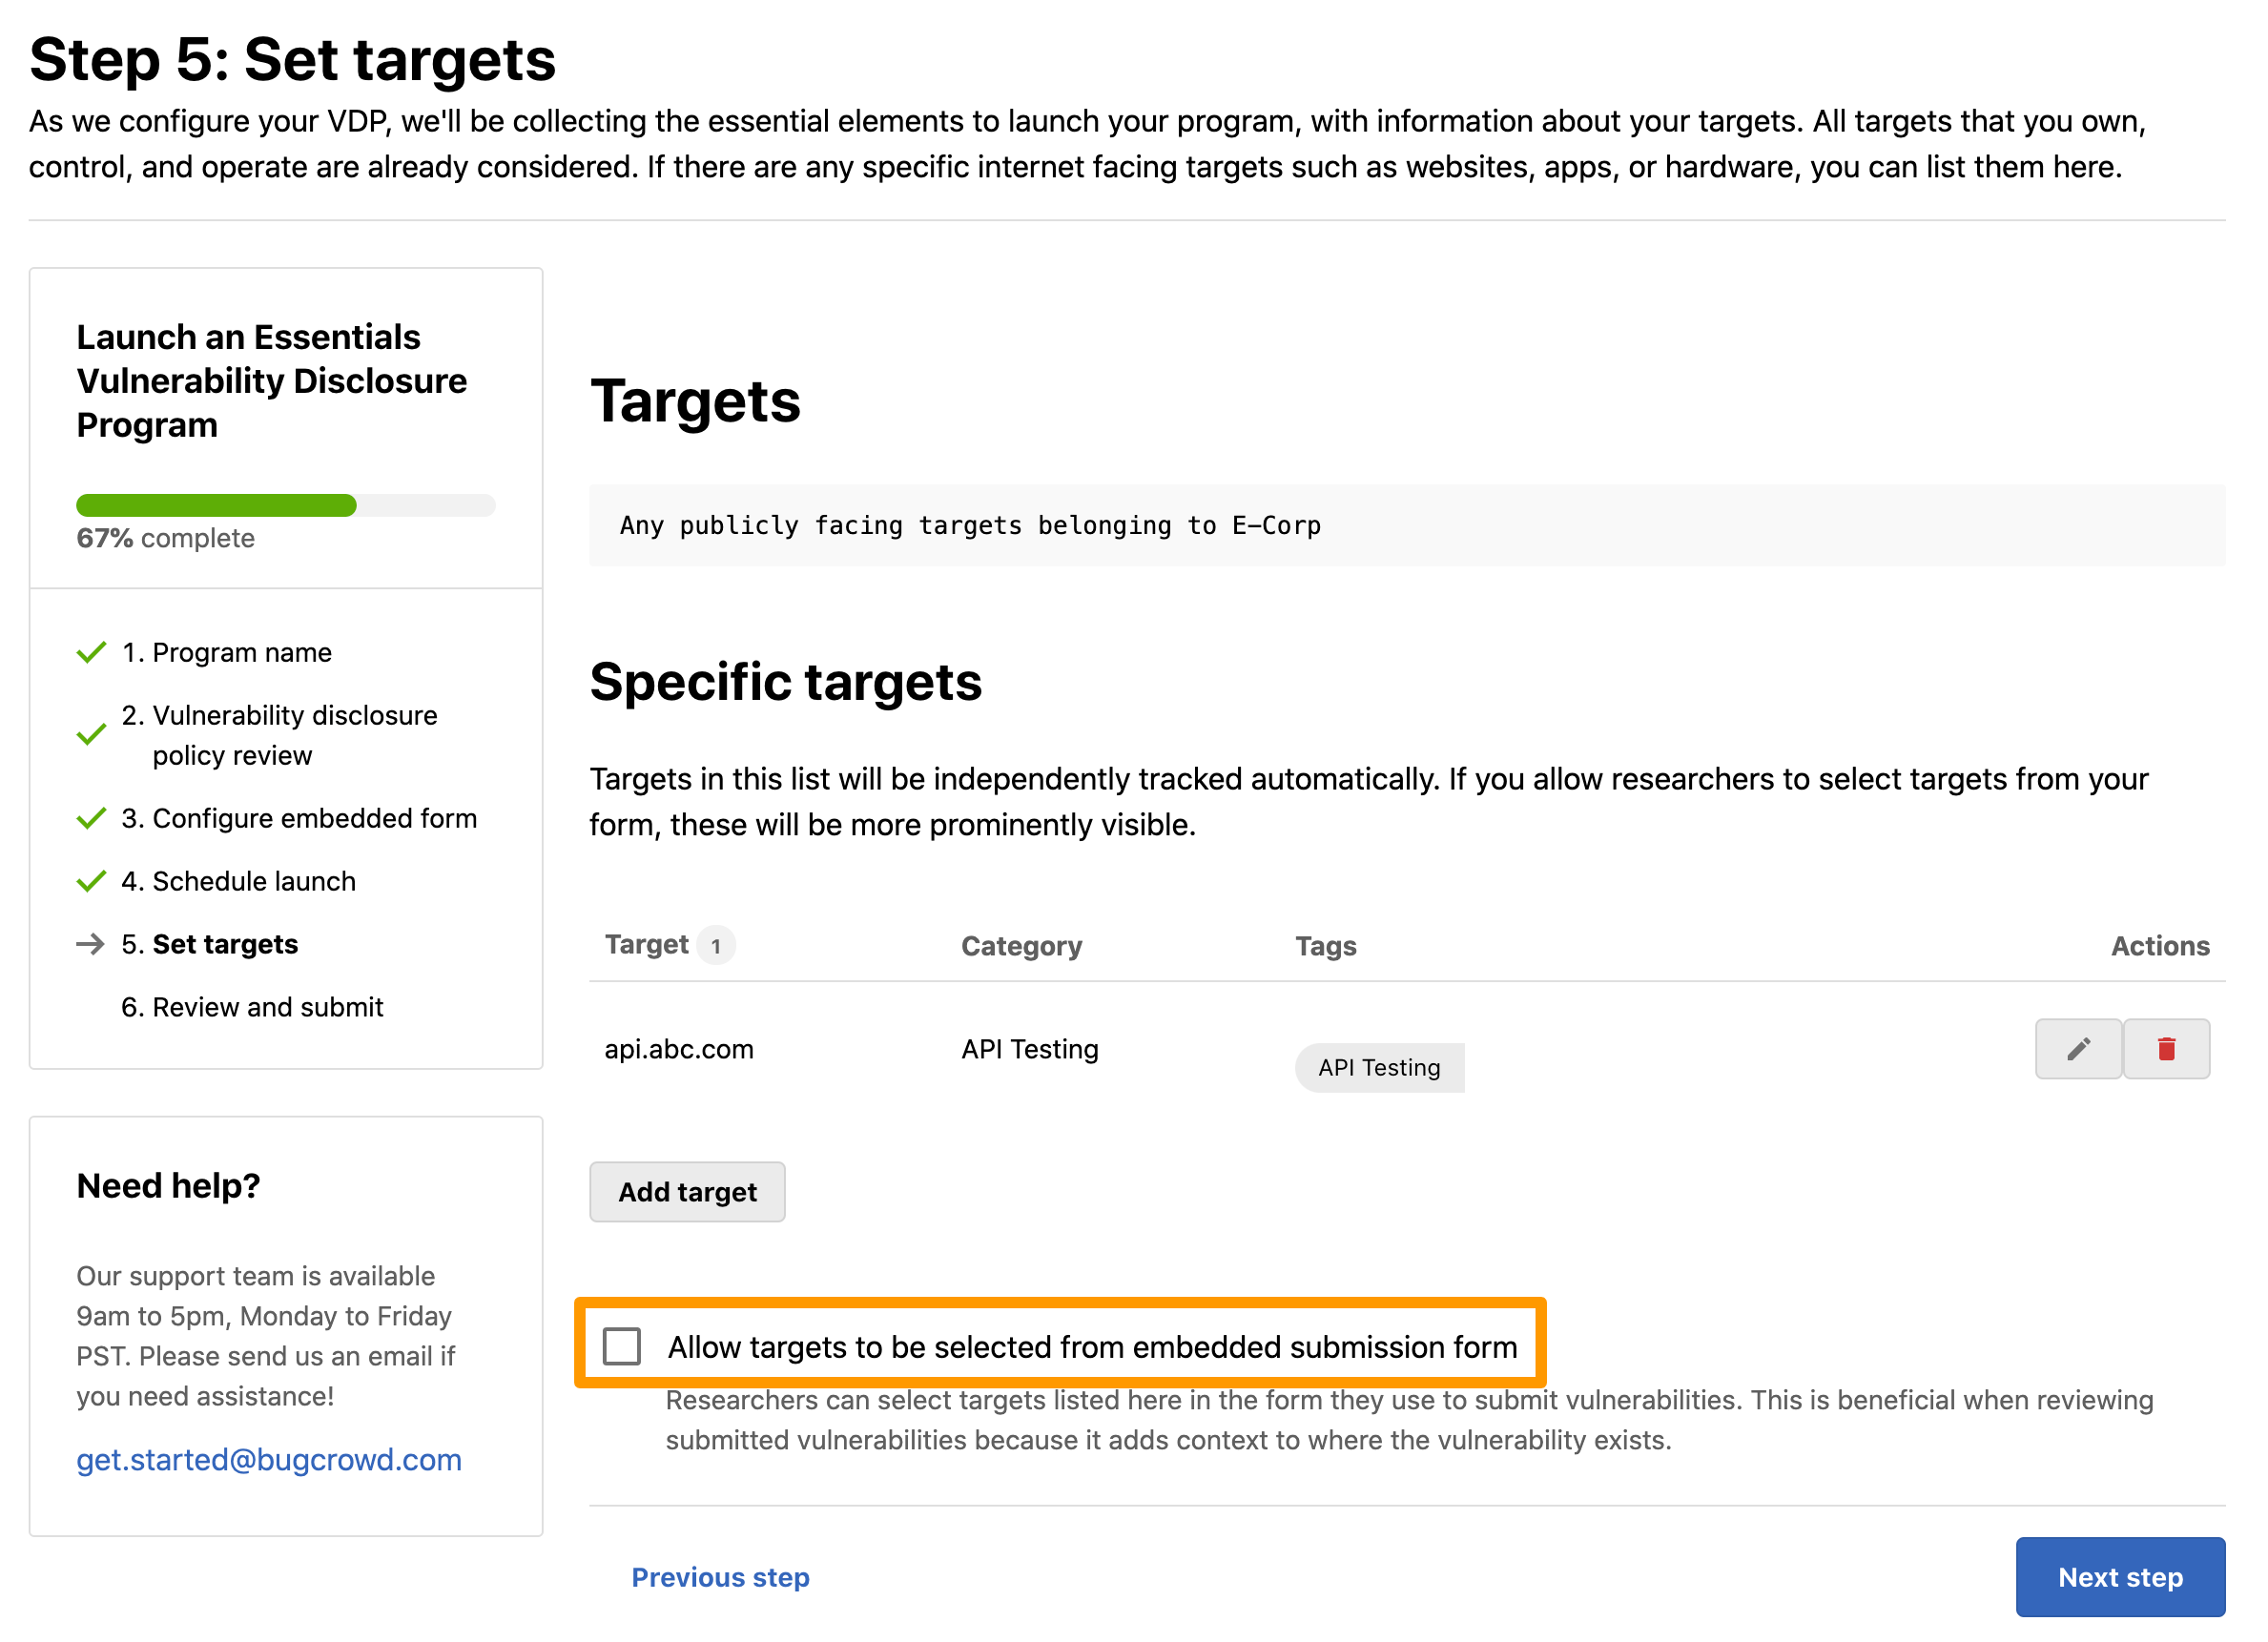
The Step 5: Set targets page is displayed.
-
Click Add target to add public-facing targets that belong to your organization. This helps researchers to focus their efforts on finding vulnerabilities in specific targets.
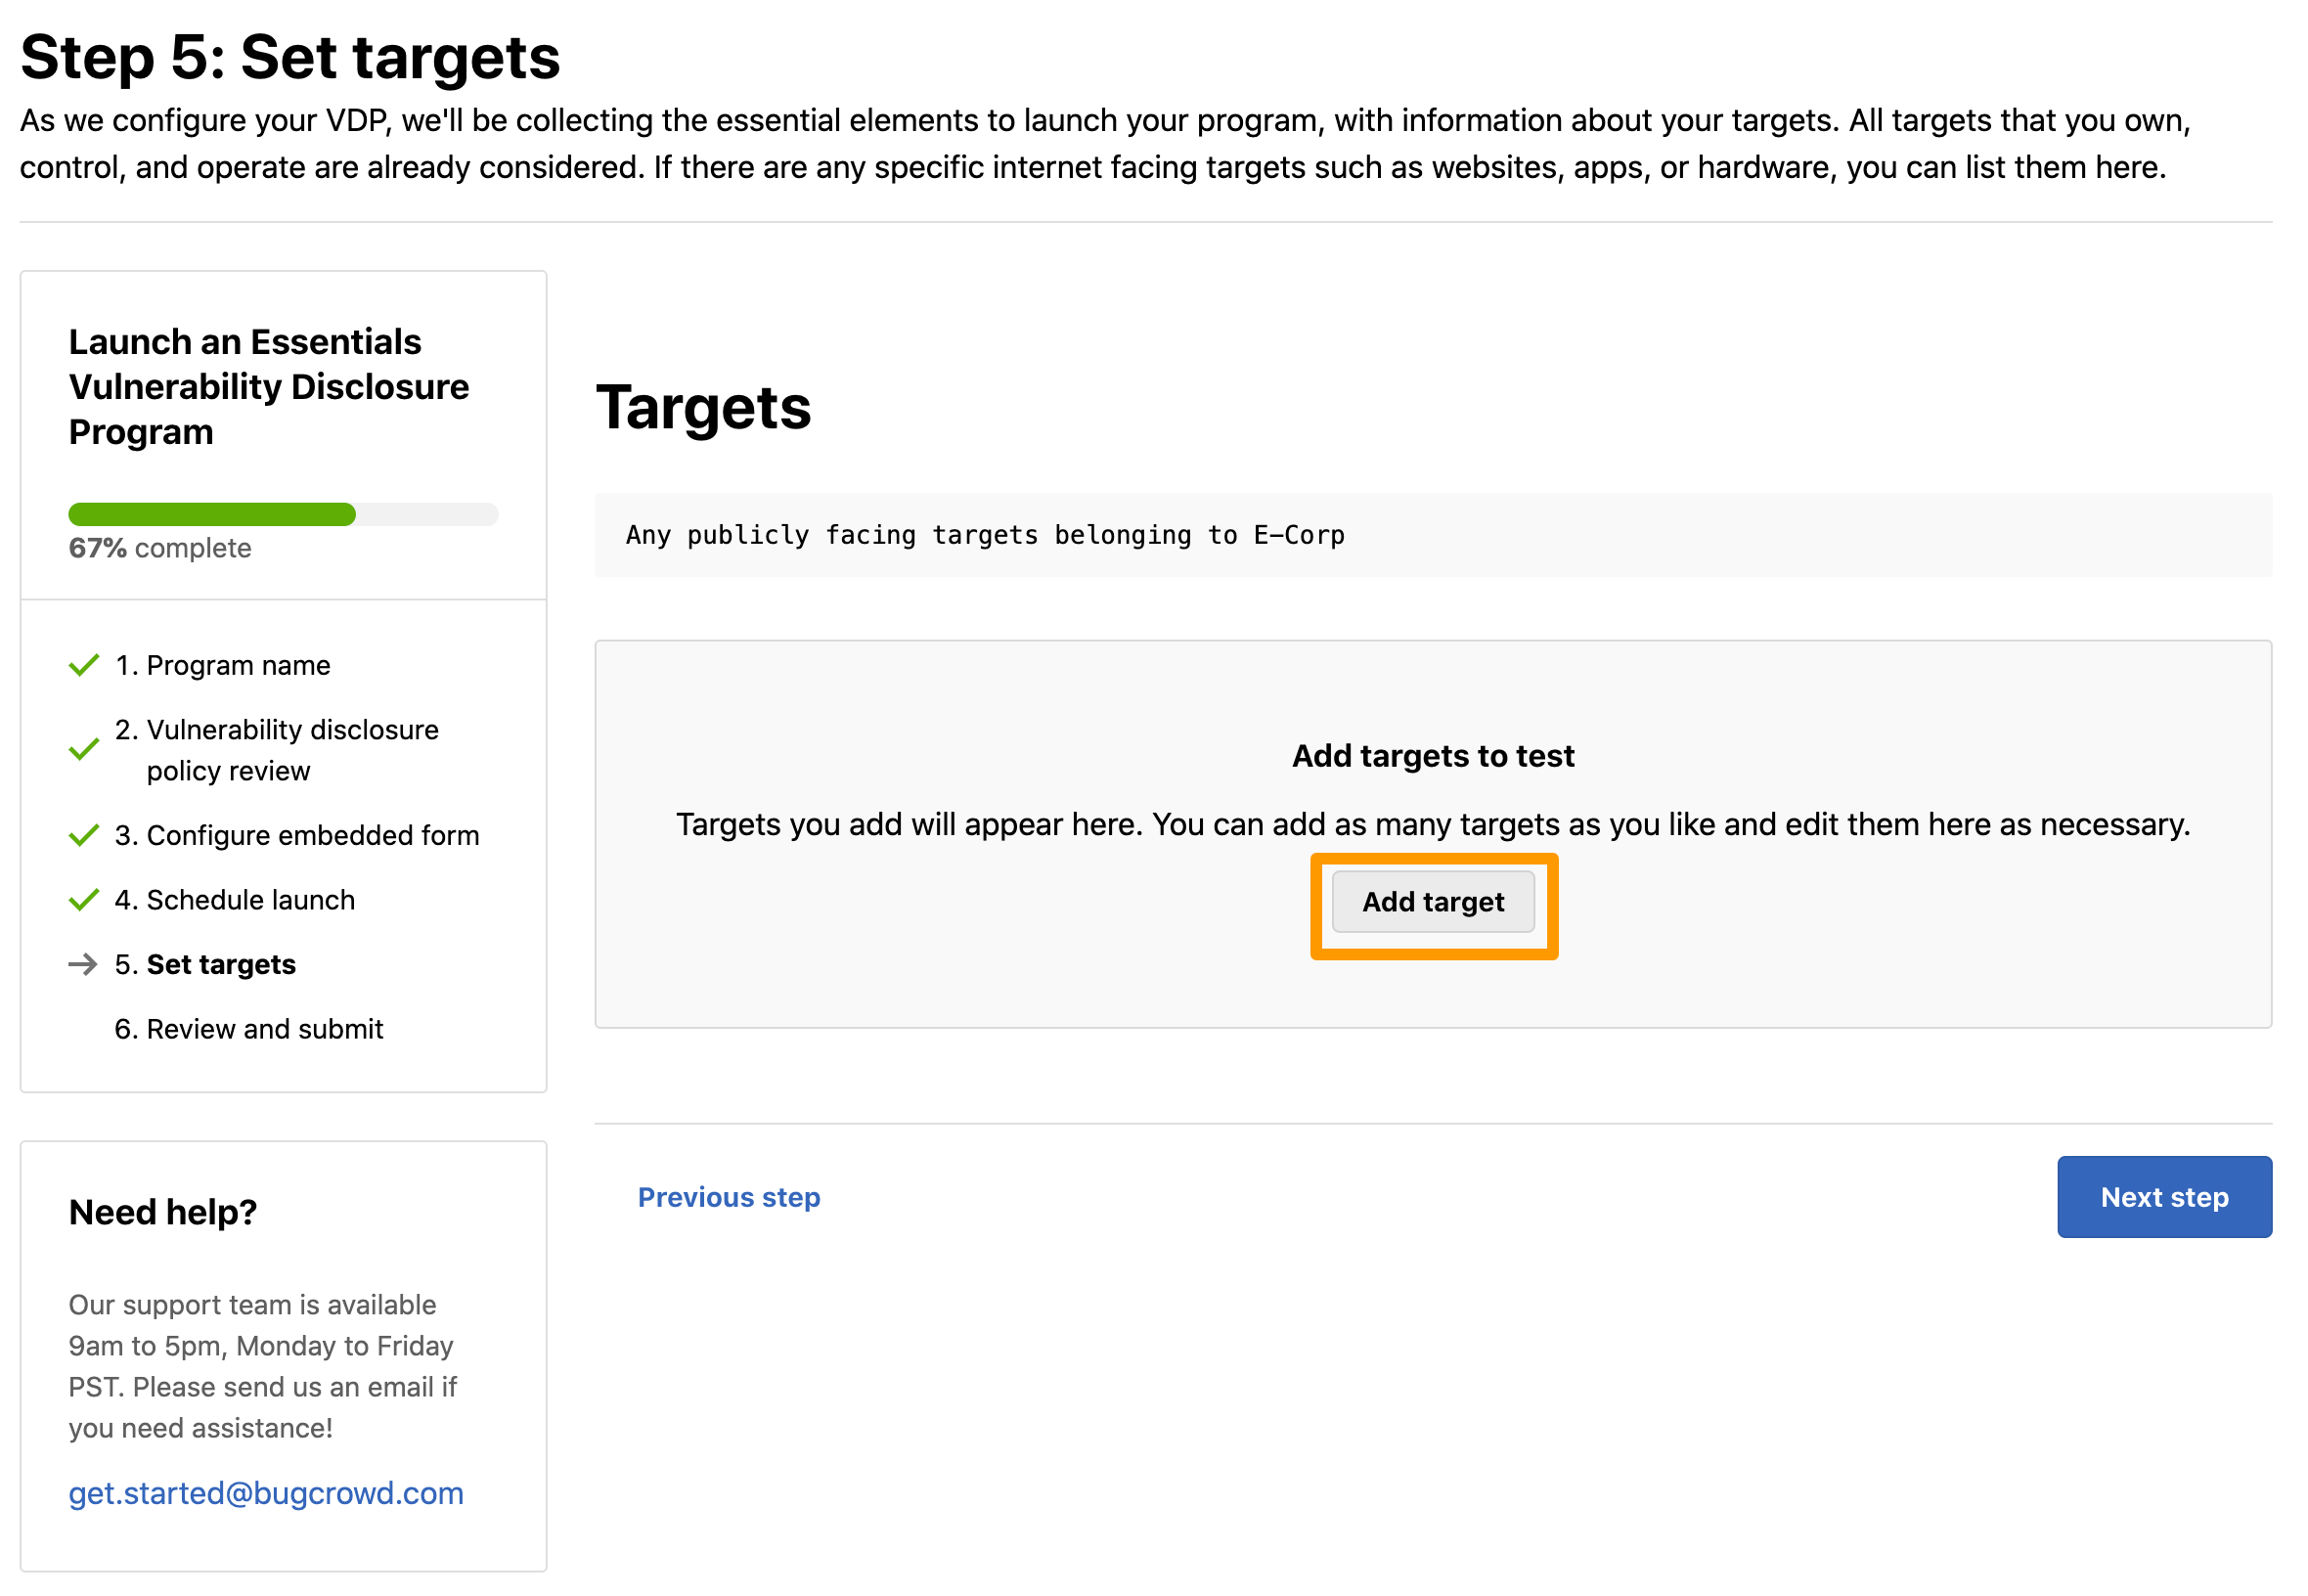
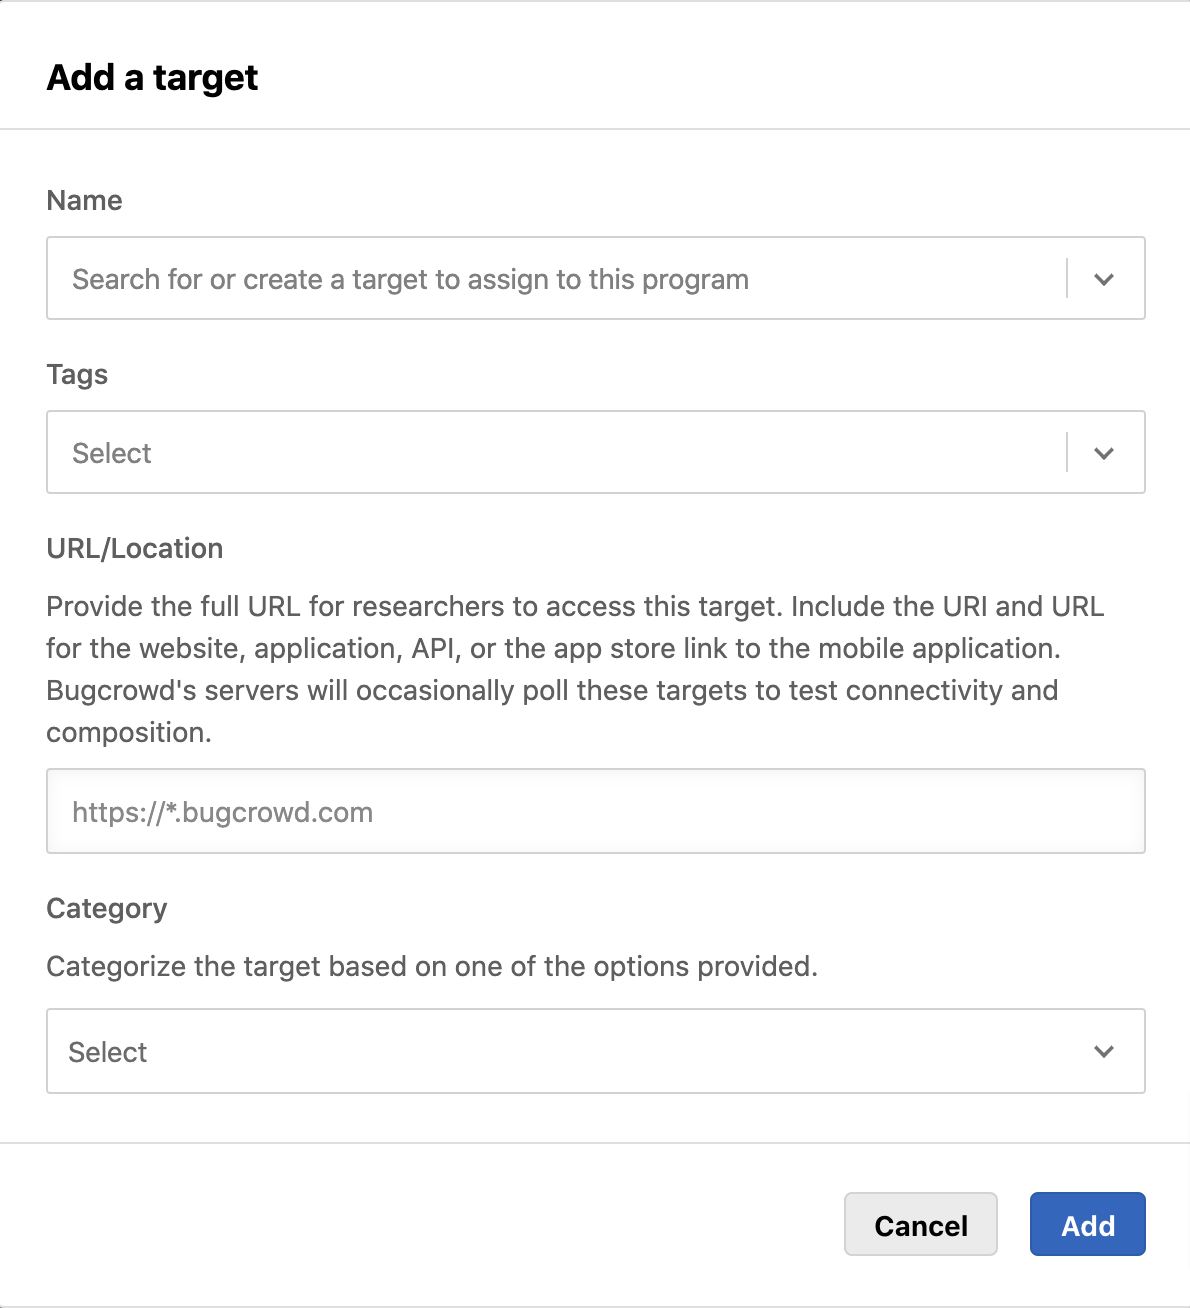
The Add a target pop-up window is displayed.
-
Specify the following information:
- Name: Select a target from the drop-down menu or specify a new target.
- Tags: Select the tags associated with the target.
- URL/Location: Provide the complete URL for researchers to access this target. Include the URI and URL for the website, application, API, or the app store link to the mobile application. Bugcrowd’s servers will occasionally poll these targets to test connectivity and composition.
-
Category: If you select an existing target name, then the category is displayed by default. If you have specified a new target name, then select the required category:
- Website Testing
- API Testing
- iOS
- Android
- IoT
- Hardware Testing
- Other
-
Click Add.
The target is added and the Target added to the program scope message is displayed.
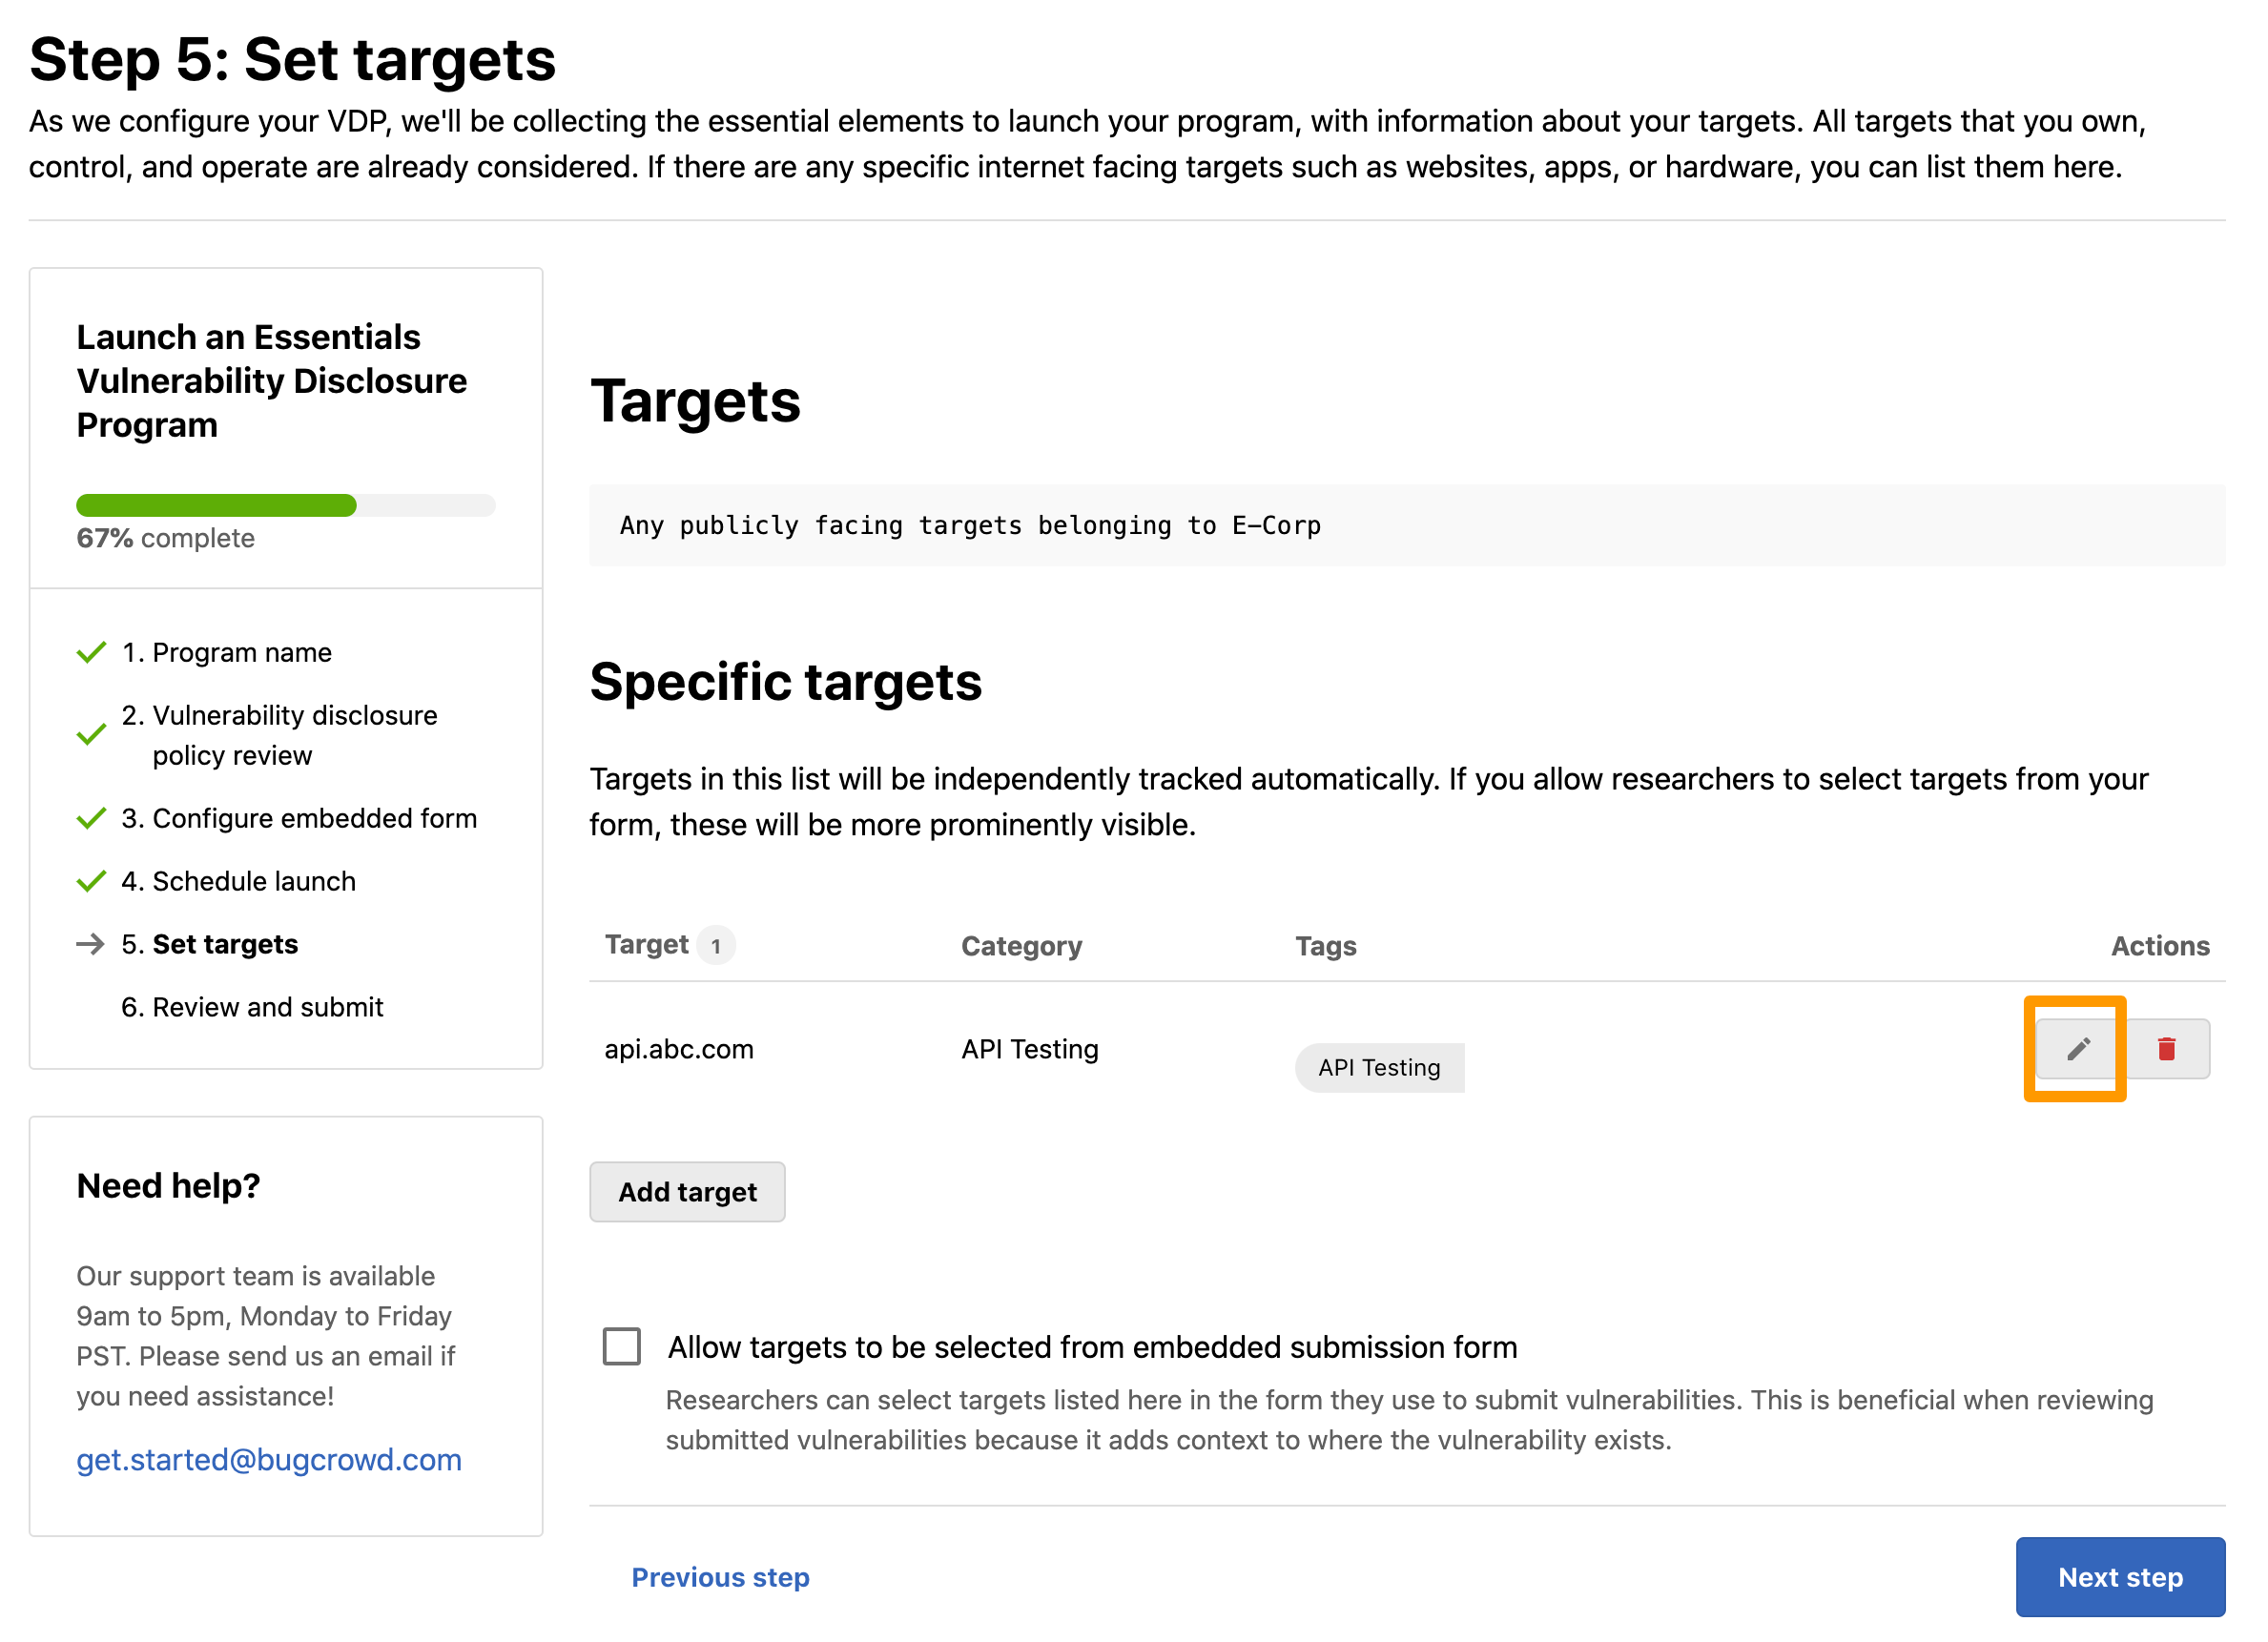
If you want to edit the target details, click the edit icon in the Actions column.
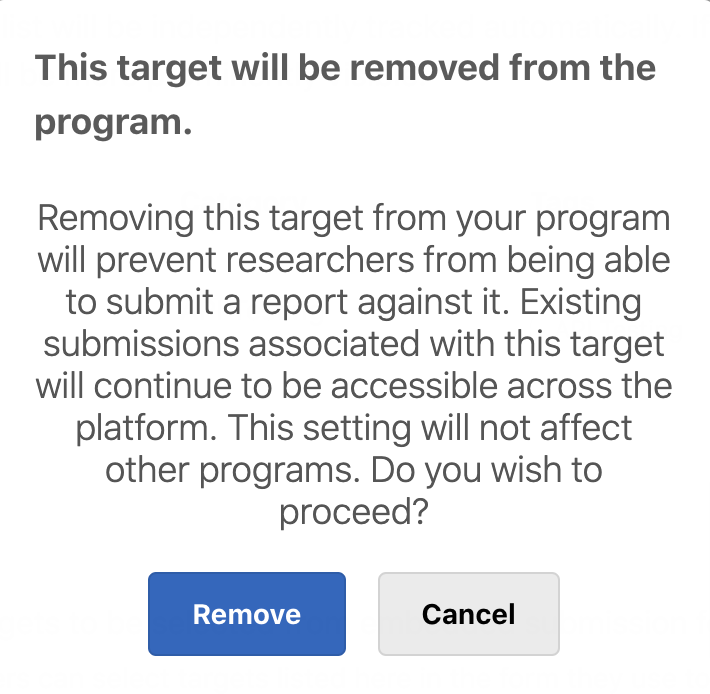
If you want to delete a target, click the delete icon in the Actions column.
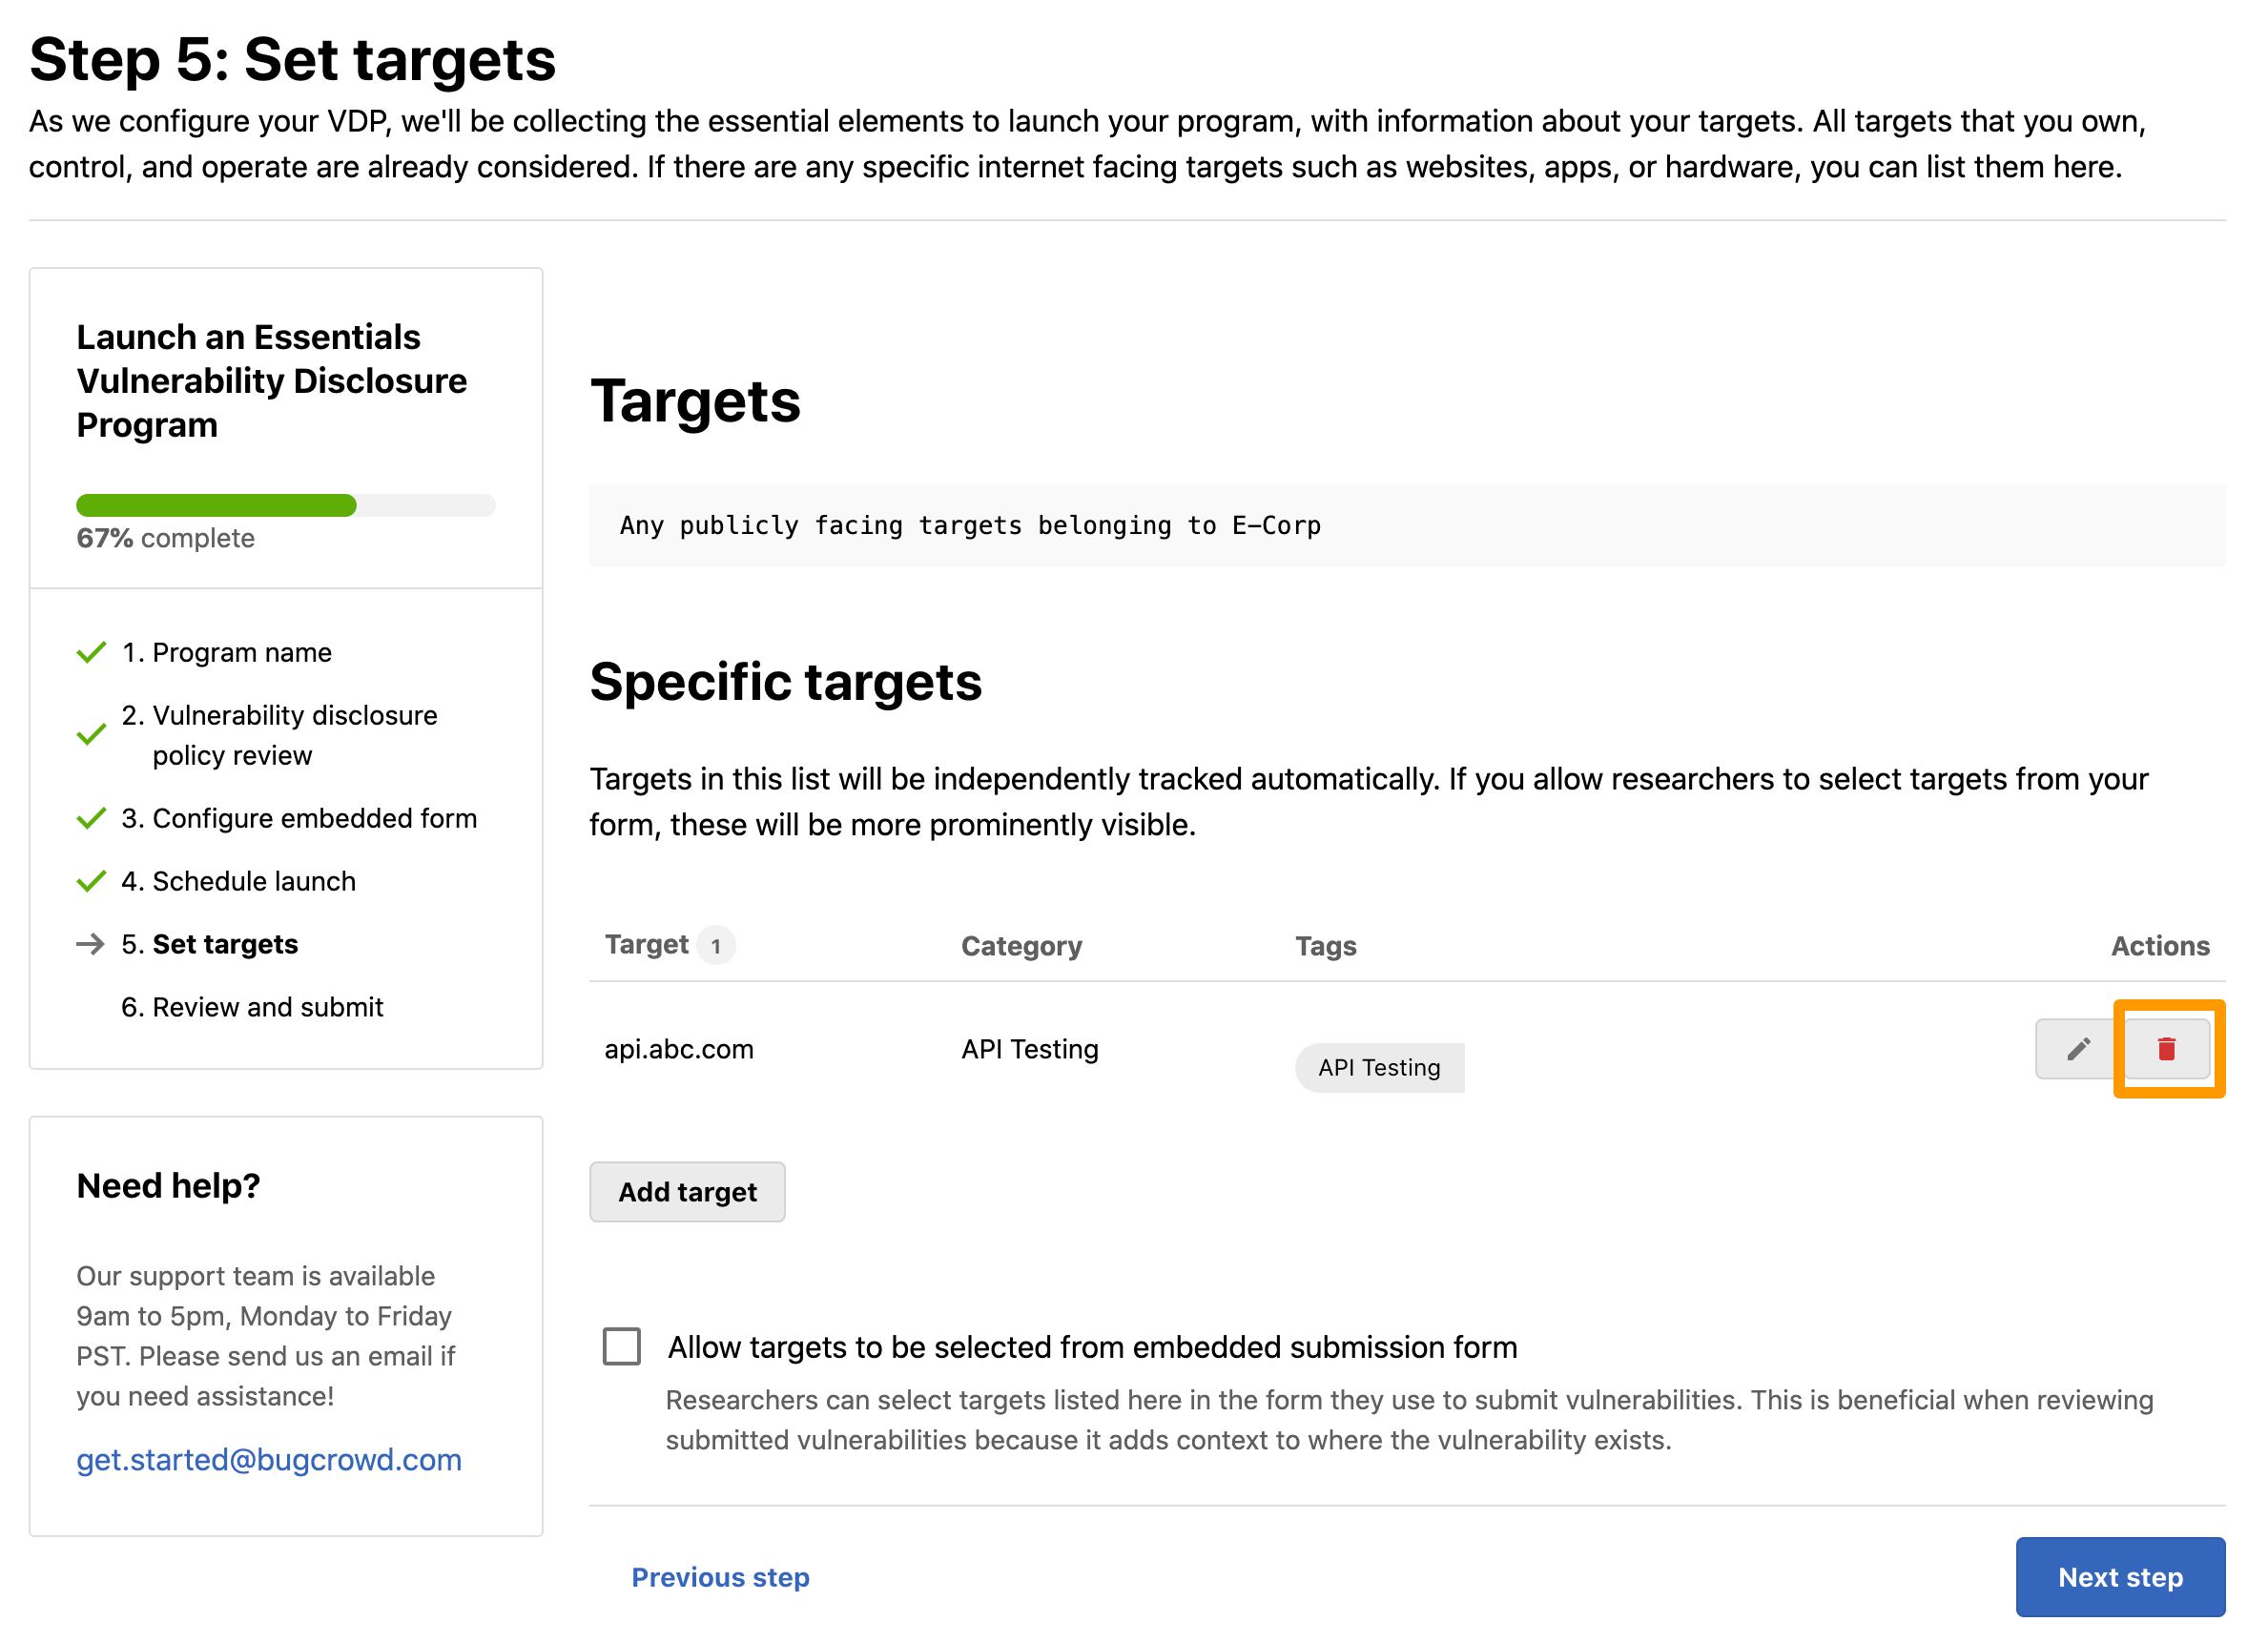
The following pop-up message is displayed. Click Remove.
Targets in this list will be independently and automatically tracked.
Select the Allow targets to be selected from embedded submission form option. Researchers can select the targets listed here in the form they use to submit vulnerabilities. This is beneficial when reviewing submitted vulnerabilities because it adds context to where the vulnerability exists.
-
Click Next step. The Step 6: Review and submit page is displayed. Review the information that you have provided. In case you want to modify any details, click Edit and make the changes.

-
Select the I agree to be responsible effective, and engaged program owner option and click Submit.
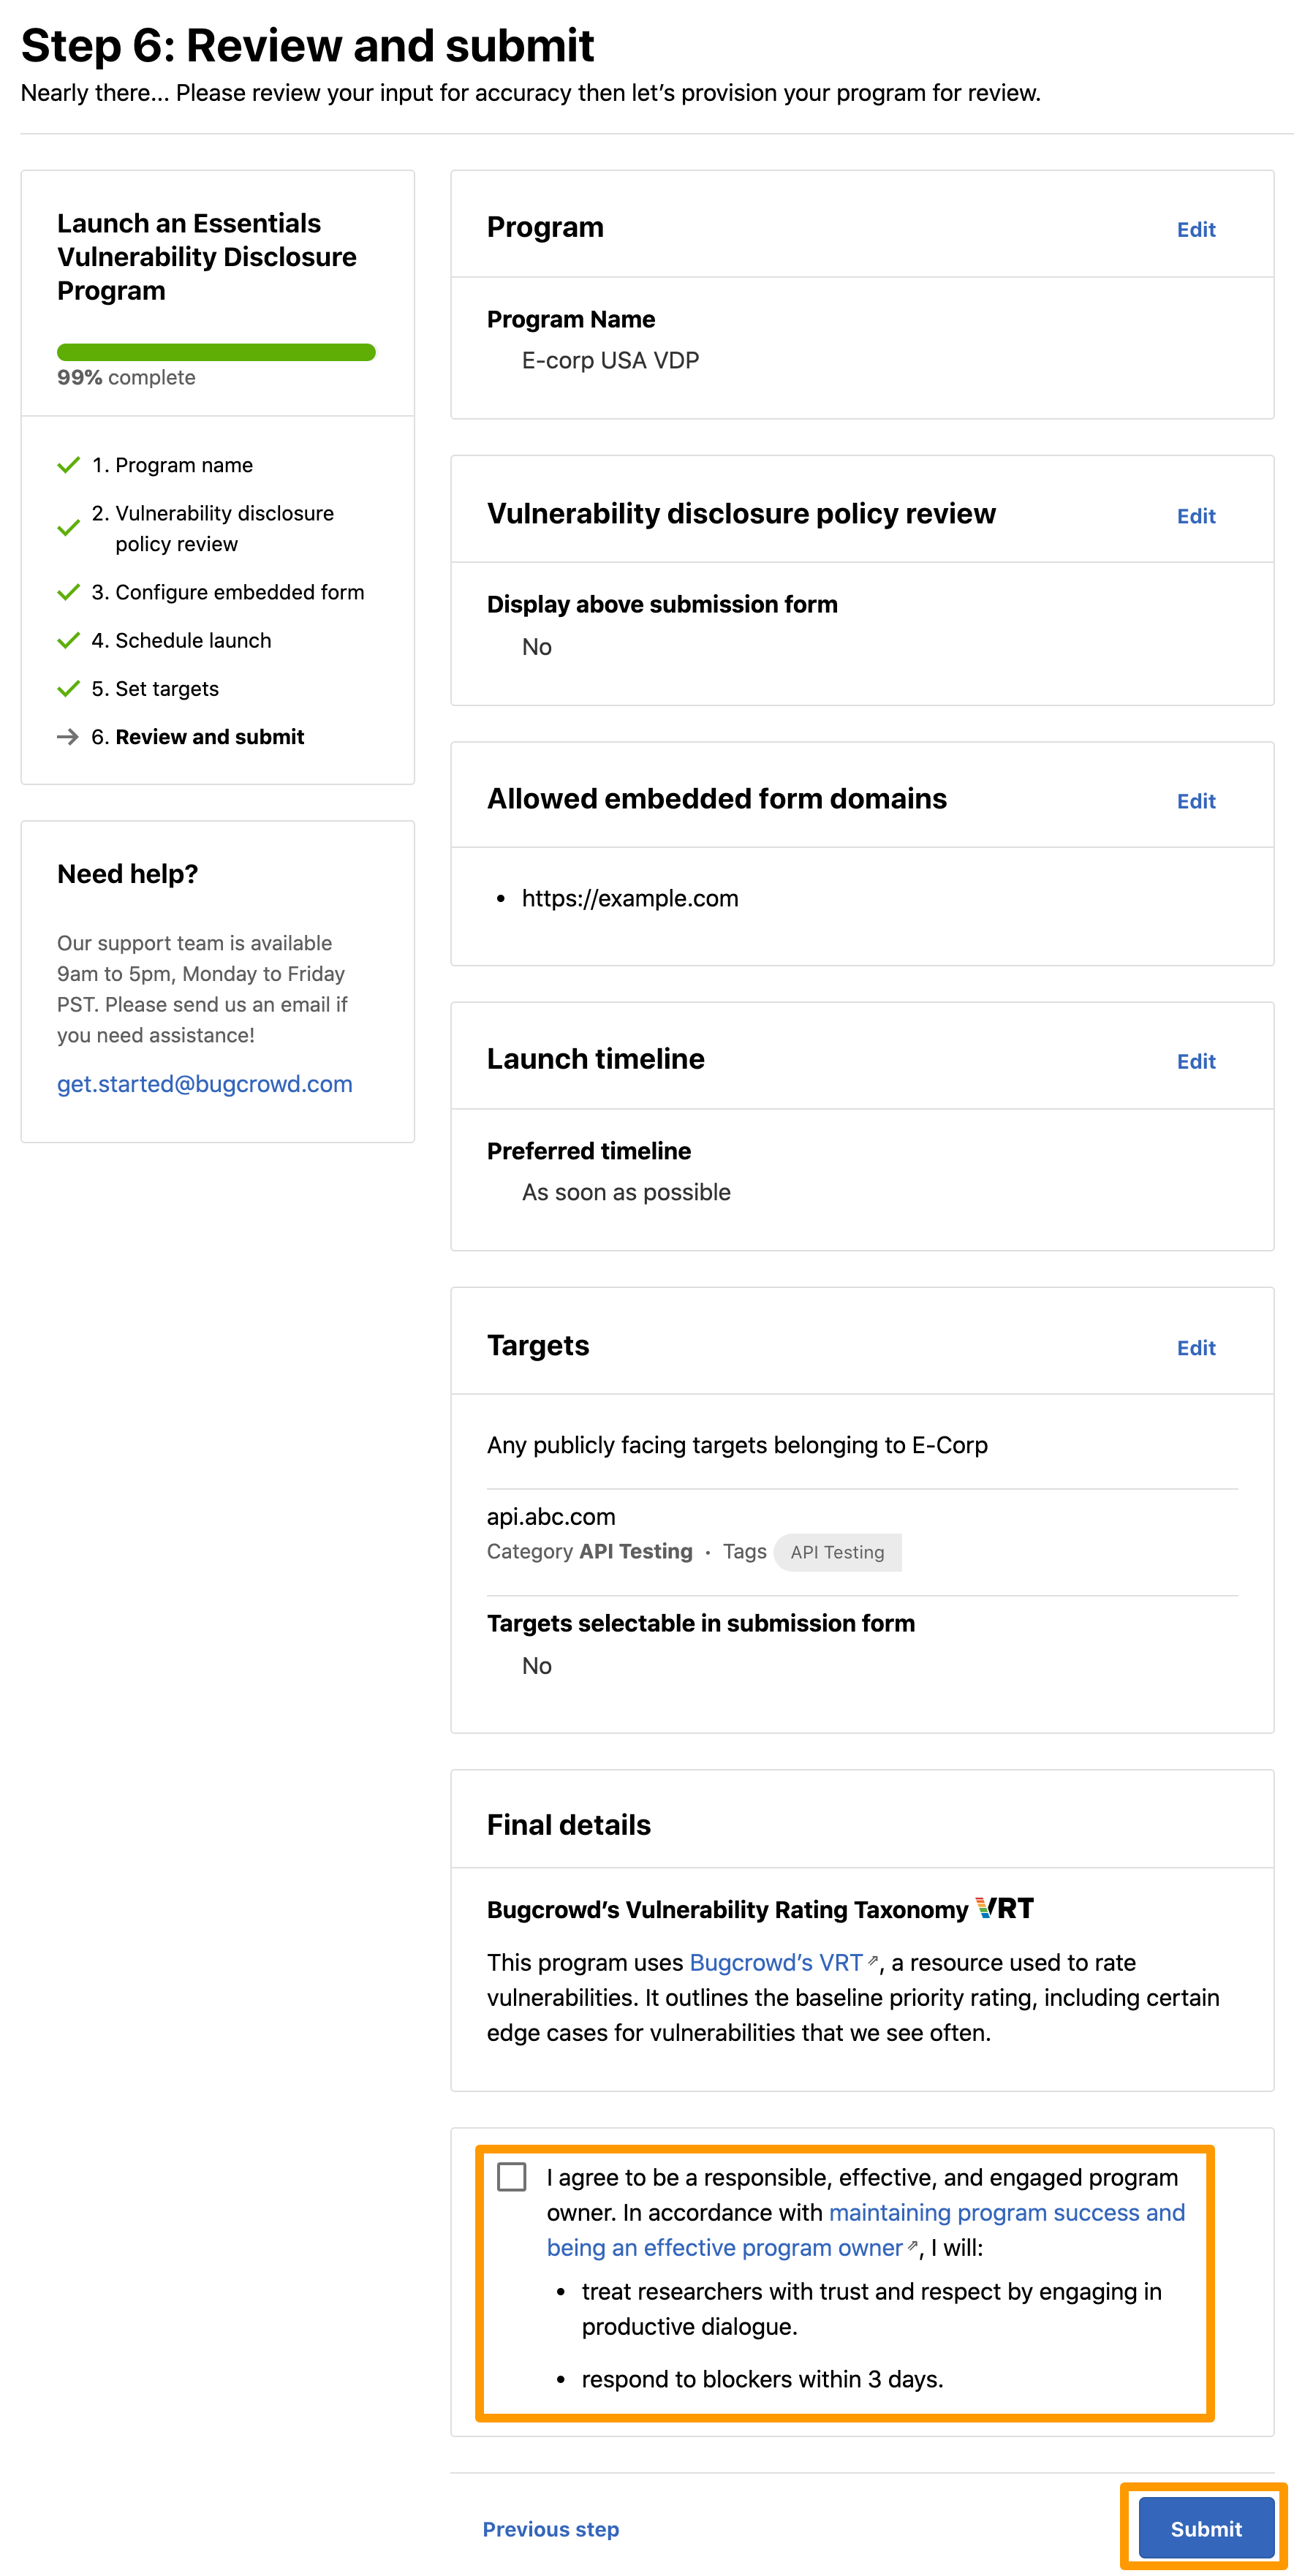
The Your program has been submitted for review message is displayed.
Bugcrowd will contact you to review and launch the program.