The steps to add a Bug Bounty program are:
- Provide a program name
- Set targets
- Specify terms and conditions
- Specify reward range
- Identify vulnerability concerns
- Select the crowd
- Add look and feel
- Schedule program launch
- Review details and submit
To add a Bug Bounty program:
-
In the Select an engagement to launch window, click Start for Bug Bounty Program.
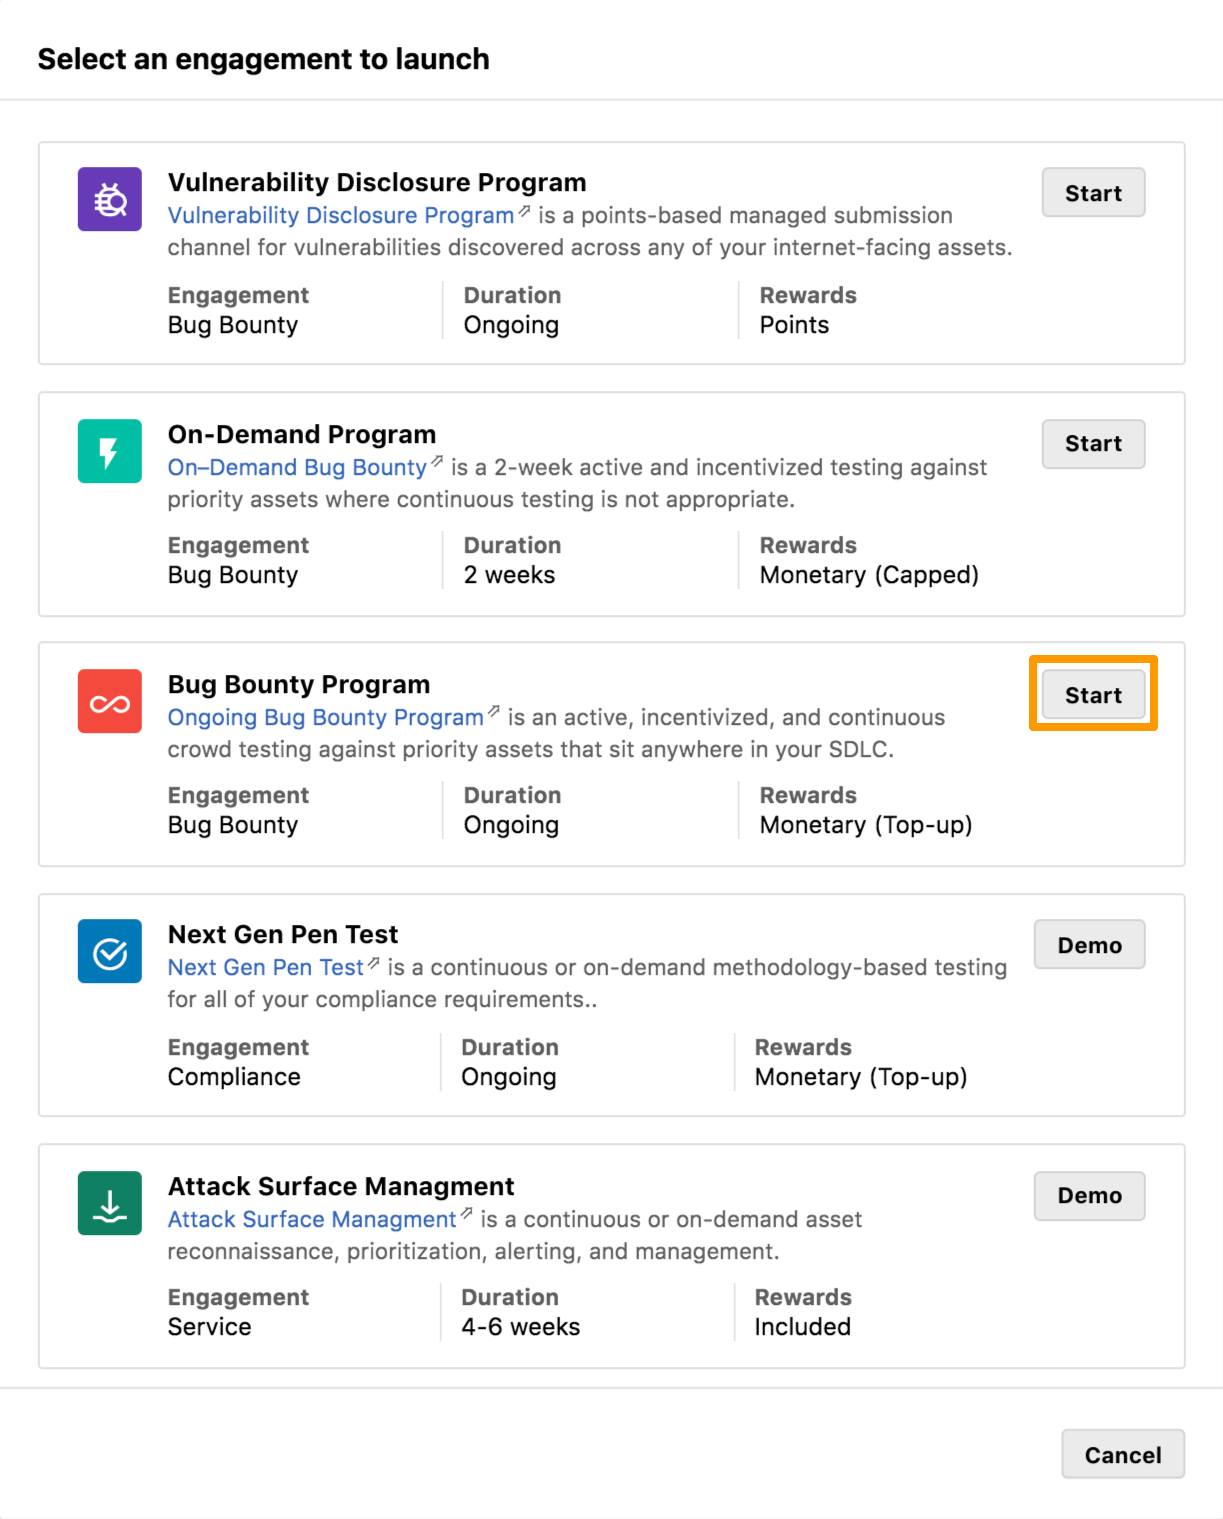
The Step 1: Program Name page is displayed.
-
Provide a name for your program and click Next step.
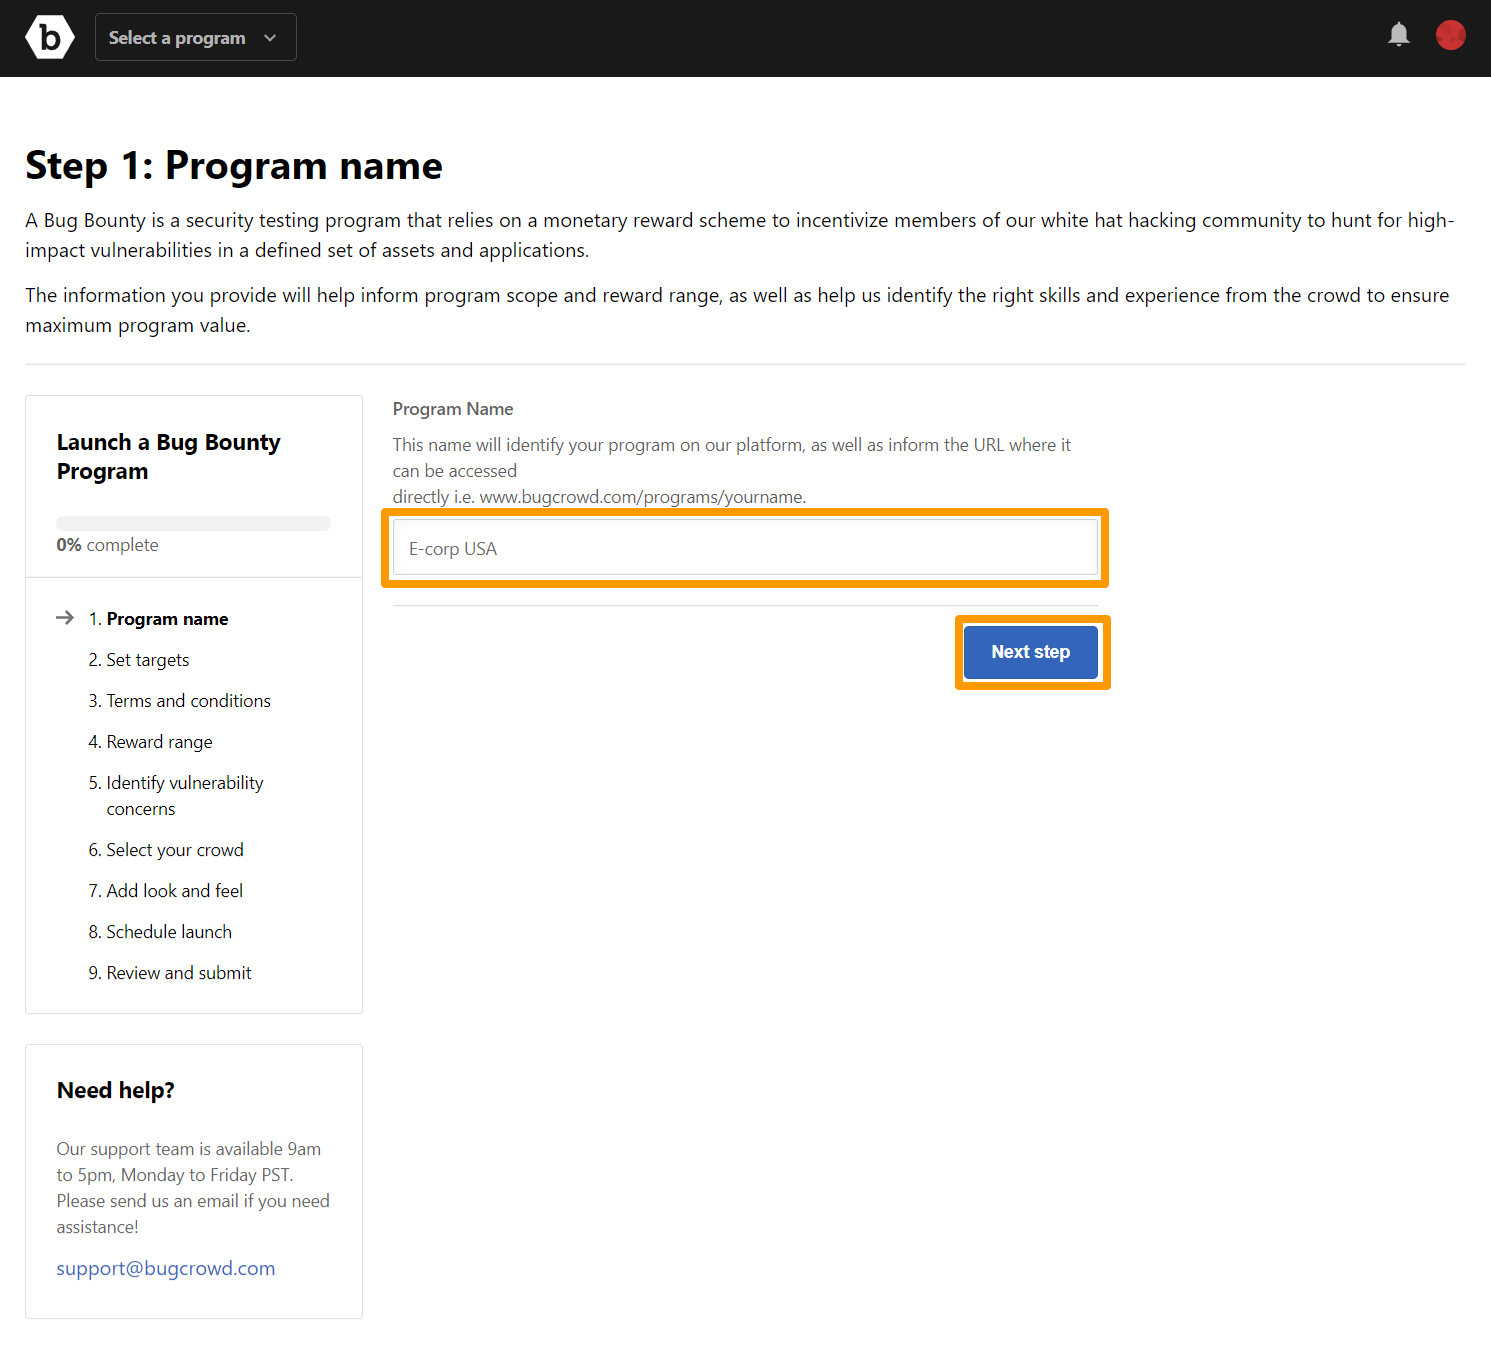
The Step 2: Set targets page is displayed. Also, the Grant created message is displayed.
-
Click Add target to add the target that must be tested. You can add multiple targets.
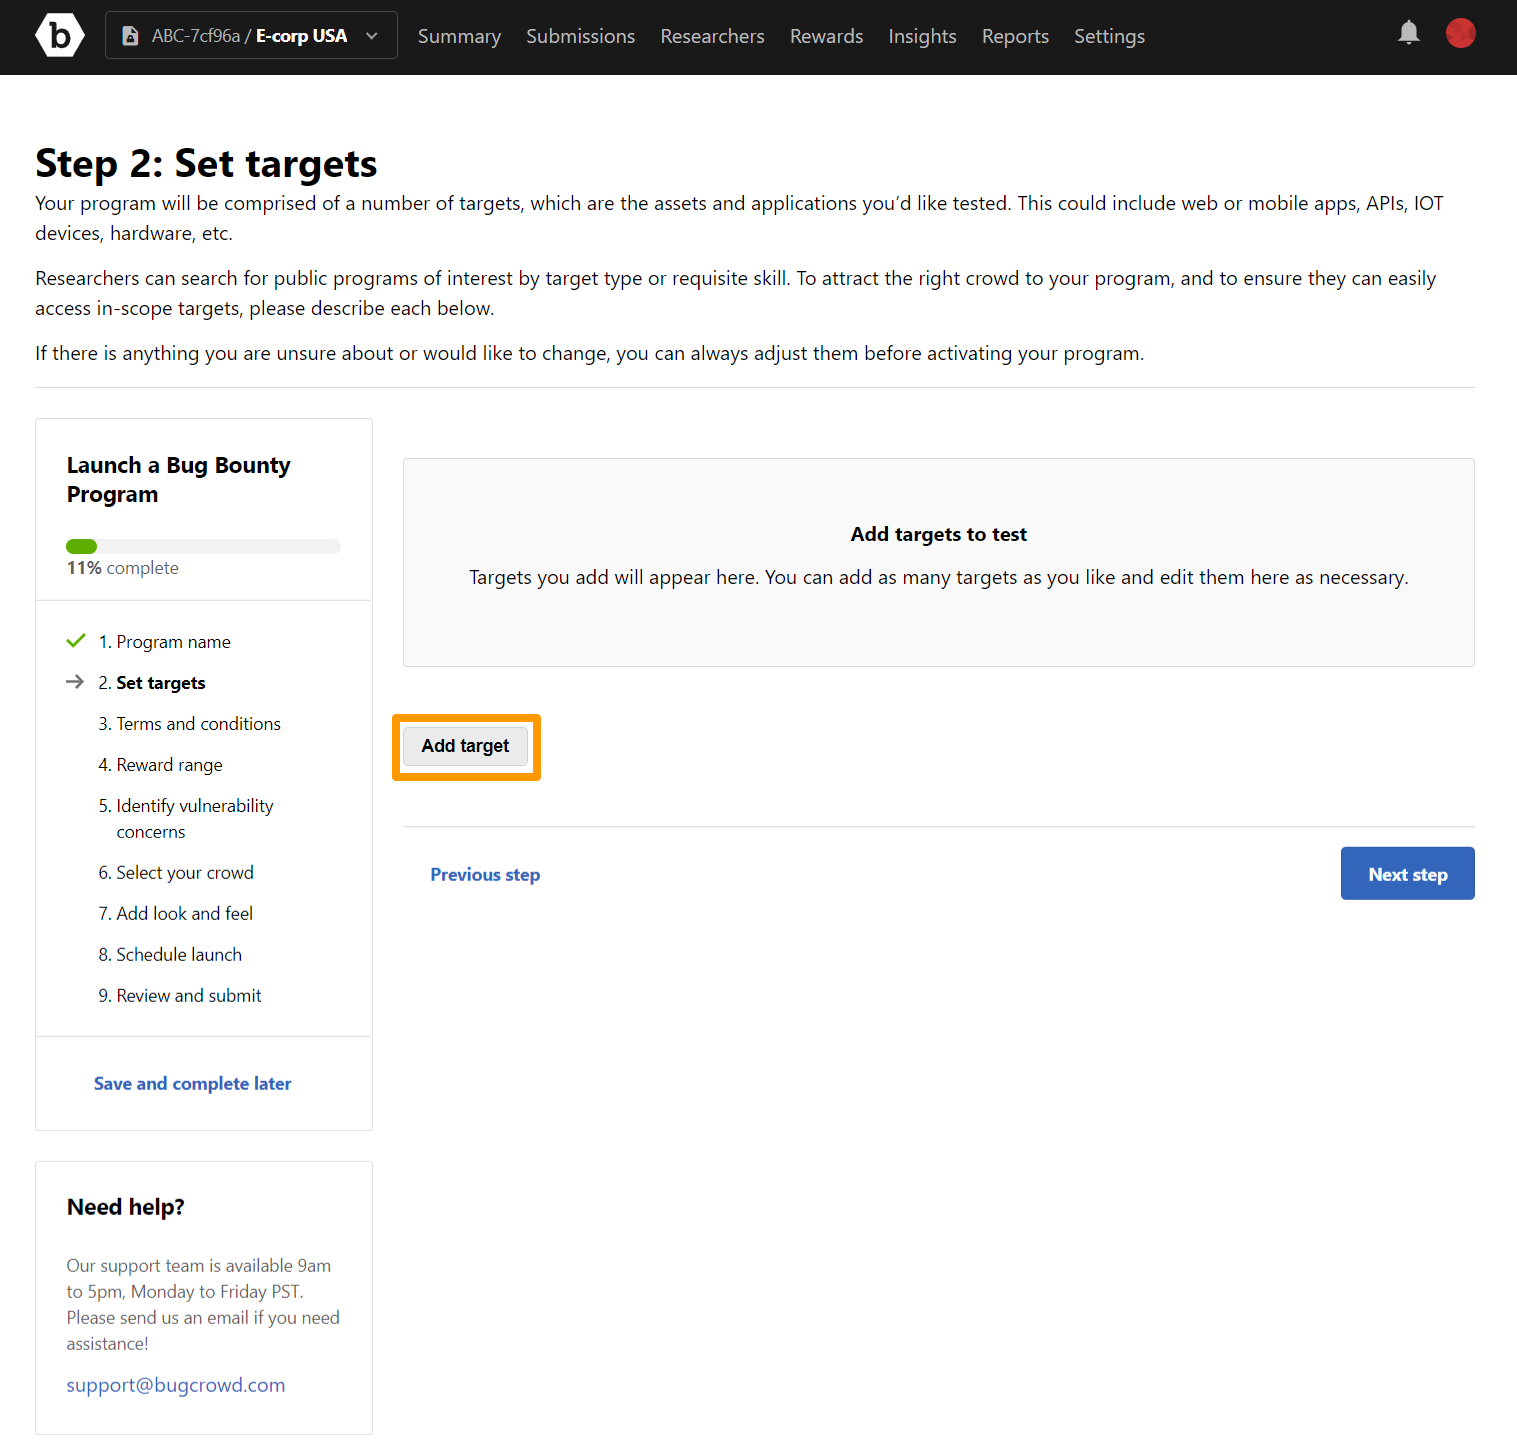
On each page, you can click Save and complete later to save the information that you have filled and complete the remaining sections at a later time.
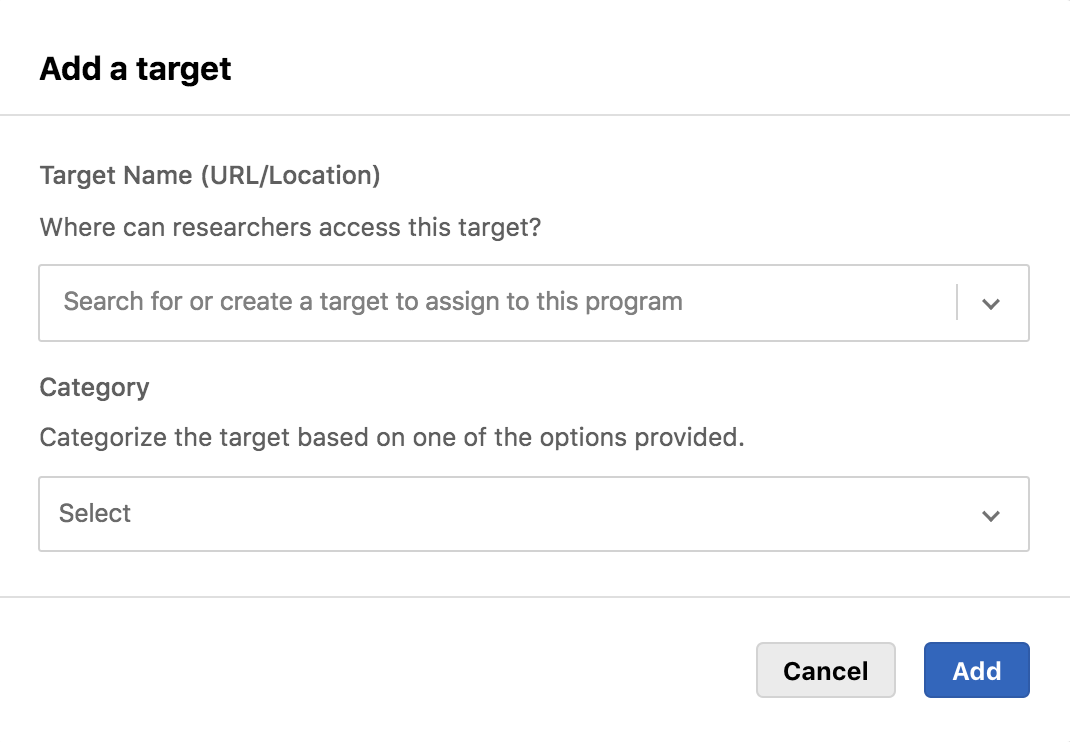
The Add a target pop-up window is displayed.
-
Specify the following information:
- Target Name (URL/Location): Select a target from the drop-down menu or specify a new target.
-
Category: If you select an existing target name, then the category is displayed by default. If you have specified a new target name, then select the required category:
- Website
- API
- iOS
- Android
- IoT
- Hardware
- Other
-
Click Add.
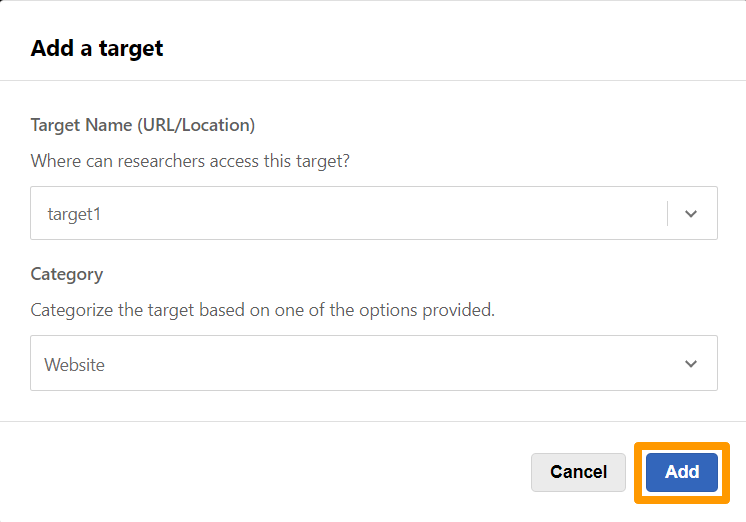
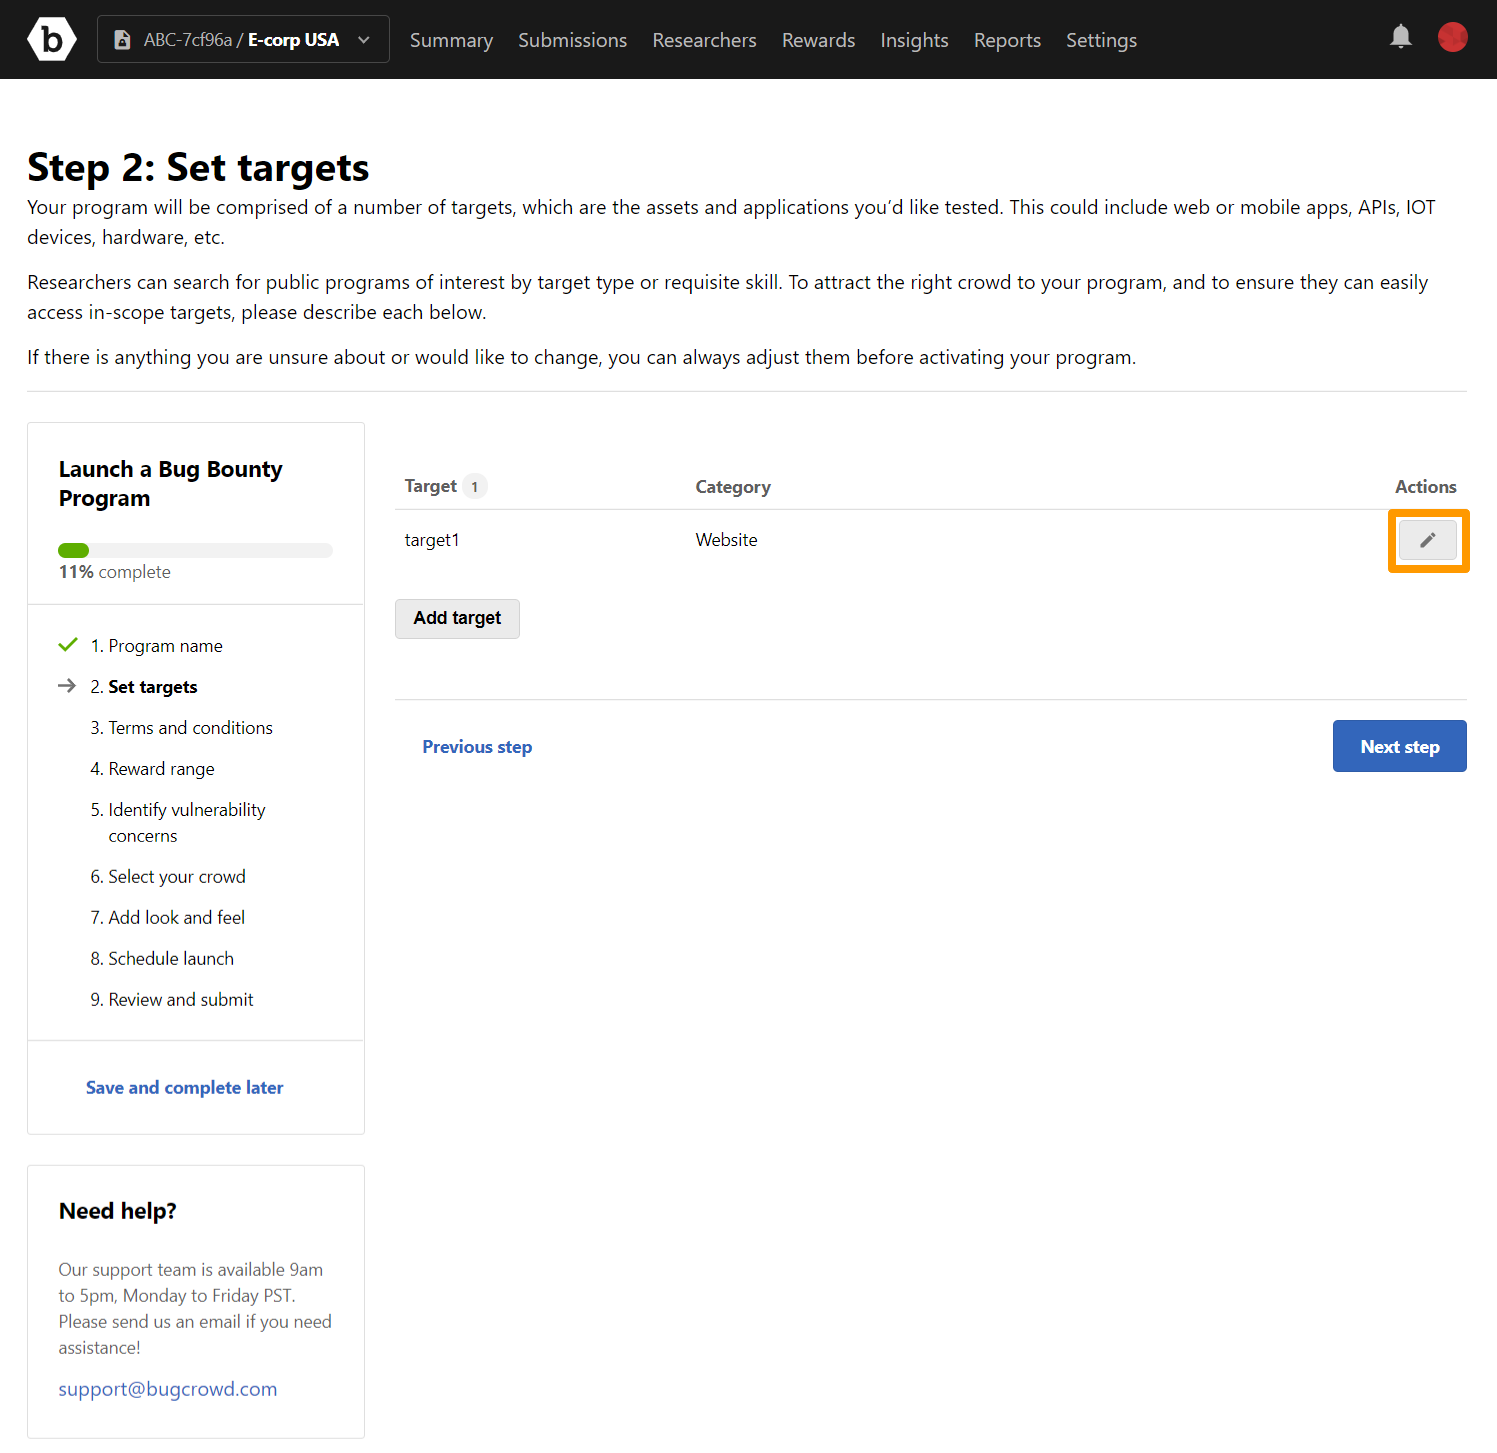
The target is added and the Target added to the program scope message is displayed. If you want to edit the target details, click the icon in the Actions column.
-
Click Next step.
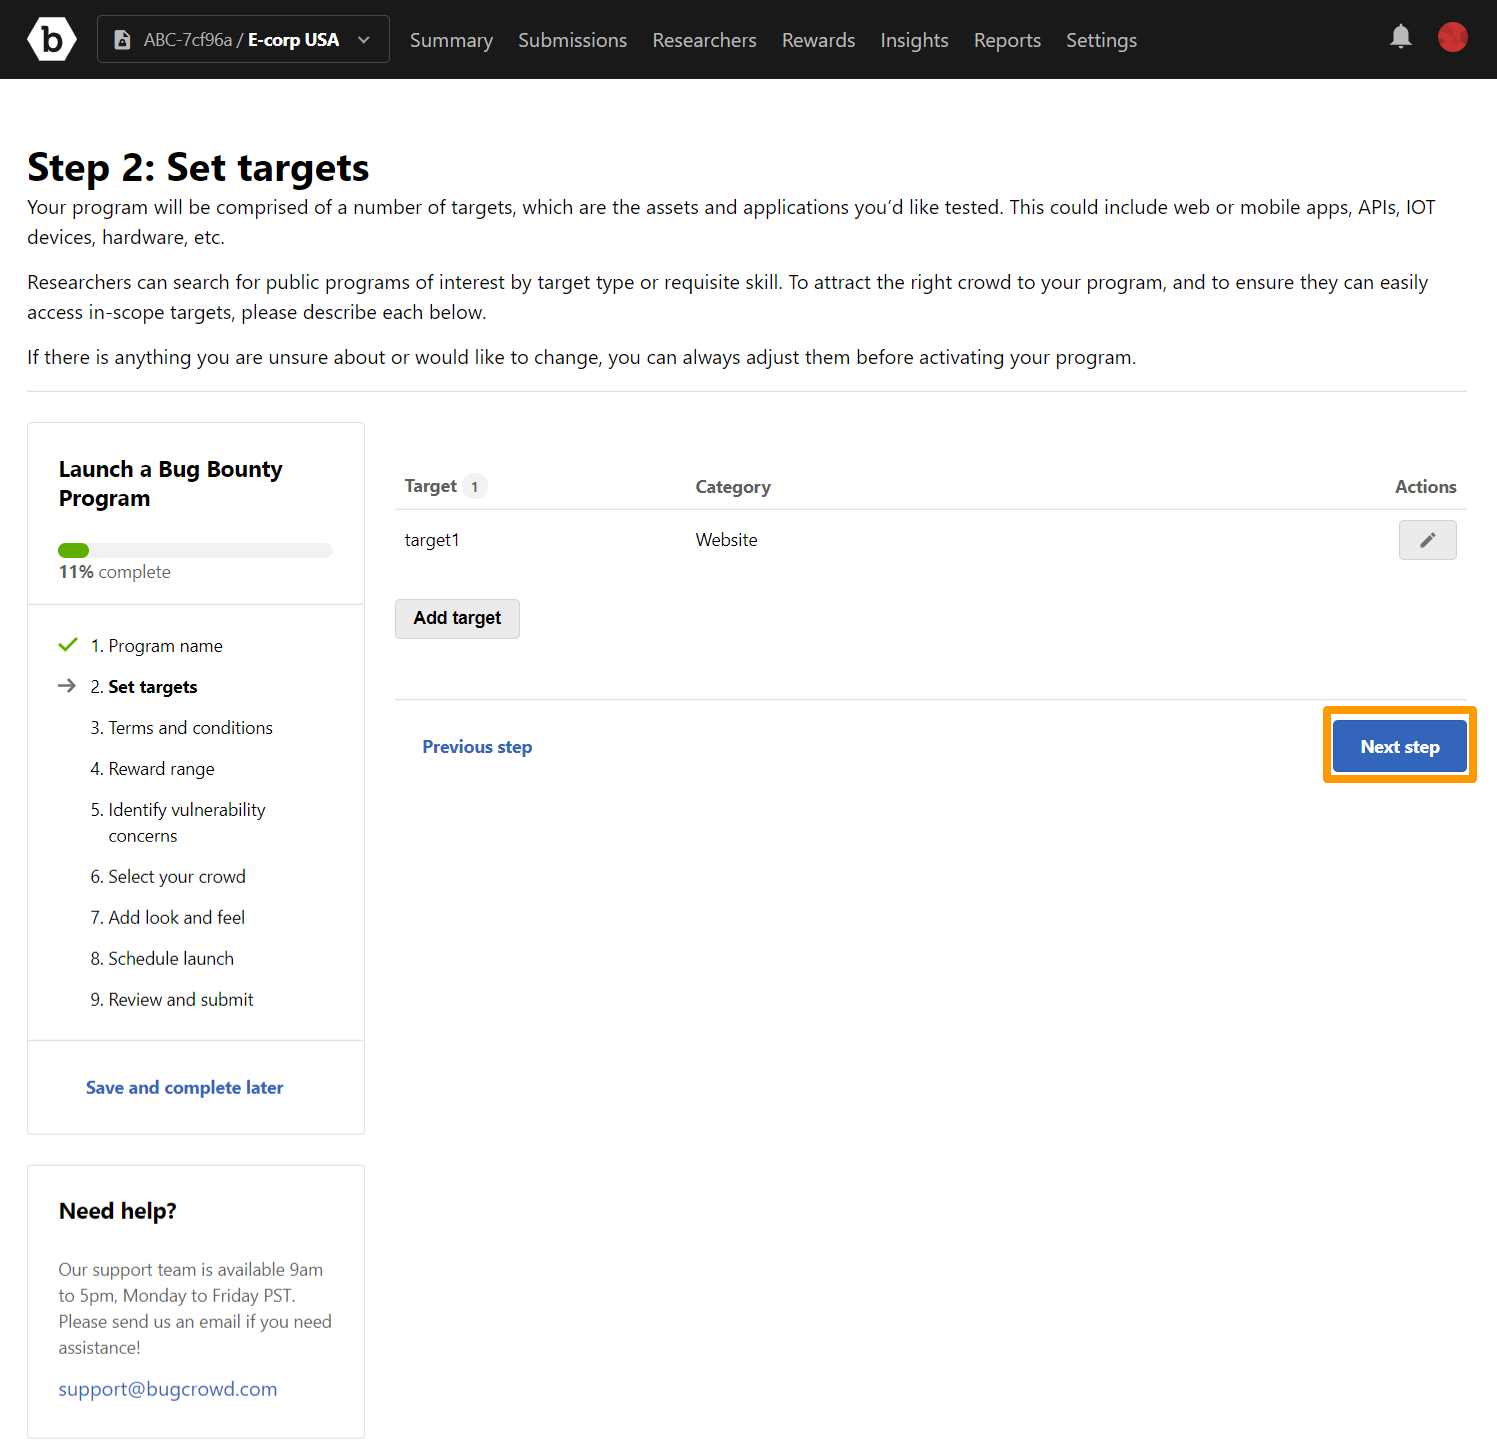
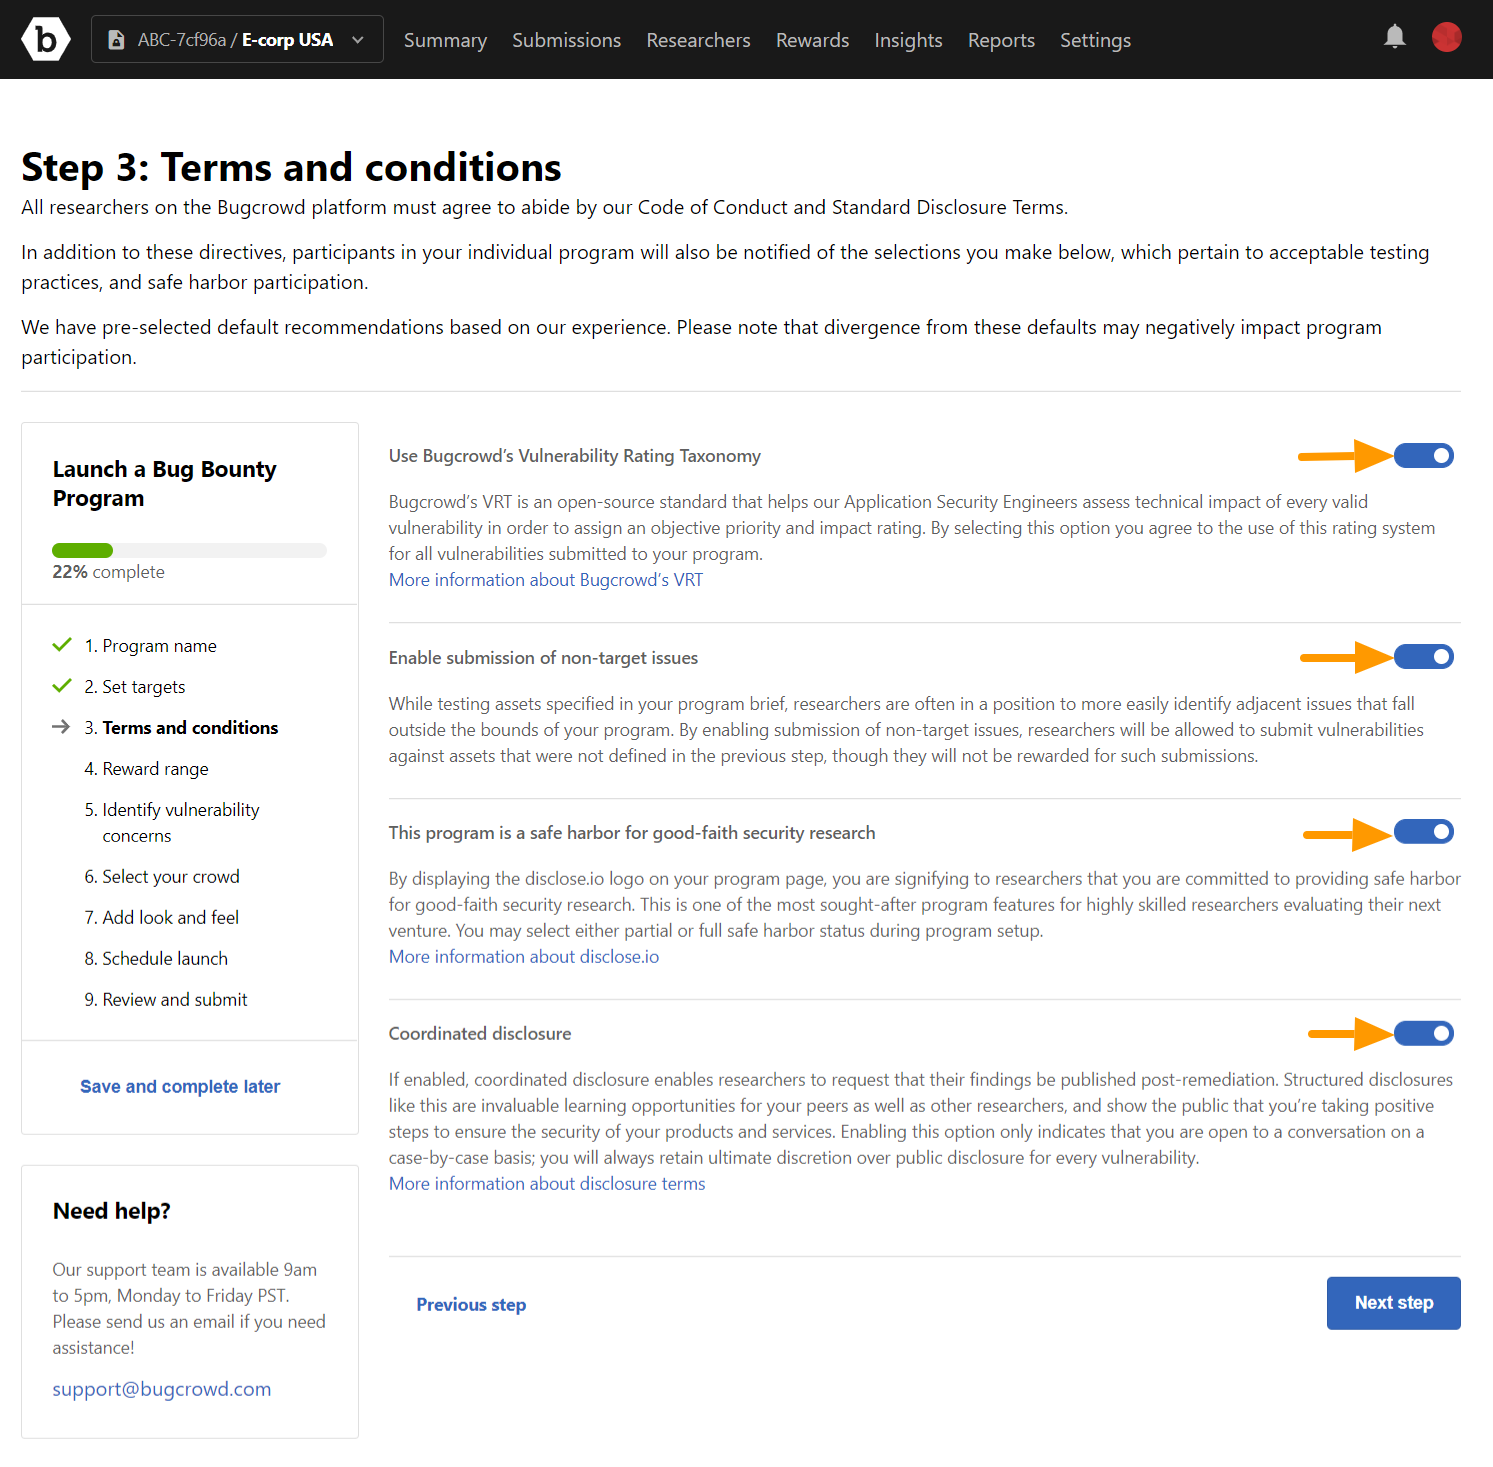
The Step 3: Terms and conditions page is displayed.
-
You can enable or disable the following options:
- Use Bugcrowd’s Vulnerability Rating Taxonomy
- Encourage disclosure of non-target issues
- Safe harbor agreement
- Co-ordinated disclosure
To enable, move the slider to the right. To disable, move the slider to the left. By default, all the options are enabled.
-
Click Next step. The Step 4: Reward range page is displayed.
-
Set the range of the reward amount the researchers can expect based on the technical severity of the vulnerability. Select the program reward range based on the security maturity of your assets:
- Basic
- Intermediate
- Advanced
When you select any of these options, the Low reward and High reward amounts are automatically populated for each technical severity level. The minimum reward amount is $20. You can specify the Maximum advertised reward (greater than P1) that the organization can pay for an exceptional submission.

-
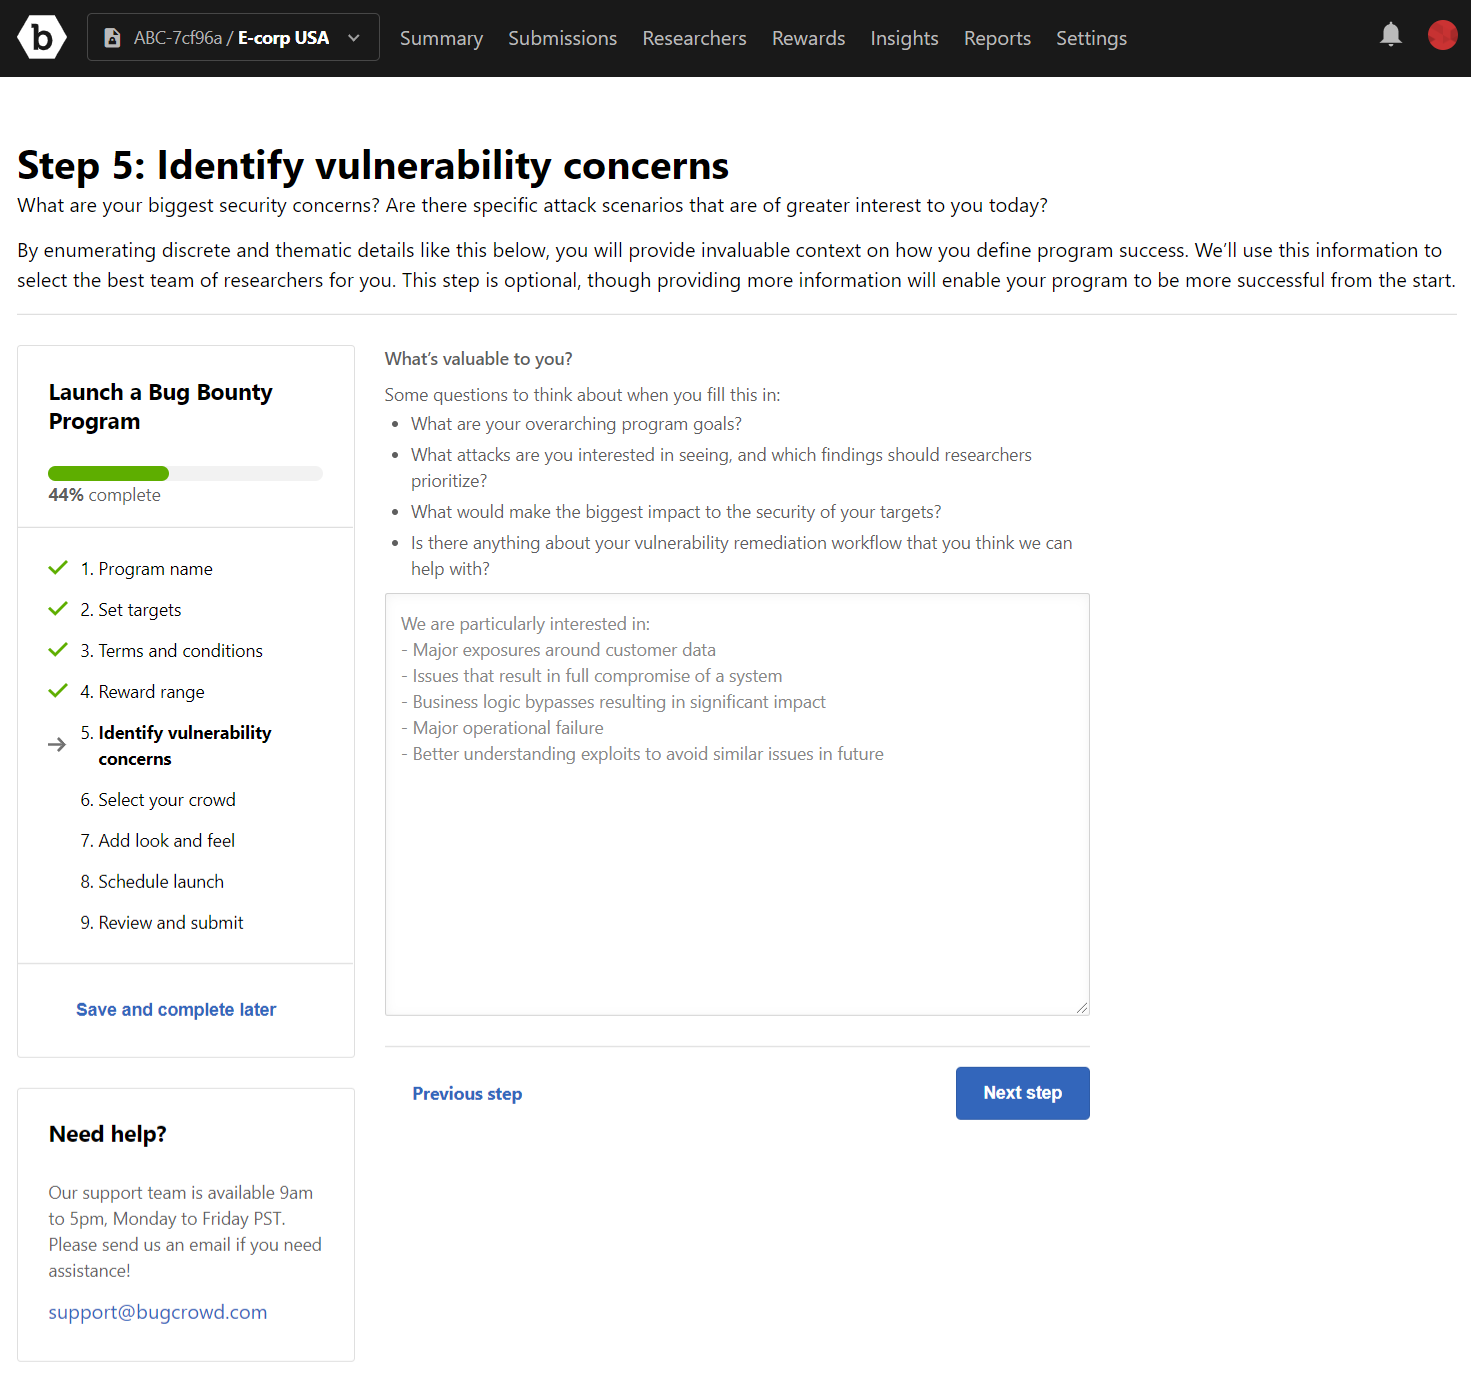
Click Next step. The Identify Vulnerability Concerns page is displayed.
-
Specify the key security concerns you have and the important findings researchers must prioritize. This information helps Bugcrowd to select the best researchers for you.
-
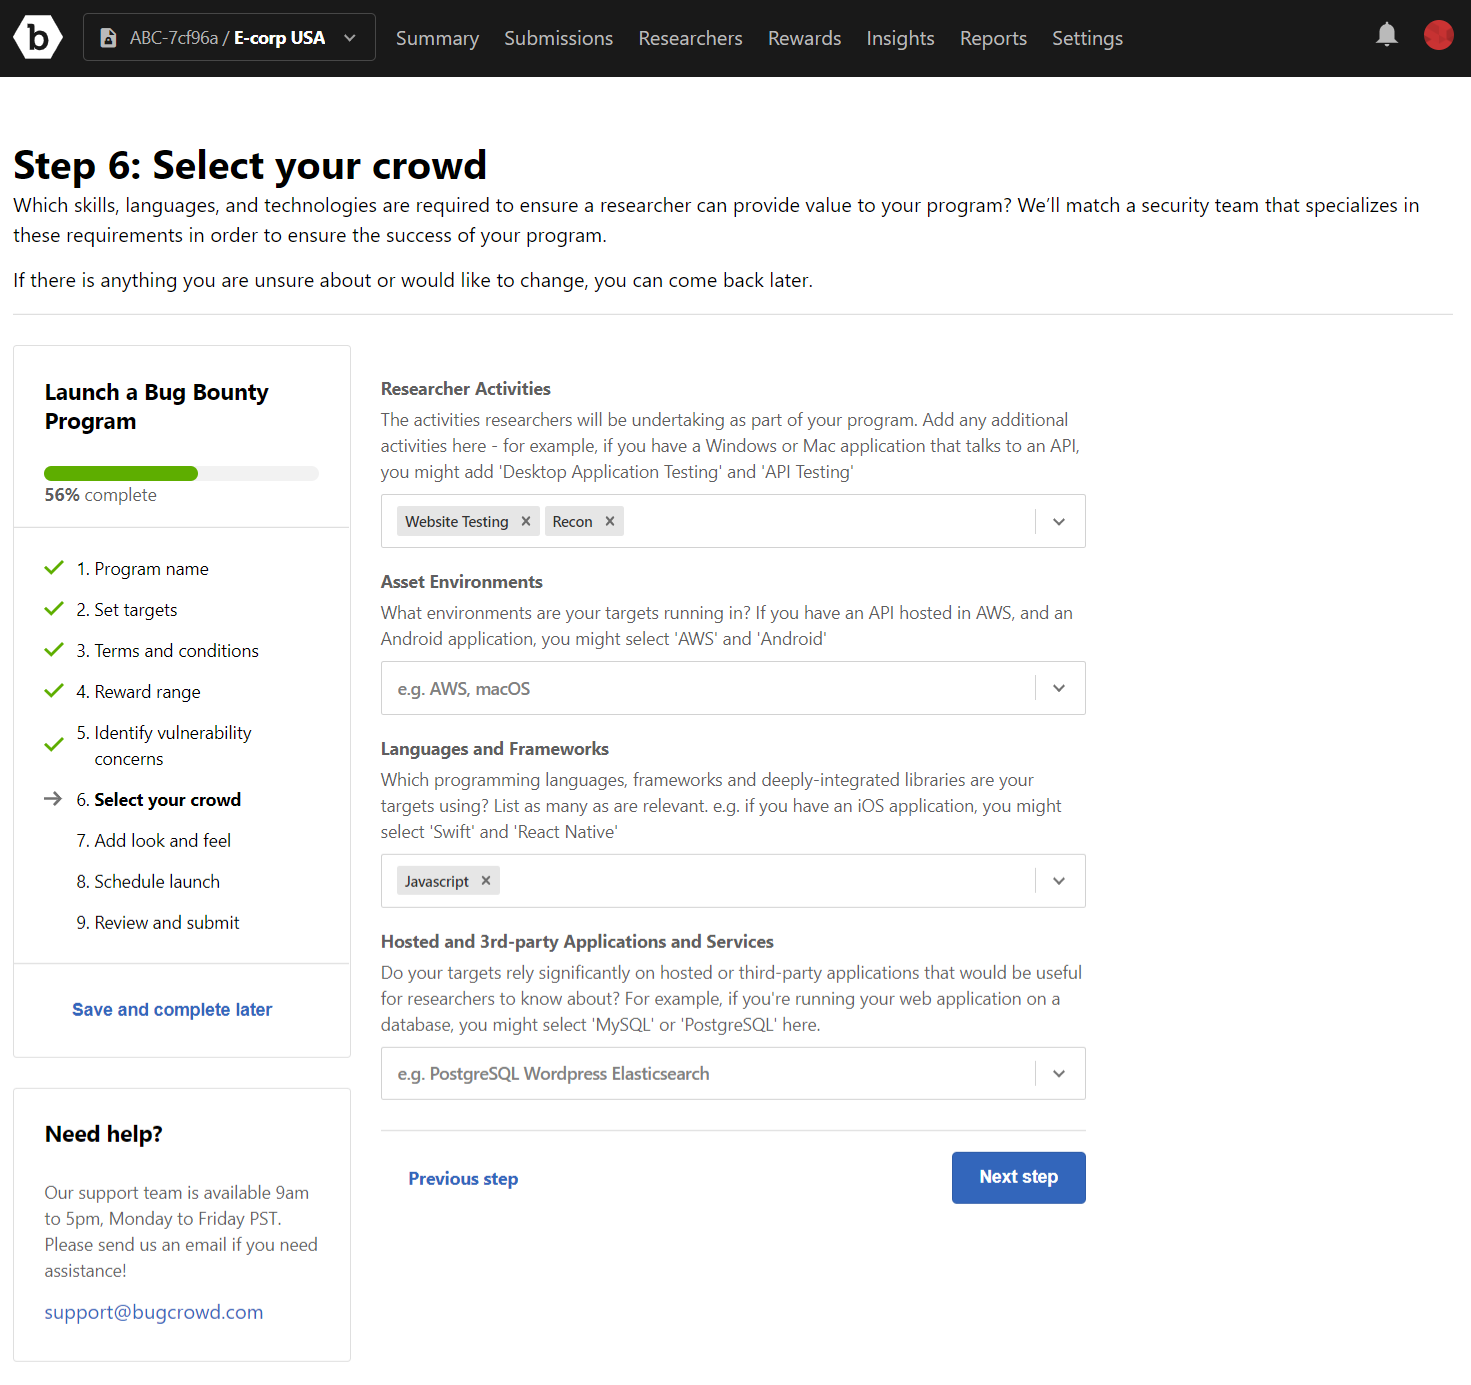
Click Next step. The Step 6: Select Your Crowd page is displayed.
-
Specify the skills that the researcher must have. This will help Bugcrowd to select a security team (researchers) that match these requirements. The skills that you can specify are:
- Researcher Activities: List the activities researcher will perform. For example, Website testing, API testing.
- Asset Environments: Specify the environments the targets are running in.
- Languages and Frameworks: List the programming languages, frameworks, and integrated libraries used by the targets.
- Hosted and 3rd-party Applications and Services: Indicate whether the targets rely on hosted and 3rd party applications. For example, if the applications is running on a database, then specify MySQL.
-
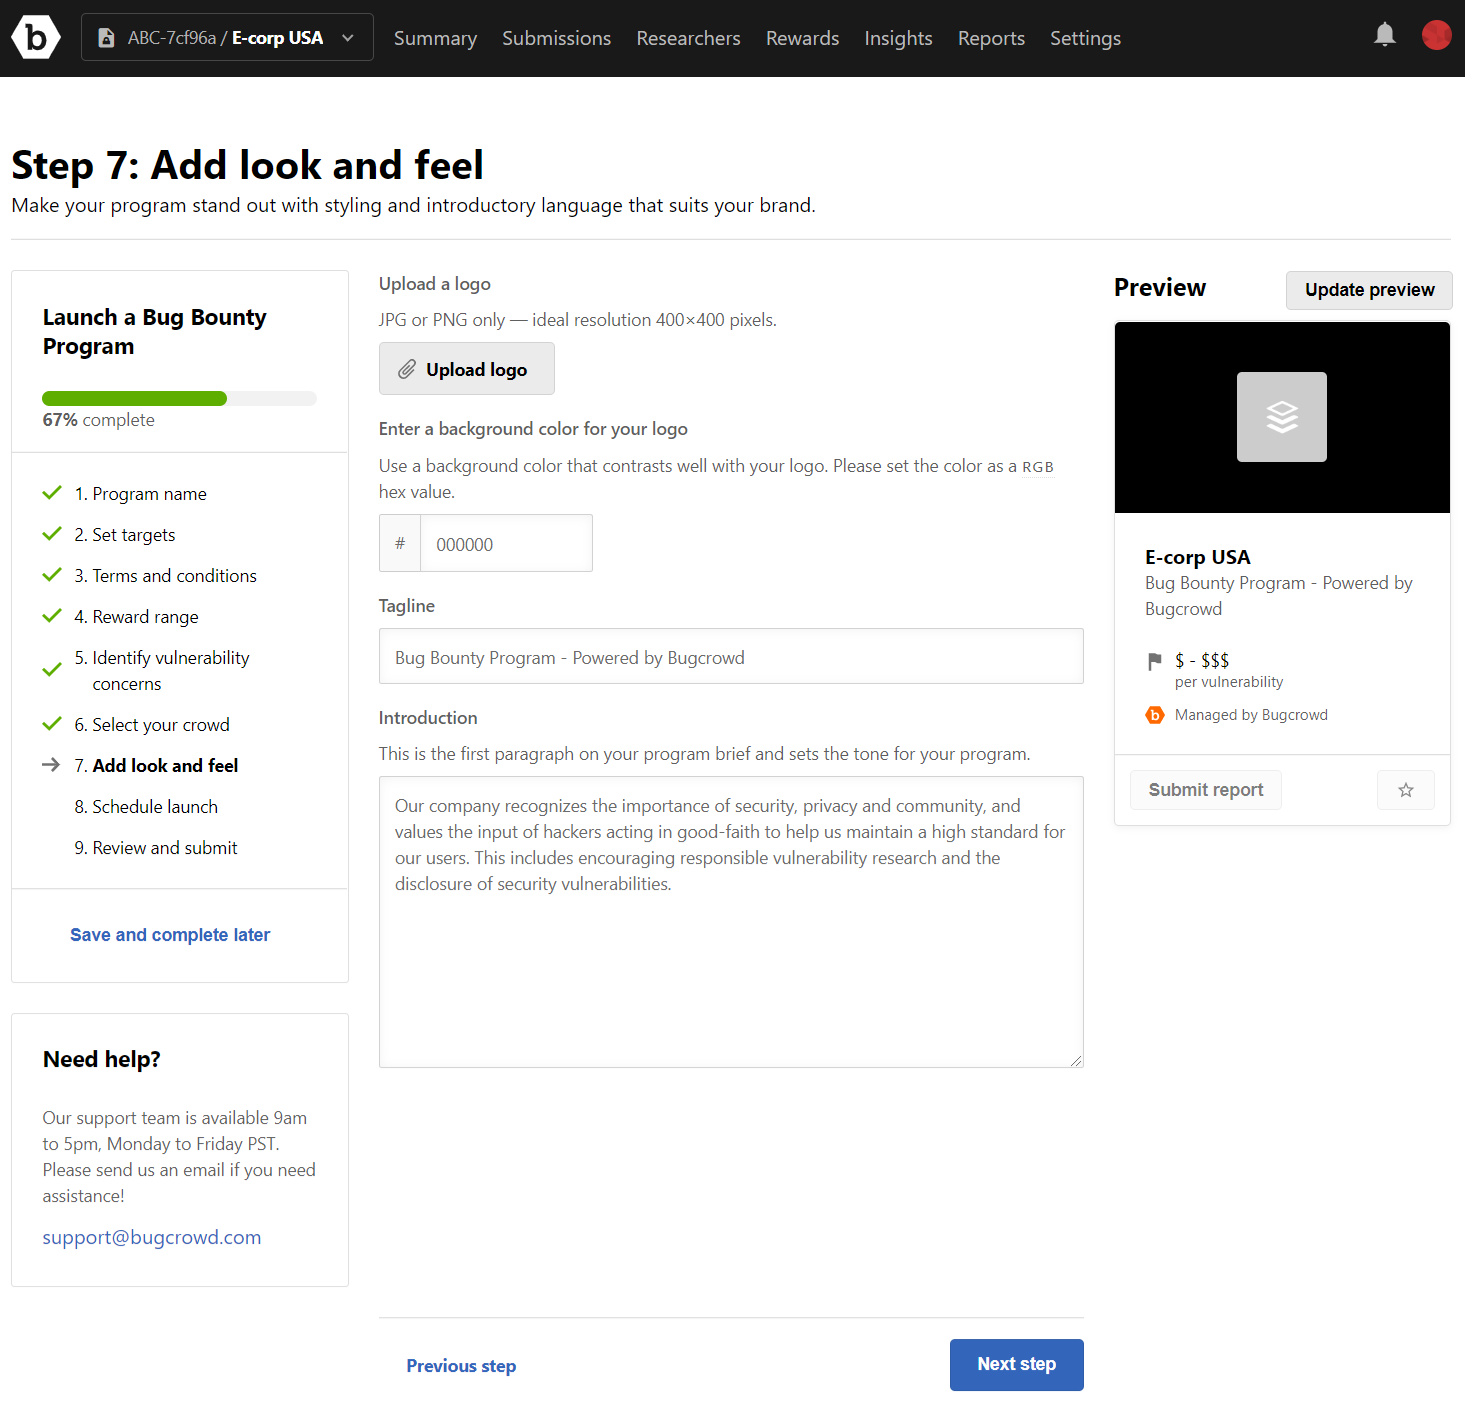
Click Next step. The Step 4: Add look and feel page is displayed.
-
Specify the following information:
- Upload a logo: Click Upload logo and specify a logo for your program.
- Enter a background color for your logo: Provide a RGB hex value for the background color of the logo.
- Tagline: Provide a tagline for your program.
- Introduction: Provide a description for your program. This will be displayed as the first paragraph in your Program brief. After specifying the information, click Update preview for viewing your changes.
-
Click Next step. The Step 5: Schedule launch page is displayed.
-
Specify the following information:
-
Preferred private launch timeline: Select an option to indicate when you want the program to start:
- As soon as possible (default)
- Within a month
- More than a month
-
Preferred public launch timeline: Select an option to indicate when you want the launch the program as public after the private launch:
- Soon after private launch (default)
- A month after private launch
- More than a month after private launch
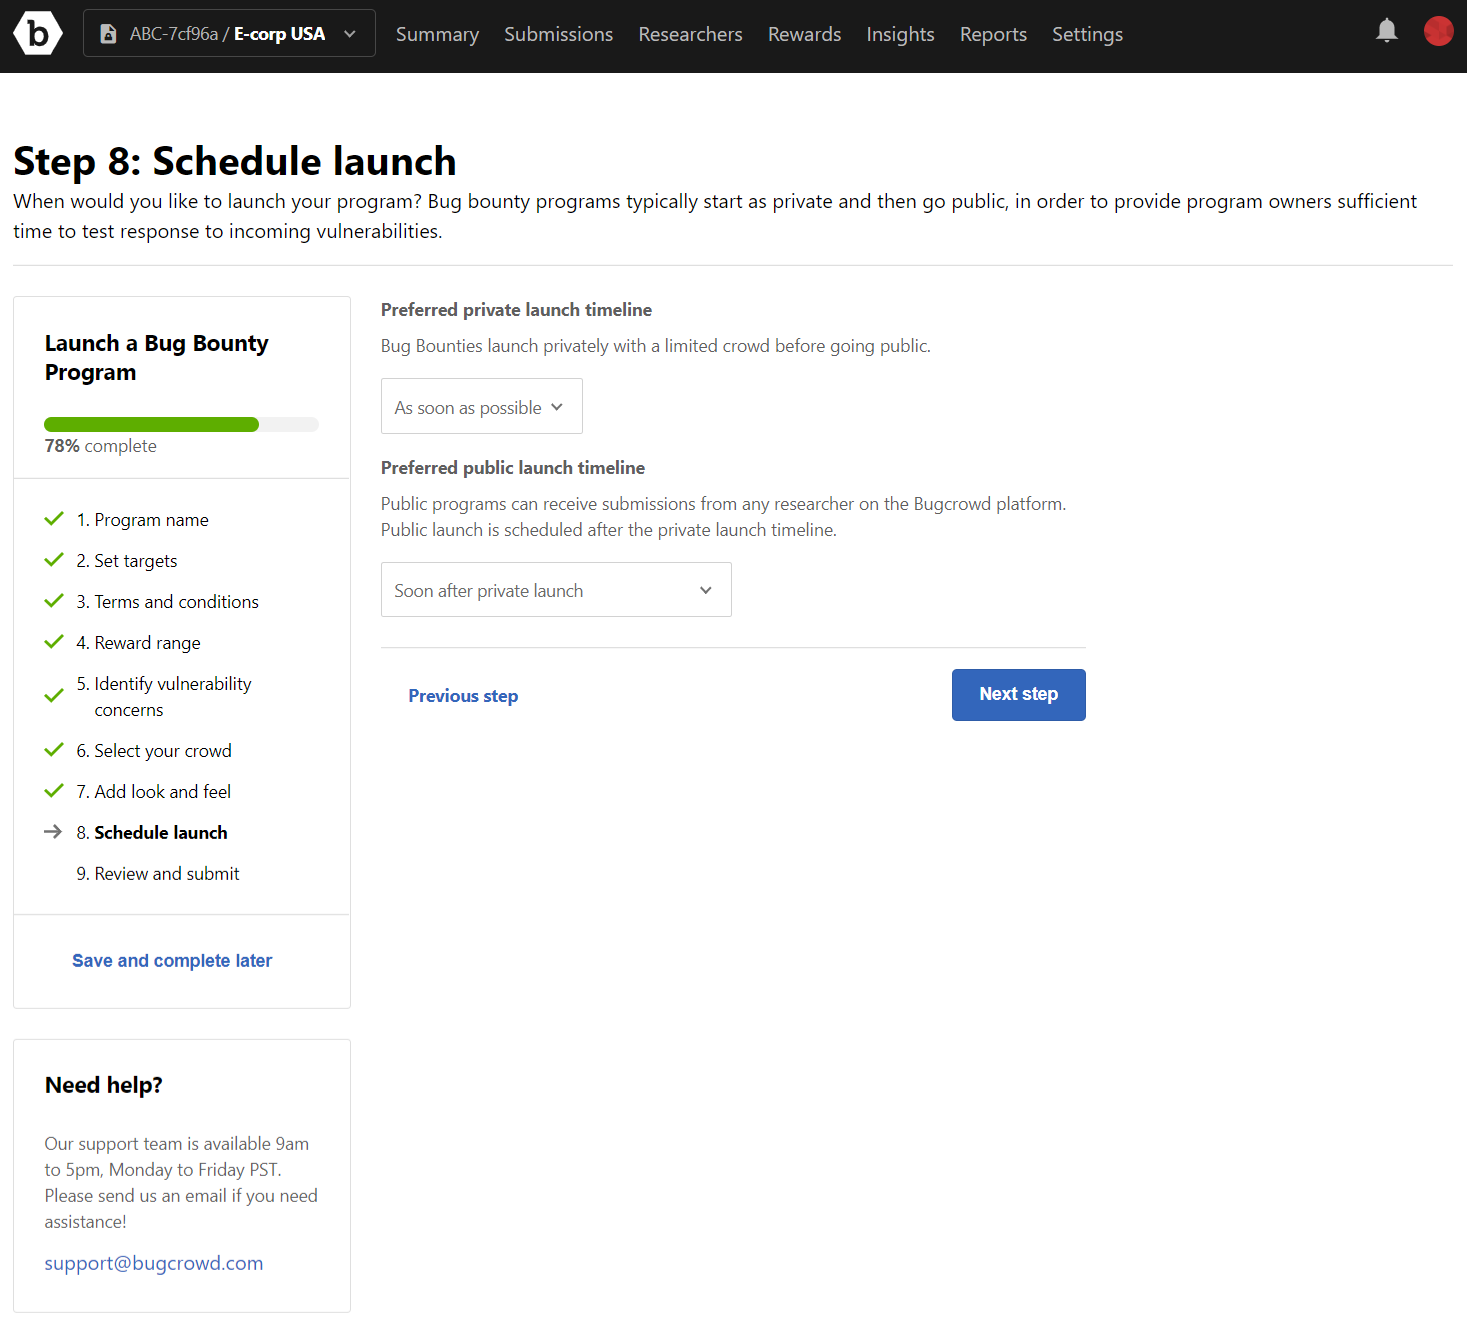
-
-
Click Next step. The Step 6: Review and submit page is displayed.
Review the information that you have provided. In case you want to modify any details, click Edit and make the changes.
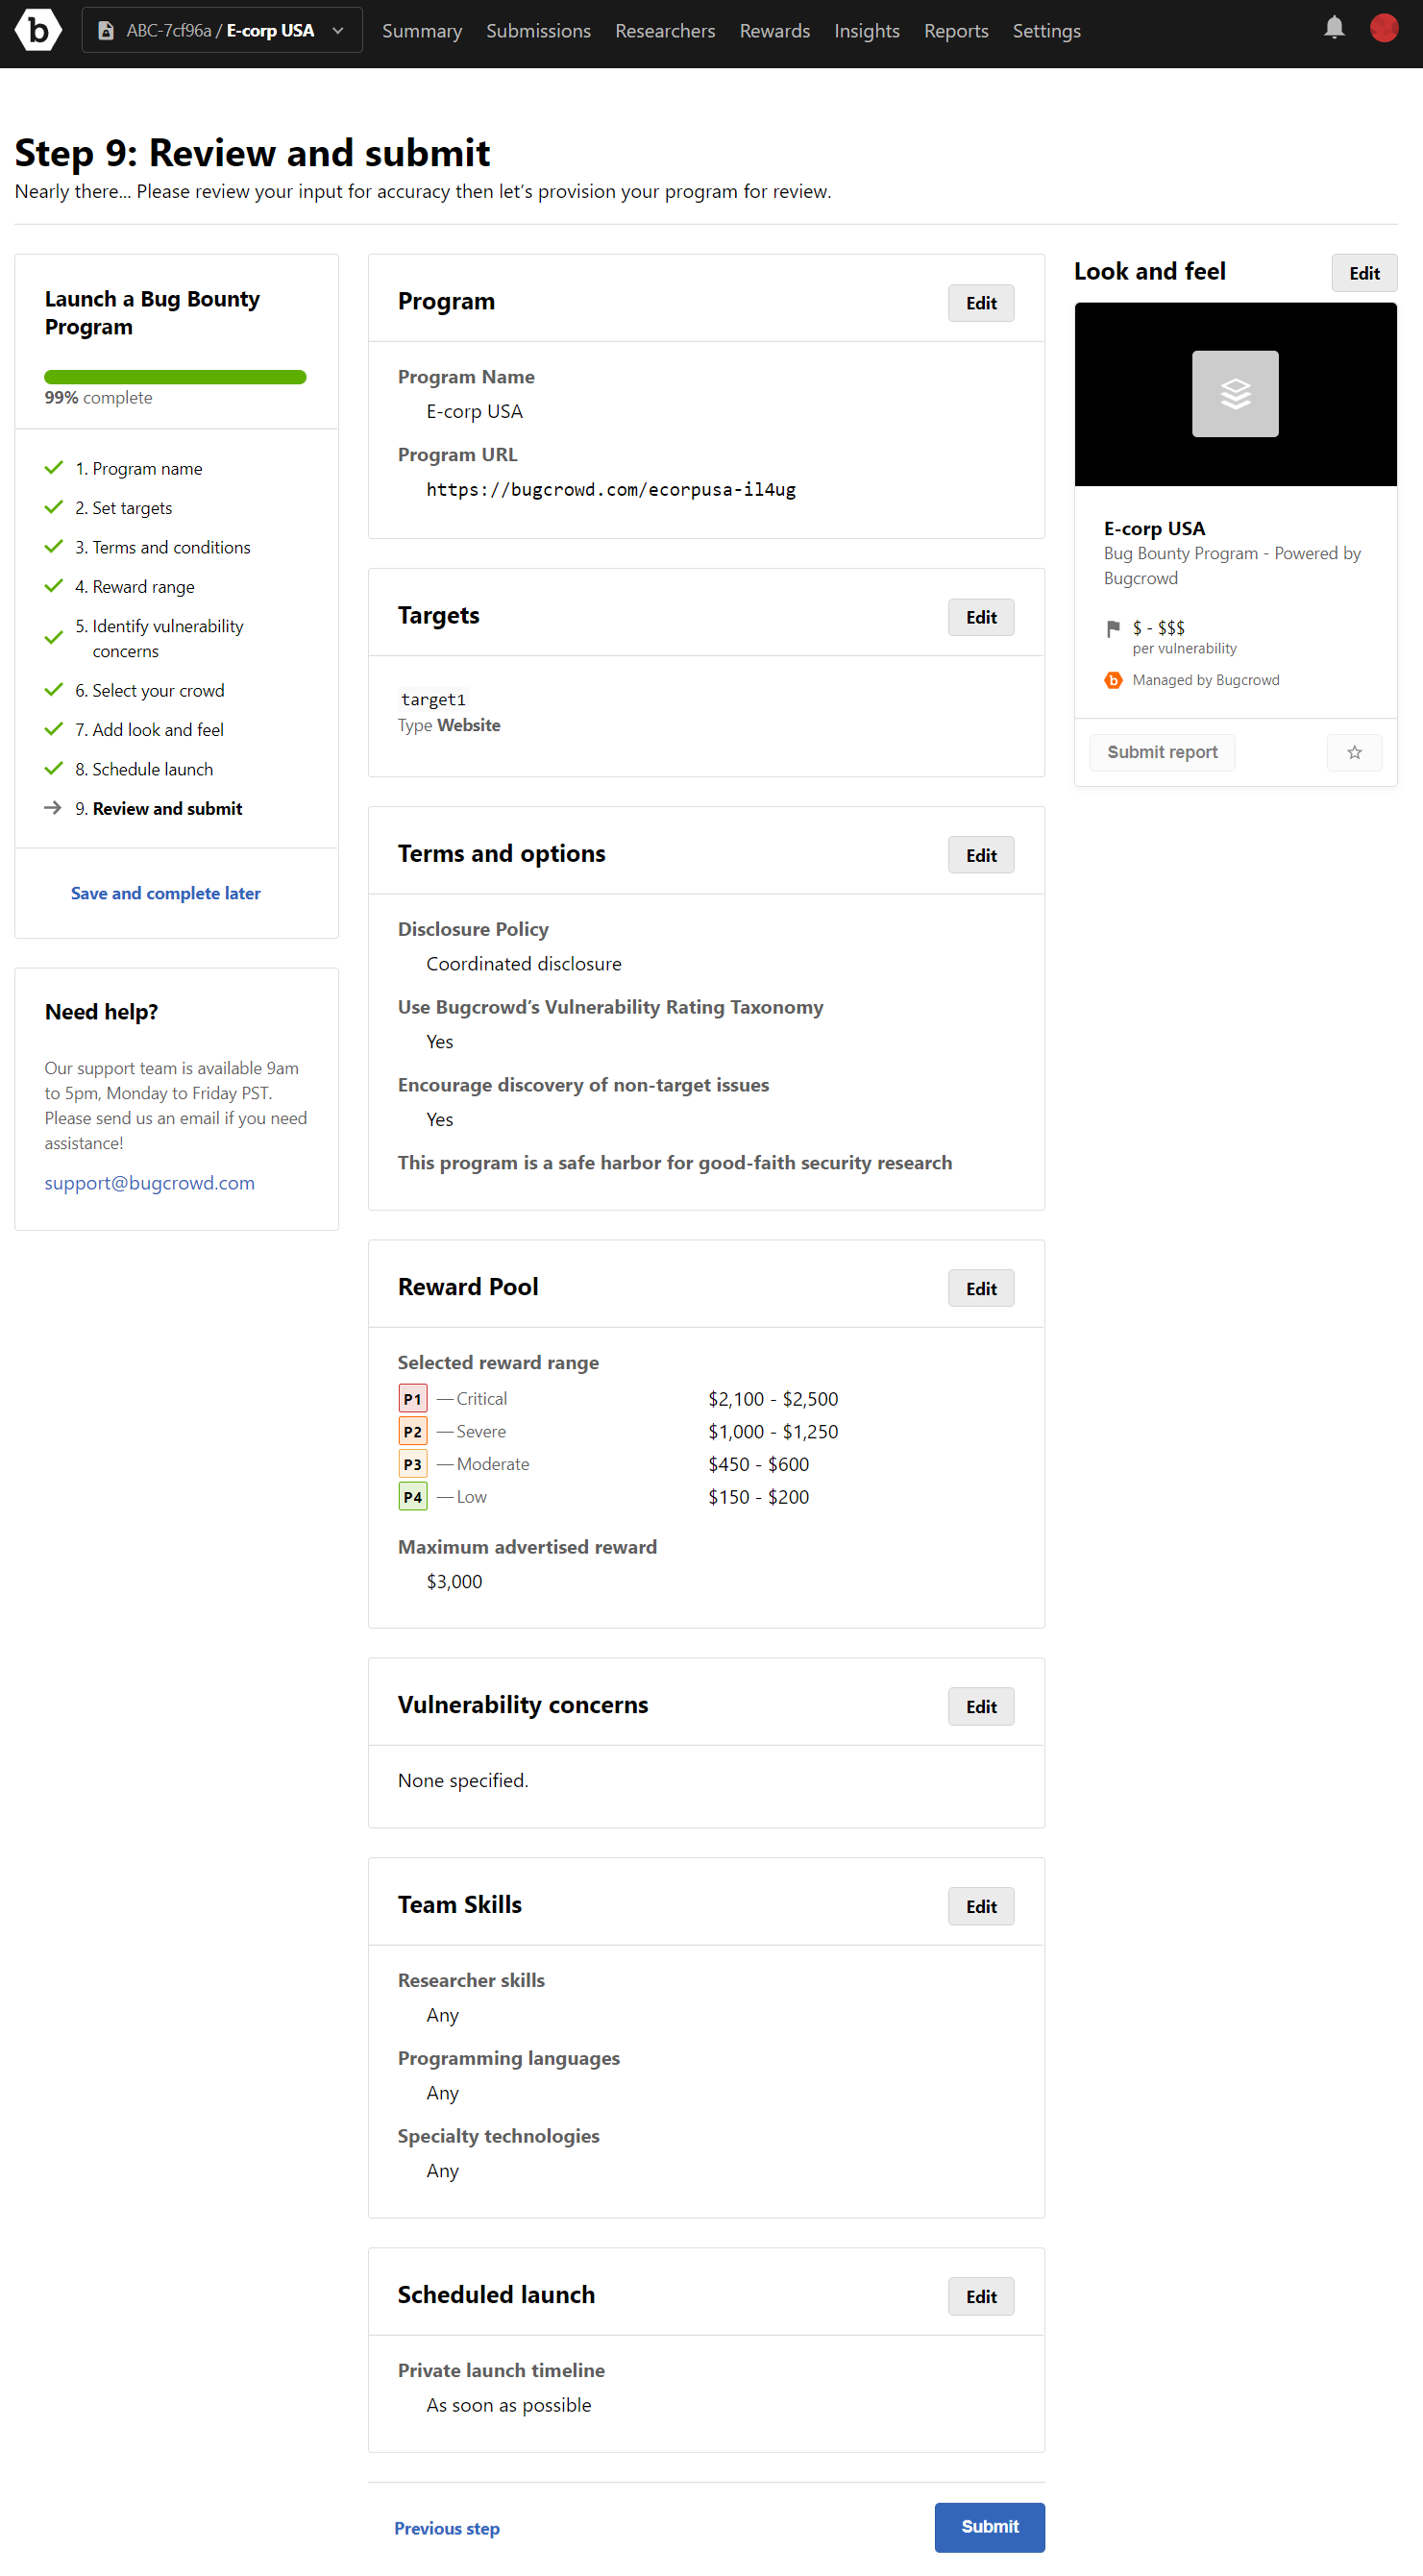
-
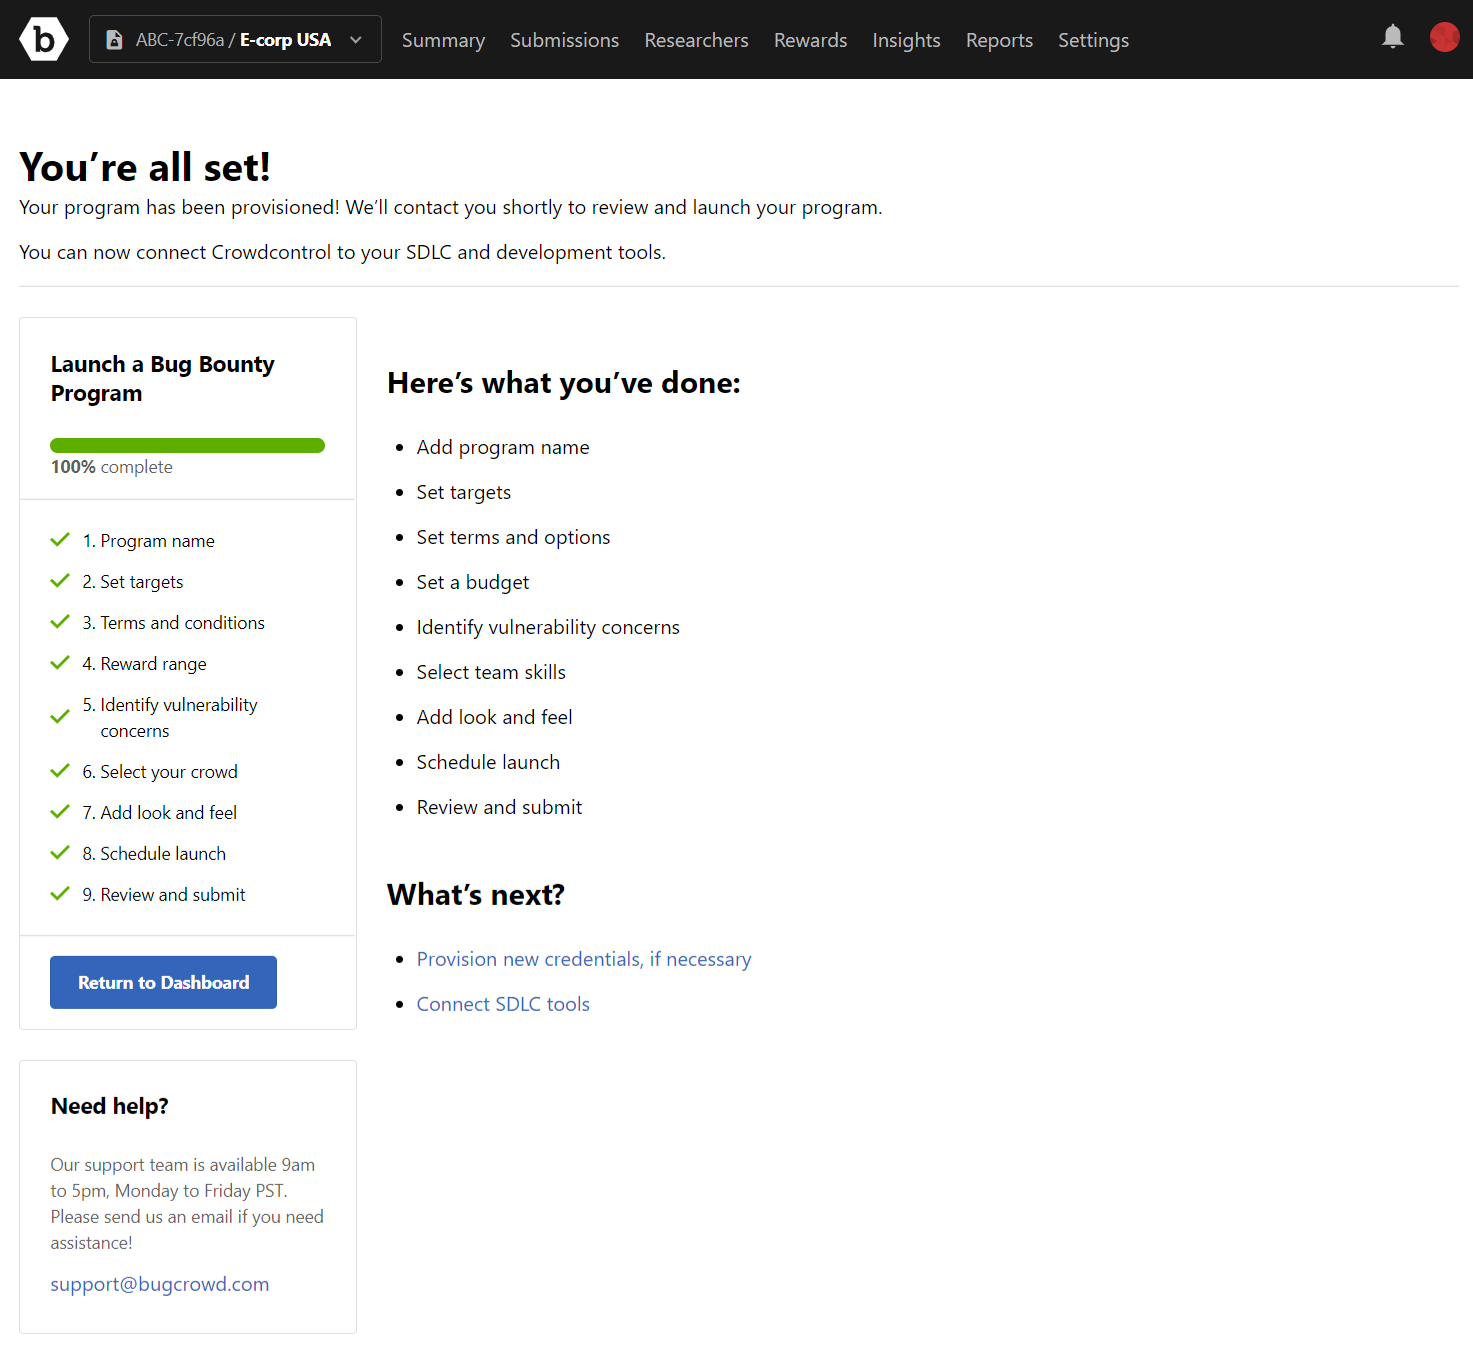
Click Submit.
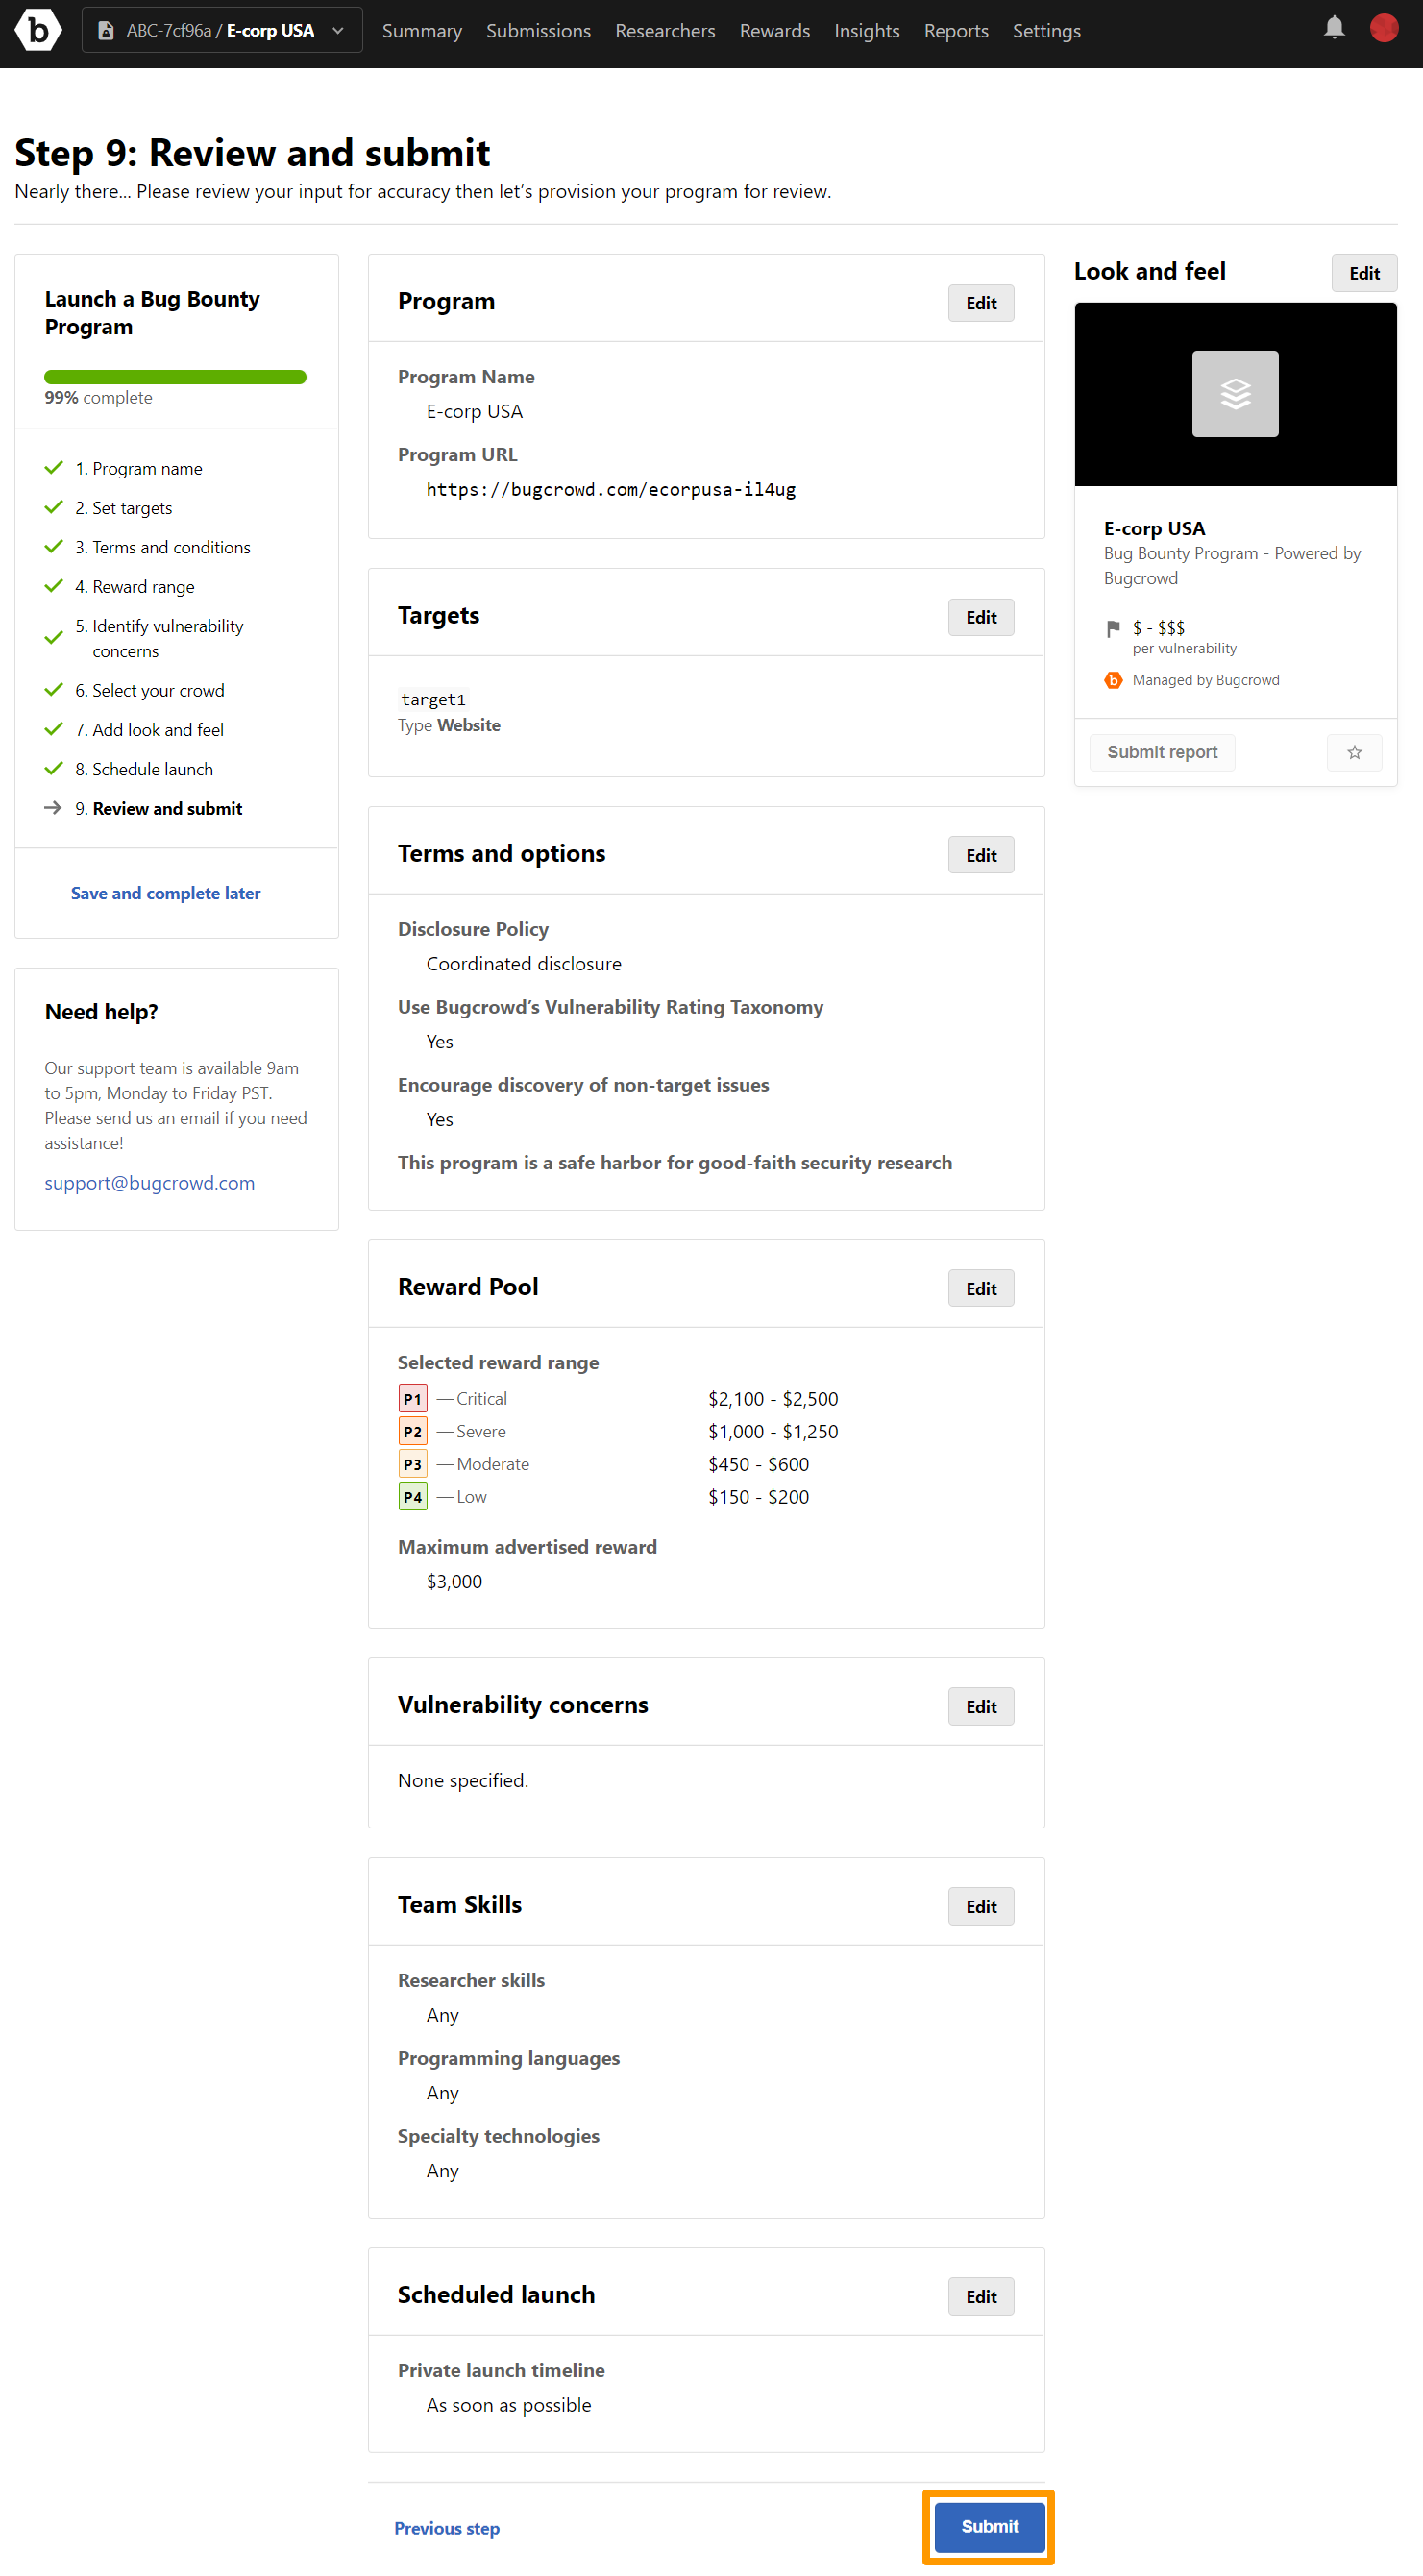 The Your program has been provisioned message is displayed.
Bugcrowd will contact you to review and launch the program.
The Your program has been provisioned message is displayed.
Bugcrowd will contact you to review and launch the program.